Squash The Calories! De-light-ful Mac And Cheese

As we enter a new year, we’re often asked about our New Year’s resolutions. One of the most common, of course, is to lose weight and be healthier. My own resolutions are often lofty goals I hope I’ll be able to reach. But usually, I’m able to keep them for a few days, a few weeks or maybe a few months at most.

The reason for my failure? My goals are often unrealistic and too hard to maintain.

It’s difficult for people to break habits or stop eating their favorite foods. Because I’m a registered dietitian, many think that making healthy choices is second nature to me. In reality, like many other dietitians, I still like to indulge in my favorite comfort foods. Many popular diets often eliminate certain foods or food groups, but we all know that’s difficult to sustain. Why is it that, as soon as we can’t have something, we want it even more? So, rather than deprive yourself of your favorite indulgences, why not make a lighter version instead?

When I started researching different recipes for macaroni and cheese, I stumbled upon an interesting piece of history. It turns out that mac and cheese was one of President Thomas Jefferson’s favorite foods. He became fond of the macaroni noodle while visiting Italy and actually attempted to make and improve the macaroni extrusion machine! In 1802, Jefferson even served macaroni pie at a state dinner (you can read more on his foodie accomplishments in this WTE post).

There are plenty of ways to make any dish a little bit healthier, of course. Use whole grains; add low-calorie vegetables to ‘bulk up’ a dish; use zucchini ribbons or spaghetti squash in place of regular noodles (like in this WTE post); reduce the total amount of fat or substitute a healthier high-monounsaturated fat, like olive oil, in place of butter. You can find even more tips for transitioning to healthier food and lifestyle choices in our next Meet The Chef, featuring vegan chef and nutritionist Jasmine Simone!
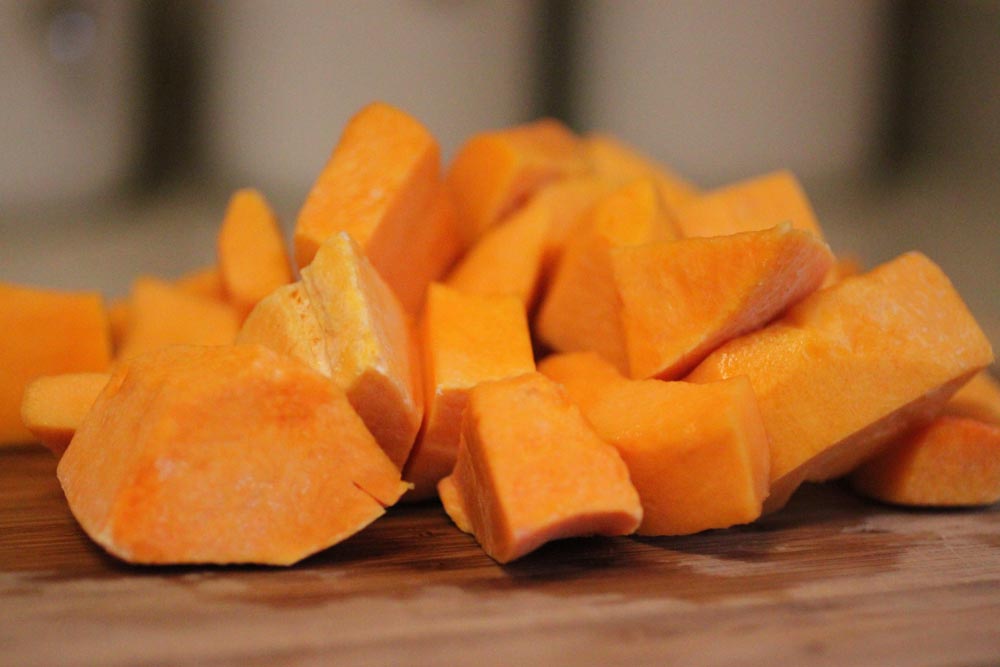
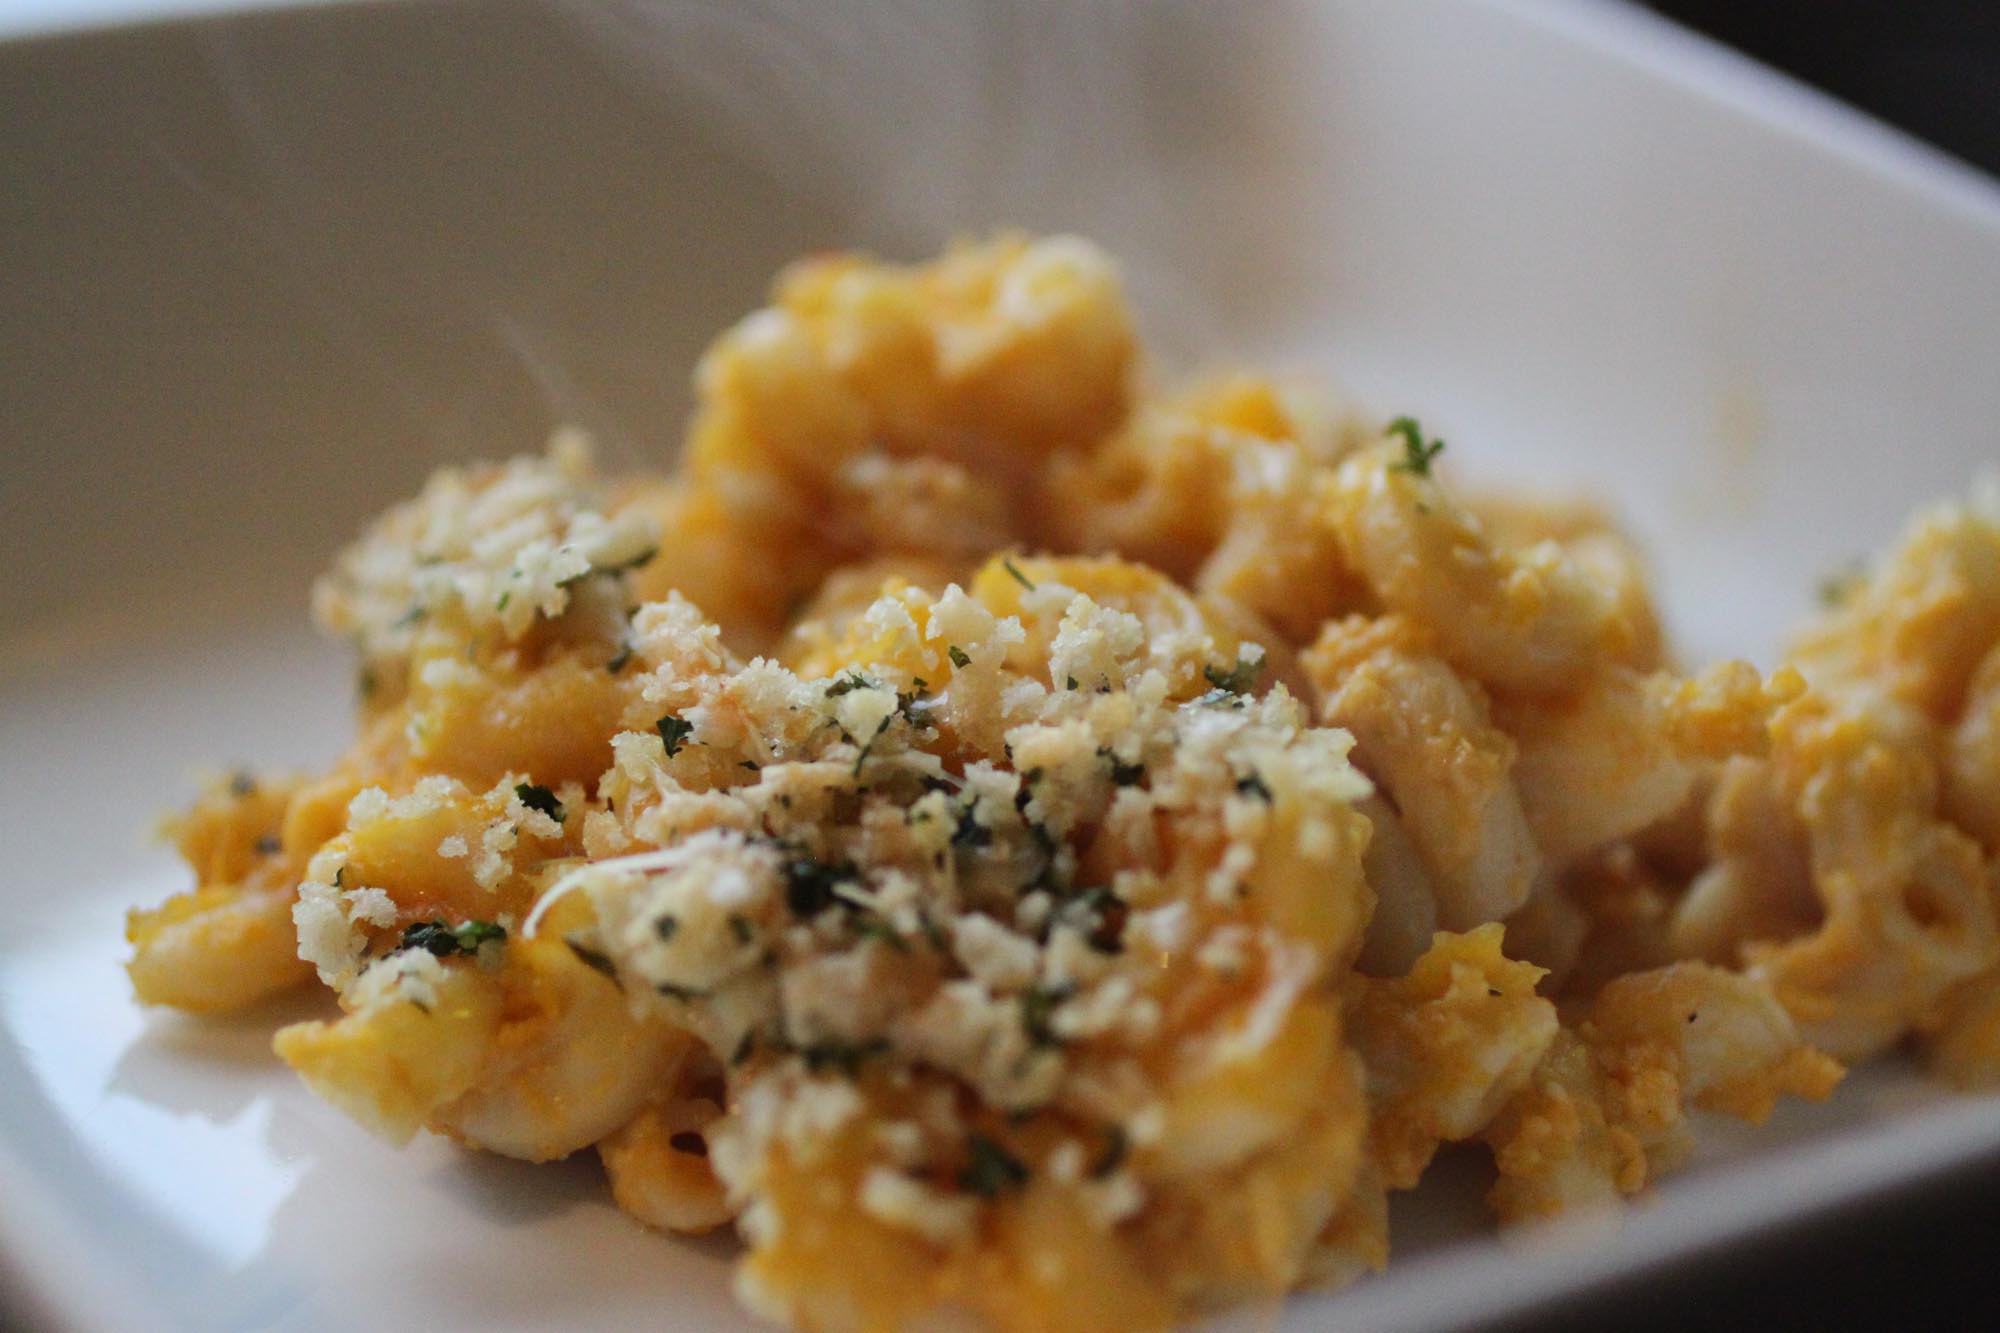
The macaroni and cheese recipe below is my take on “lightening up” an old comfort food that I simply can’t go a winter without. Traditionally, this dish contains a béchamel sauce of butter, flour and cream.  Instead, you can substitute in pureed butternut squash that is cooked in fat-free milk and low-sodium broth.

The squash makes the dish more nutrient-dense with far fewer calories and saturated fat — all without compromising the creamy texture and bright orange color of a classic macaroni and cheese.

Eaters should be aware that there will be a lot of cheese and a lot of squash in your kitchen when you make this! I strongly suggest using a long ladle to move the cooked squash from your pot to your blender. The mess is worth the work.

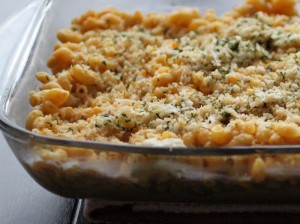
As I had hoped, this is an absolutely delicious dish. The sauce was creamy, the noodles were tender and the topping provided just enough crunch to keep things interesting. For leftovers — if there are any! — make sure to reheat in the oven, not the microwave, to maintain the crunchy top.

Creamy, Light Macaroni and Cheese

Adapted from Cooking Light magazine

1 pound butternut squash, peeled and cubed
1 1/2 cups low-sodium beef broth
1 1/4 cups fat-free milk
2 cloves garlic
1 pound elbow macaroni
1 1/2 cups gruyere cheese, grated
1 cup pecorino romano cheese, grated
1/4 cup + 2 tablespoons Parmesan cheese, grated
1/4 teaspoon nutmeg, freshly grated
Dash ground cayenne pepper
1 teaspoon olive oil
1/4 cup panko bread crumbs
2 tablespoons parsley, chopped
Salt and pepper to taste
Nonstick cooking spray

Preheat oven to 375 degrees.

Peel, seed and cube butternut squash. Bring squash, broth, milk and garlic to a boil for 25minutes until the squash is fork tender.

While the squash is cooking, cook pasta according to package directions.

Blend squash mixture in several batches in a blender. Make sure to cover with a lid, but remove the top center piece in the lid to let the steam escape as the liquid will still be very hot.

Put back into saucepan and slowly add all grated cheese, stirring constantly. Add nutmeg, cayenne pepper, salt and pepper to taste.

Add olive oil to a frying pan on medium heat. Add breadcrumbs and parsley and sautee; bread crumbs will turn a golden brown. Remove from heat and add remaining Parmesan cheese.

Combine butternut cheese sauce and cooked pasta. Pour into a 9×12 casserole dish that has been sprayed lightly with nonstick cooking spray. Sprinkle pasta with toasted breadcrumb mixture and bake for 25 minutes until golden brown.
Tagged with: , , , , , , ,
Posted in Dear Diary

Un-Fry My Chicken, But Keep The Soul

Fried chicken is one of the ultimate unhealthy comfort foods. And like most unhealthy foods, it’s darn good. It’s juicy, it’s crispy, it wraps you up in a greasy warm blanket of yummy. It’s almost a sin to try to make it healthy. So, I accepted the challenge, knowing that my healthier chicken may not live up to its deep-fried brethren.
This may seem obvious, but the best place to start when tackling “bad” foods is to list the elements that make them unhealthy, and then figure out how to keep the tasty while eliminating the bad. This can take some amount of experimentation and research. There are plenty of cookbooks and web sites devoted to healthier cooking to help you.

When it comes to fried chicken … the main culprit is in the name. It’s fried! Eating too much fried food is linked to high cholesterol, high blood pressure and obesity, which can all contribute to heart disease. Of course, depending on the type of oil used, the risks can be reduced. But I decided to just skip the frying all together, instead opting to bake my chicken.  I figured I could at least maintain some of traditional fried chicken’s crispiness in the oven, given the right technique.

But what about the juiciness? No one wants dried un-fried chicken.

Another delicious, yet unhealthy, thing about fried chicken, of course, is that crispy skin. The skin holds in the juices, keeping the meat moist. But the skin also adds unnecessary calories and soaks up all the fat from the frying. So … bye-bye skin!

And then there’s the breading. Typically, fried chicken is coated in buttermilk, then floured and breaded. Even more fat and calories! So I had to come up with a replacement: something to maintain the crunch and moisture, but cut down on the calories.

I decided to consult some professionals on the matter. I found a recipe from chef Art Smith, an expert in Southern cooking and former personal chef to Oprah. Seemed like he might know a thing or two about re-inventing comfort foods into healthier alternatives.

Jackpot! He has a recipe for a healthier fried chicken, baked, without skin and with a re-imagined crust. Rather than buttermilk, he used Greek yogurt to soak the chicken, which cut the fat and added extra protein. He also removed the flour and breadcrumbs, replacing them with a multigrain cereal.

I already had most of the necessary ingredients on hand. And when I ran out to grab some chicken drumsticks, I picked up some needed hot sauce. Art’s recipe called for “Louisiana hot sauce,” which means any cayenne pepper-based sauce. The hubby recommended Crystal Hot Sauce — good flavor and good heat!

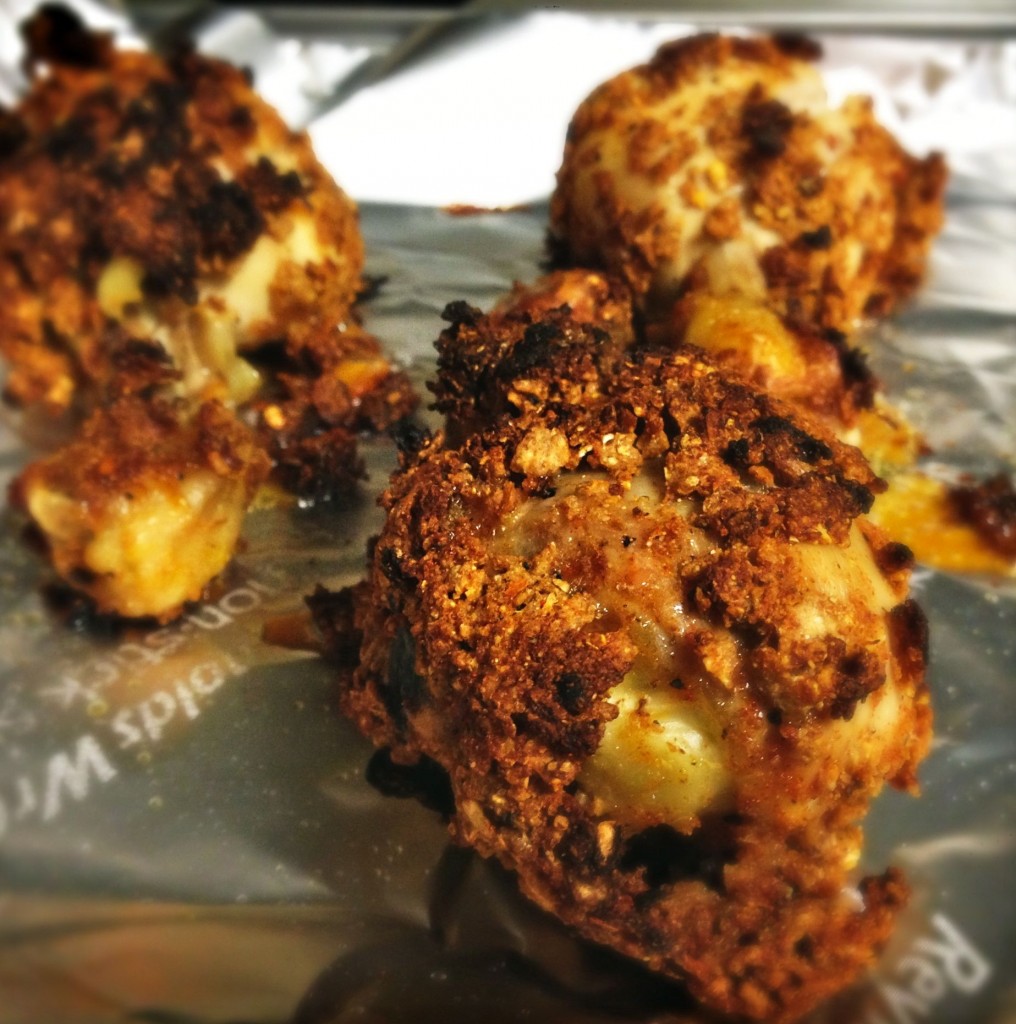
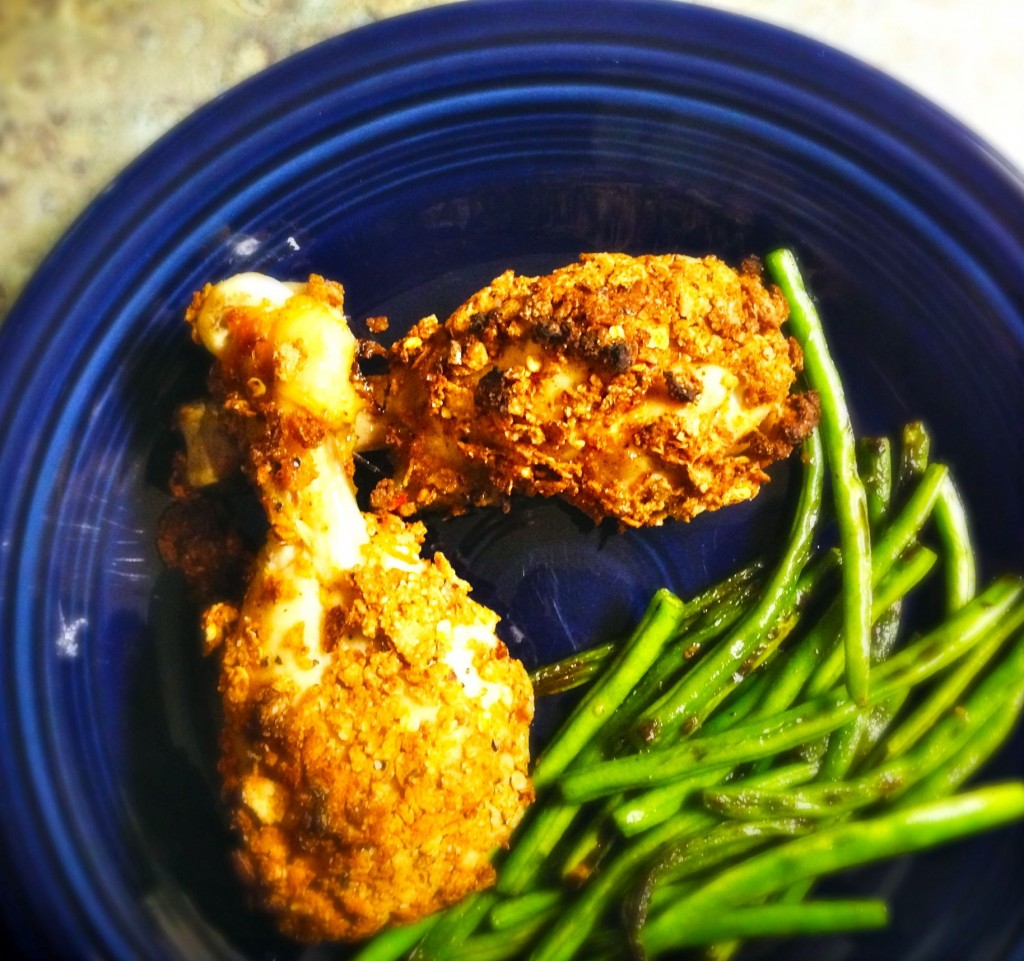
The whole thing turned out to be quite easy and quite tasty. The yogurt helped to maintain the moisture and the breading stayed crisp. All-in-all, this healthy version of a comfort staple maintained its sinful, yummy soul.

Kicky Un-Fried Chicken

I found Art Smith’s recipe on Oprah’s web site. You can use any cut of chicken — breasts, thighs, drumsticks — as long as you remove the skin. I think it would also work quite well with boneless, skinless chicken.

6 drumsticks, skinless
1 cup nonfat Greek yogurt
1 tablespoon hot sauce
1 1/2 cups multigrain cereal, crushed
1 1/2 teaspoons onion powder
1 1/2 teaspoons garlic powder
2 teaspoons black pepper
2 teaspoons hot red pepper
1 teaspoon paprika

Mix the yogurt and hot sauce together in a large bowl. Add the chicken, covering with the yogurt mixture. Let the chicken soak while you create the breading.

Combine the crushed cereal and spices in either a bowl or a bag. Add the chicken and thoroughly coat with the breading mixture. If using a bag, add all the chicken and shake – just make sure that all pieces are coated evenly, not in clumps.

Place coated chicken on a baking sheet or pan. I used non-stick aluminum foil to avoid having to oil the sheet, which would have added a little more fat and calories. Parchment paper would work as well. Set in the fridge for about 30 minutes, then bake the chicken in a 400-degree oven for about 40 minutes.

Tagged with: , , , , , , ,
Posted in Dear Diary

Using Your Noodle, Or Not: Giving Lasagna A Makeover

With each new year — particularly after the food filled wonder of the holidays — many of our resolutions center around fitness and eating. The craziness of 2012 has knocked me off of my routine entirely, so I’m already on the hook for getting back on track with my gym regimen. But when it comes to resolutions about eating right, I’ve tried to be far more realistic; I avoid that topic each year altogether!

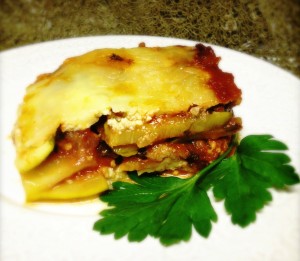
So when I was asked to tackle a healthy, no-noodle lasagna as part of January’s theme — making comfort foods healthier — I knew I had my work cut out for me for a number of reasons. For starters, I love pasta. Carb me up, please. And, of course, don’t forget the cheese. Loads and loads of delicious ricotta and mozzarella. And the meat! Meatballs, meat sauce, meat meat meat. Yum. “Healthy lasagna” was new to my lexicon, for sure!

Let’s add in the fact that I’m still a culinary newbie. Sure, I’ve been trying new kitchen challenges to impress my favorite female foodie. But I haven’t come close to developing her amazing cooking instincts — like how she can look at a pile of crazy ingredients and intuitively know how to whip up a deliciously harmonious feast (seriously, this girl would rock on Chopped!). Me? I lean heavily on a recipe the first time through with little alteration. I’m trying to branch out, but baby-step style.

My one hopeful, genetic, ace-in-the hole is my Italian heritage. Well, the half that’s Italian, that is. Straight out of Naples, Italy. So naturally, once I got this assignment, the call went out to my mom for some cooking tips. Sadly, once we started talking sauce, she ominously declared, “You’ll need hours to cook a sauce! I usually let mine simmer for six or so hours.” Cue crickets.

Seriously, Mom? Well … there goes that lifeline. And, this being WeTheEaters, you’ll find no jarred, pre-made sauce here  (despite suggestions from several recipes to do so). I will admit to creating the sauce below using cans of tomato sauce and paste (per the recipe), but even my Italian mom does that.

I started Googling, as I usually do, and came up with several interesting options. I had initially thought I would try eggplant instead of pasta. I was ominously warned, however, that working with eggplant might be a pain. Luckily, I found many recipes that used zucchini — one of my favorites — instead.

I picked a recipe from allrecipes.com, but decided to make some tweaks for health and flavor. To me, it’s a no-brainer to swap out ground turkey for ground beef, though I know I’ll miss the flavor in the meat sauce. The real hurdle is going to be the cheese. I know I can swap goat or cottage for ricotta cheese … I’m just not sure I want to. But I quickly realized at the store that there are no-fat Ricotta options, and in comparing the nutritional information with the cottage cheese, I discovered that — at least in regard to fat content — the ricotta passes the test.

I decided to use the same low-fat-option strategy with the other cheeses in the recipe, and to try adding to the flavor by mixing some goat cheese into the ricotta.

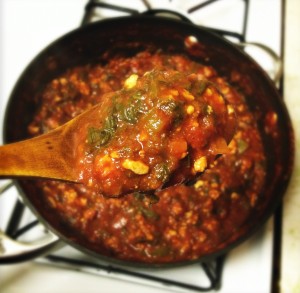
To further spruce things up, I swapped out fennel for oregano (mostly because I got home to find I had no oregano!), fresh spinach for frozen (which I just cooked in with the sauce to speed the process). I also upped the salt and pepper volumes a bit and threw in some garlic (just because!).

The good news is, it tasted great. I’m not entirely convinced my goat cheese added much to that flavor, but all in all, very tasty.

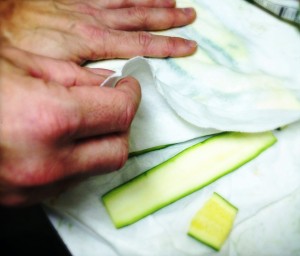
The bad news? The lasagna was a bit soggy. Zucchini is very watery, and, as I learned, needs thorough salting and draining. I should have let it  sit longer after salting to dry out more. I suppose, in addition to the salting process,  I could have let it rest longer after coming out of the oven.

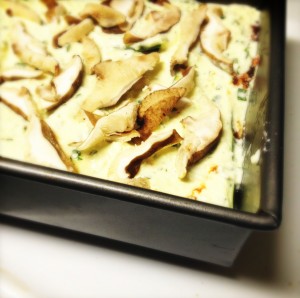
Next time I make this, I’m going to try some variations: adding broccoli as a veggie (suggested in a recipe I didn’t use), using eggplant instead or maybe alternating eggplant strips with zucchini.  And, for you vegetarians, making this without the turkey would have tasted just as good.  All-in-all, though, it was a delicious, healthy alternative to the carbo-load that is your typical lasagna.

No-Noodle Lasagna
Modified from allrecipes.com

Original recipe makes 1 – 9×13 inch baking dish (about 9 servings)

3 large zucchini
1 tablespoon salt (or to taste)
1 1/2 pounds ground turkey
2 teaspoons ground black pepper
1 small green bell pepper, diced
3/4 large onion, diced
1 cup tomato paste (2 8-ounce cans)
1 16-ounce can tomato sauce
1/4 cup red wine (and then some!)
2 tablespoons chopped fresh basil
1 tablespoon fennel (chopped fresh would be great) or oregano
water as needed
1 egg
1 16-ounce container no-fat ricotta cheese (or cottage cheese)
2 tablespoons chopped fresh parsley
1 16-ounce package frozen chopped spinach, thawed and drained, or an equivalent amount of fresh spinach
1 pound fresh mushrooms, sliced
8 ounces shredded low/no fat mozzarella cheese
8 ounces grated Parmesan cheese
6 to 8 ounces goat cheese
Garlic powder/minced garlic

Directions

Start by slicing the zucchini lengthwise into thin slices – about a quarter inch thick. Sprinkle lightly with salt and set aside in a colander to dry. If you do this first, they should be dry by the time you need them (10 to 15 minutes is fine). Blot them with a paper towel to make sure they are dry.

For the sauce, use a large sauce pan. Cook the ground turkey with the black pepper over high heat for about 5 minutes. Add in the green pepper and onion and cook, stirring, until the turkey is nearly done. Next, add the tomato paste, tomato sauce, red wine, basil, garlic and fennel. Also – I chopped and added the spinach directly into the sauce. If you prefer, you can layer the spinach in the lasagna. If the sauce gets too thick, add a little water. Bring to a boil, then reduce the heat and let simmer for 20 minutes, stirring often.

While the sauce cooks, stir the egg, ricotta, goat cheese and parsley together and set aside.

Preheat the oven to 325 degrees and grease a deep 9×13 inch baking pan.

To make the lasagna, put a layer of sauce in the pan. Put down a layer of zucchini. Next spread a layer of ricotta, then a layer of mushrooms and a layer of mozzarella. I added another layer of meat sauce, zucchini and ricotta, then a final layer of zucchini and meat sauce. The layering isn’t set in stone; feel free to experiment!

Spread more mozzarella and Parmesan cheese evenly over the top, cover with foil and bake for 45 minutes. Remove the foil, raise the oven temperature to 350 and bake another 15 minutes. Remove from the oven, then let it stand for another 5 minutes before you serve it.

Tagged with: , , , , , , , , , , , ,
Posted in Dear Diary
photo credit to Aaron Otis Photography 2014


July
Watermelon is the perfect summer food. It hydrates, it cools, it's sweet and juicy. We have some great ideas for your table, including a salad, ceviche cups, popsicles and cocktails. Get ready to beat the heat with us!