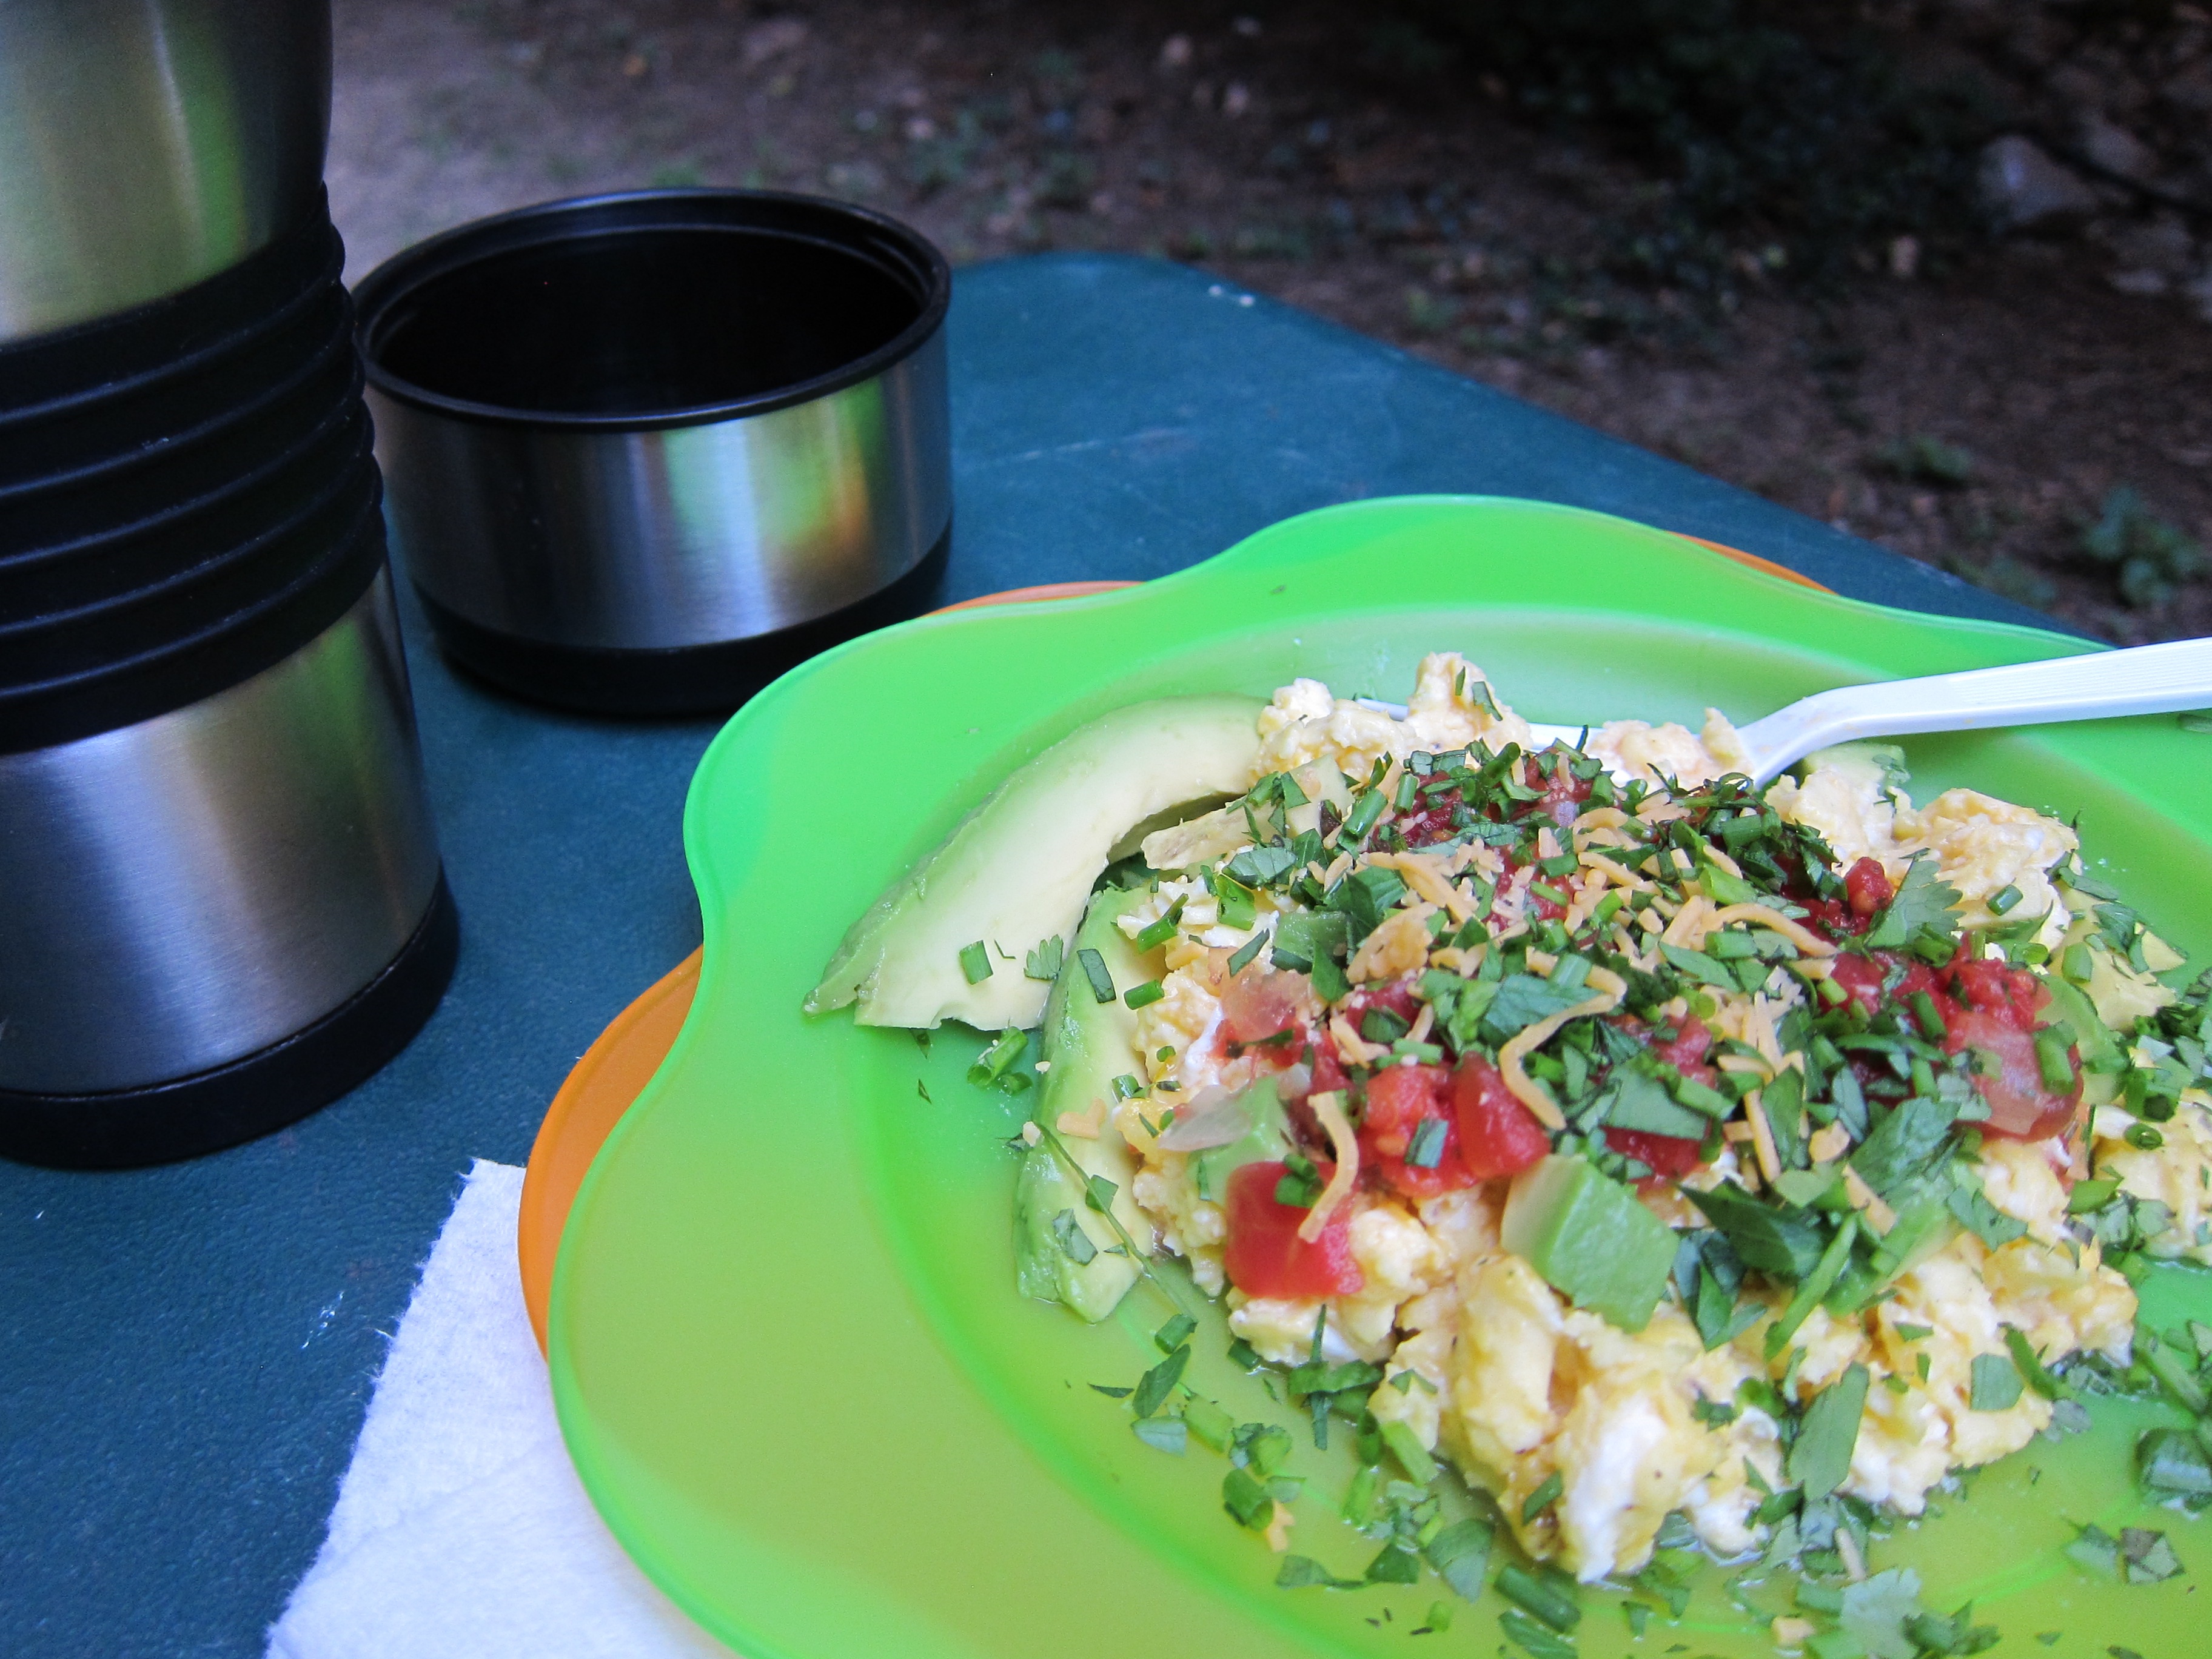
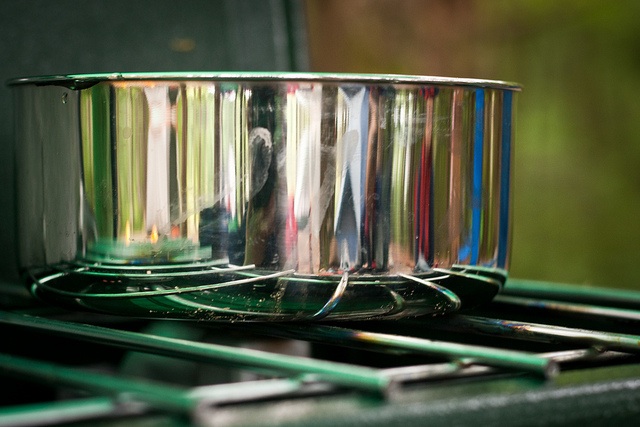
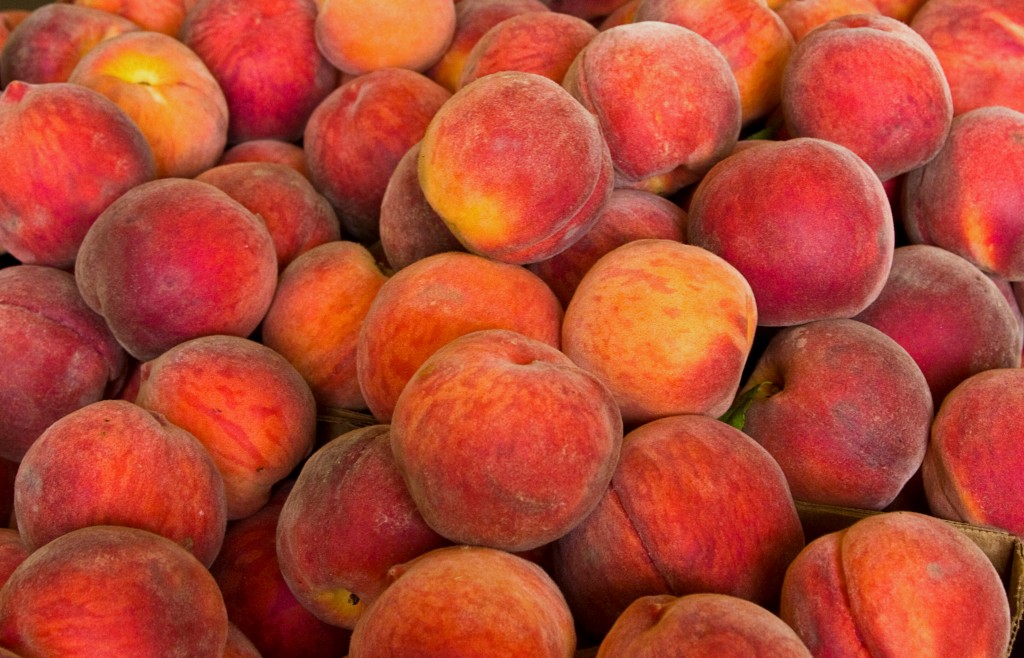
 Thanks to Liz West, who goes by the moniker “Muffet” on Flickr, for providing our featured image, at left, for shared use.
If you’re hyper-vigilant about what you eat, you know that making food at home is one of the the healthiest steps you can take. Not only do you know exactly what you’re eating, but you can shave a few bucks off your food budget.
Since a lot of store-bought canned fruits are packed with preservatives, corn syrup and other miscellaneous chemicals, my boyfriend and I just embarked on canning fresh peaches for the first time. We were both nervous, since the only real “kitchen” stuff we’ve done together is watching Hell’s Kitchen with Gordon Ramsey on the Food Channel. (Oh — and then there was that little chicken mishap …)
Nonetheless, we were ready to cut fruit, heat jars and streamline this peach canning process by unearthing budget-worthy canning tips online. Based on an exhaustive Google search, we found our inspiration in this article — Water Bath Canning With No Equipment — from Penniless Parenting and another from Pick Your Own’s website. By combining tips from both, we hoped to can peaches on a $30 budget.
On a budget like that, we couldn’t afford to shell out $75 on canning supplies. When it came to obtaining mason jars, Penniless Parenting suggested using recycled commercial jars with pop top covers. <WTE NOTE FOR EATERS: There’s quite a bit of controversy over whether it’s okay to reuse jars or lids. The safety experts say unequivocally NO. When it comes to canning, there’s a lot that go wrong. Really wrong. While WTE can’t tell you what you should do — and are NOT condoning any method here — we do suggest doing research on safe canning practices. Lot’s of research!>
After ransacking the house, we came up empty. In the end, we agreed to buy mini mason jars from World Market for $1.20 instead. I naively bought eight jars when, in reality, we only ended up needing three. Don’t make the same mistake I made — make sure you know how much you’ll need, and save jars when you have them. You can also peruse Craigslist or FreeCycle for jars to use.
Neither of us felt the need to go to Whole Foods, Fresh Market, or Wegmans for peaches either. We have an HMart conveniently located 1 mile from us that is renowned for selling dirt-cheap, high-quality produce. It’s a little-known secret in the DC, Maryland, and Virginia (DMV) area, but most H-Mart stores sell fresh, natural fruit for pennies on the dollar.
That said, my boyfriend and I are not fruit experts. We didn’t know how to decipher which was a ripe or unripe peach. I deduced, based on watching sitcoms like Everybody Loves Raymond, that you are supposed to sniff each peach and suggestively grab at it to test for tenderness. As I sniffed and grabbed each peach, my boyfriend gawked and derided me for being nonplussed. Boys!
Since my boyfriend lives a bachelor lifestyle, and I rarely cook, neither of us had a ladle, tongs, or sugar — all of which the recipe called for. Walmart had everything we needed in a cluttered kitchen aisle. Though it was all affordable, we were still apprehensive about buying a water bath pot, since canning might be a one-time endeavor for us. We decided to use this big, black pot for the process. For preheating the jars, we used a rice cooker.
After shopping, our feet, shoulders and heads were aching. Due to our exhaustion, we misinterpreted a few directions from Pick Your Own’s website. I poured three cups of sugar into the water before it began boiling. The sugar fell to the bottom. The directions said to heat the stove on medium heat and to incrementally pour in the sugar every couple of minutes into boiling water.
After realizing our mistake, we both grew frustrated and didn’t want to can at all. So we stayed up all night watching Freaks and Geeks. We wondered how the Freaks from the show would embark on canning. We joked that after a violent food fight, broken jars would litter the ground, smashed peaches would stain the walls and the freaks would get arrested for disorderly conduct.
 We decided to try again the next day, dividing the instructions in half based on who had the most knowledge. I was tasked with cleaning mason jars with soap and water. Afterward, my boyfriend boiled the jars in his rice cooker. Since we were dealing with glass, he adjusted the temperature dial so it would gradually increase the temperature. A sudden increase in temperature could result in the glass cracking.
I cleaned, peeled, and chopped the peaches into smaller chunks and slipped them into a vat of lemon juice, which prevents browning. I was nervous about the sugar/water mixture since I had flubbed it the day before. It’s an important step because it helps preserve the peaches. Lucky for me, my boyfriend is an Eagle Scout, and said he’d made a sugar mixture in his youth. While I mixed the sugar and water on medium heat in the pot, he let me know how to tell if the sugar dissolved properly. If the sugar gathered at the bottom, it meant we weren’t doing it correctly.
The mixture was a success! We were finally able to pour the peaches into the hot sugar mixture.
When the jars and lids were heated thoroughly in the rice cooker, I donned mitts and used a ladle to pour the heated peach mixture into each jar. Then we put the heated lids on the jars and sealed them as tightly as we could while still wearing the mitts. Since the jars were wider than the open tongs when my petite fingers held them, I tasked my boyfriend with using the tongs to pick up and place each jar into the pot with the towel on the bottom.
According to Water Bath Canning with No Equipment, if you didn’t have a can rack, 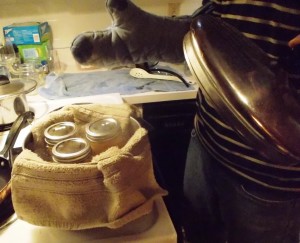 you can use a towel. With the towel on the bottom of the pot, the glass jars wouldn’t be as close to the heating element from the stove.
We measured how many jars could fit into our pot, and were fortunate that three jars fit, since we only had enough peaches for three. The pot had to be fully covered to trap the heat. Also, the water level in the pot was supposed to cover the jars completely, but only came up to the bottom of the lids.
Sadly, that was our big mistake. The jars didn’t seal properly, which means NOT SAFE to store. When you can properly, the peaches are supposed to have a shelf life of 12-18 months. But, without proper seals, we figured ours peaches had only days in them. So we seized the moment and ate them right away. The peaches had a fresh taste and the mixture wasn’t thick like it is with other canned peach products.
Failure is never pretty! For the future, we now know what not to do. To help you along, aside from the links above, here are some other great resources you can turn to when canning … and canning cheap. And please, please, do your homework before you start. Improperly canned foods are dangerous. It may be a funny word, but Botulism is no joke.
- 6 Secrets of Hot Water Bath Canning You May Not Know
- A Beginners Guide To Canning
- Canning For Beginners: Applesauce
- Canning CAN Be Cheap
Enjoy!
 Summer is winding down as we ease our way into fall. For some, that can be bittersweet. The end of beach season, kids going back to school, cooler temperatures – these aren’t bad things, necessarily, just not so fun. The best thing to do is to focus on the positive.
 Most of you Eaters out there have been to one. Before, during or after a game, imagine a parking lot packed full of parked cars and trucks, opened up in the back (hence the “tailgate”) and people milling about everywhere. It’s about grilling, drinking, and bonding with other fans. Games, like
 Bacon Wrapped, Jalapeno and Cheese Stuffed Shrimp