 My boyfriend Will and I have very different cooking styles. I learned to cook in college after joining a vegetarian co-op, and have stuck with the habit of keeping my pantry stocked with quinoa and my fridge with kale. I like superfoods. I never cook with anything I can’t pronounce.
Will, on the other hand, belongs to the modernist cuisine school of cooking. He built a sous vide from scratch, making it programmable with a microcomputer so he could adjust the temperature from his desk at work. He purchased sodium citrate — and a kit of other cooking chemicals — in order to transform hard, oily Manchego into a gooey slab perfect for making grilled cheese.
The point is, when you just want to eat something simple and healthy, it’s hard to cede control of the kitchen to someone who is always looking for a reason to use a blowtorch.
Needless to say, it became clear early on that we have vastly different priorities when it comes to cooking.
When Will cooks, he thinks about:
- Contrasting flavors (salty, sweet) and textures
- Interesting cooking methods
- Unique ingredients
I think about:
- Is it healthy? (Vegetarian, mostly vegan, natural ingredients)
- Does it use a variety of colors? (i.e., diverse in nutritional factors)
- Is it cheap?
- Will it reheat well if I split it into multiple meals?
When WTE asked me to guest post, I invited Will to submit a recipe for butternut squash because I was curious to see what he’d come up with. My approach to cooking butternut squash is to roast it in the oven and add it to a stew — the first dish I ever learned to cook. It’s incredibly easy, but also unattractive, and therefore nothing Will would ever make for himself.
So, what would Will do? Would he pair it with an unusual meat? Would he find a reason to freeze it in liquid nitrogen or sculpt it into the shape of an animal? How many times will he set his ingredients on fire?
Check out our recipes below to find out!
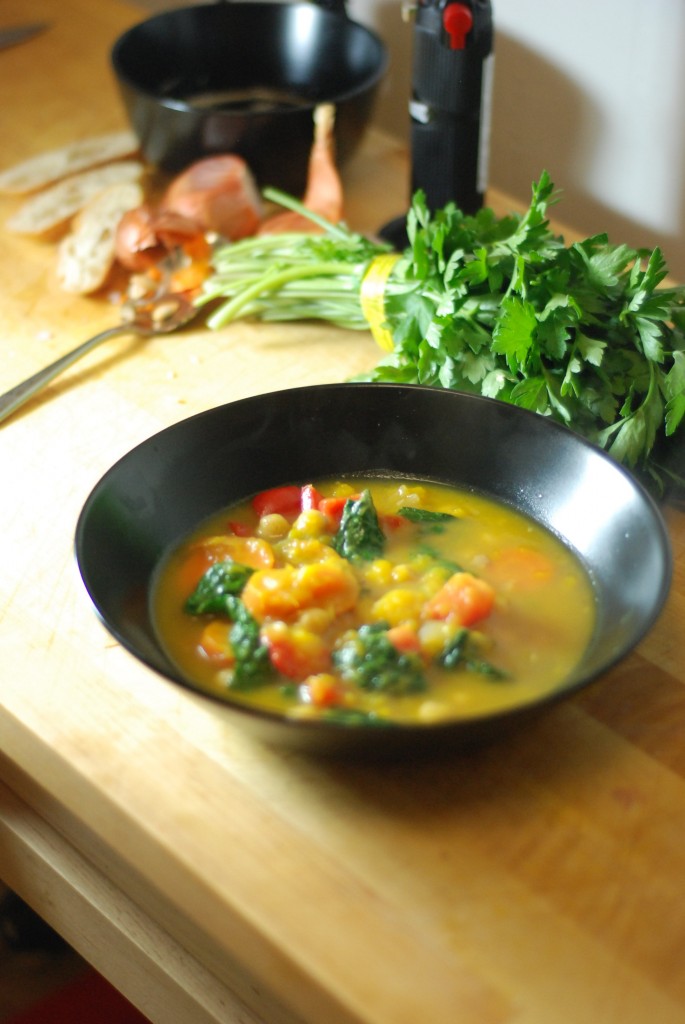
Victoria’s Butternut Squash Stew
1 medium-sized butternut squash
2 tablespoons olive oil, plus 2 tablespoons more for tossing squash cubes
1 medium-sized red onion, diced
1 inch ginger, minced
4 cloves garlic, minced
4 cups of vegetable broth (I used 4 cups water and 2 bouillon cubes)
1 red pepper, diced
2 medium carrots, sliced into 1/4-inch thick coins
1 14-ounce can of chickpeas
1 bunch kale, cut into 2-inch ribbons
Salt and pepper, to tastePreheat oven to 400 degrees. Peel and cut squash into 1-inch squares. Toss in olive oil to coat and roast in the oven for 25 minutes.
Heat 2 tablespoons of olive oil for 30 seconds, then add diced onion. Sautee onions until translucent. Add minced ginger, garlic and carrot coins to the onion mix. Sautee together for three minutes.
Add 4 cups broth to onion mix. Bring to boil and simmer until the squash in the oven is cooked through. Add squash to the simmering broth and mash until mostly smooth (some chunks of squash are okay). Simmer for five minutes.
Add chickpeas and red peppers. Simmer for another three to five minutes. Add kale strips and simmer until wilted, about one or two minutes.
Season with salt and pepper to taste. Enjoy!
Will’s Butternut Squash Bruschetta with Paneer
You will need the following tools: sous vide (Will built his own, but you can buy them, too; here are some reviews), blowtorch or long match (for lighting sauces on fire) and a plastic syringe (for applying sauce, available at hardware store).
1 loaf French bread
1/4 medium butternut squash
2 teaspoons olive oil
1 tablespoon chili oil
1/4 teaspoon glycerin flakes
3 tablespoons balsamic vinegar
1 tablespoon Worcestershire sauce
1/2 cup bourbon
1/8 teaspoon xanthan gum
1/4 cup cold water
1 shallot
2 tablespoons peanut oil
1 package of paneer (Indian cheese. Find it at Whole Foods or an Asian market)
1 tablespoon soy sauce
5 strips bacon
1 bunch Italian parsley (for garnish)Cut the bread thinly, about 8 mm thick [author’s note: 8 mm equals the width of a pinky nail] let sit on the countertop to dry for an hour.
Warm sous vide bath to 160 degrees [Author’s note: Will is a scientist who grew up in Belgium. This was originally in Celcius. You’re welcome.] Cut butternut squash into long triangles the length of a finger and put in a Ziploc bag with sea salt and olive oil. Try to suck out the extra air before you finish sealing the bag. When water bath is hot, cook for 45 minutes.
While squash is in the bath, make the sauce. Warm chili oil in a saucepan over medium heat. Once heated, dissolve glycerin flakes in the oil, whisking together to make sure they’re totally dissolved (the glycerin acts as an emulsifier to allow the oil and other ingredients to mix completely without separating). Whisk in balsamic vinegar, Worcestershire sauce and half the bourbon (1/4 cup.). Set the mixture on fire with a blowtorch or long match to burn off the alcohol in the bourbon. This also toasts the vinegar a bit and gives it a nice smoky flavor. You shouldn’t expect a big flame here (not like the one coming later …)
Mix xanthan gum with cold water and stir until dissolved completely. The result should be about the consistency of liquid soap (if it’s not, add more xanthan to make thicker or more water to make thinner). Add this, a tablespoon at a time, to your sauce, mixing after each tablespoon. Stop when it reaches a thin consistency that clings to a spoon. Salt to taste. Let it cool and then load it into a plastic syringe.
The rest is much easier, I promise! Look, this step is just one sentence: Mince a shallot; sautee shallot in peanut oil and set aside.
Cut paneer into long strips the same length as the squash triangles — about the length of a finger — and fry in a dry pan (paneer is a dense, Indian cheese that develops a crust instead of melting when heated) over medium-high heat. When the pan comes back up to temperature, pour about a tablespoon of soy sauce into the pan to give the paneer a nice salty glaze (alternatively, you can substitute halloumi for paneer and skip the soy sauce.) Pour about a 1/4 cup of bourbon over the cheese after the soy has boiled off and again set it on fire. Expect a big flame here — maybe two feet high* — that should burn out in about 30 seconds. Set aside.
Skip this step for a vegetarian dish: Fry a few strips of bacon, then blot oil with paper towel to dry. Let them cool a bit and dry out so they end up crispy.
You’re done with the prep! Now you just need to assemble.
Put the paneer and a wedge of butternut on the bread. Light your blowtorch and blacken the edges of the butternut, moving constantly and making sure the inner cone of the flame stays about an inch away from the food; you’ll toast the bread a bit while you’re doing this, which is good.
Make a zig-zag pattern over that with the sauce, then put down a strip of bacon and a small spoonful of shallots, then garnish with Italian parsley. For bonus points, give the shallots a little blast with the blowtorch to give them black edges; you can’t really taste the difference, but it makes them look beautiful.
Eat!
*Disclaimer: Be careful! A two-foot high flame is pretty big — make sure to clear away anything that could catch fire unintentionally (including your hair and clothes) and when you light the flame, stand as far away as possible with your face turned away slightly.
You can read more from Victoria and Will at dailychao.tumblr.com, eats.haldean.org and on Twitter at @chaotweets, @haldean.
 When you think of jam or jelly, a ton of different things are going on in your mind, no doubt. Neurons from different parts of your brain are conjuring images, tastes, smells, textures — even emotions and memories — associated with what you understand historically as “jelly.”
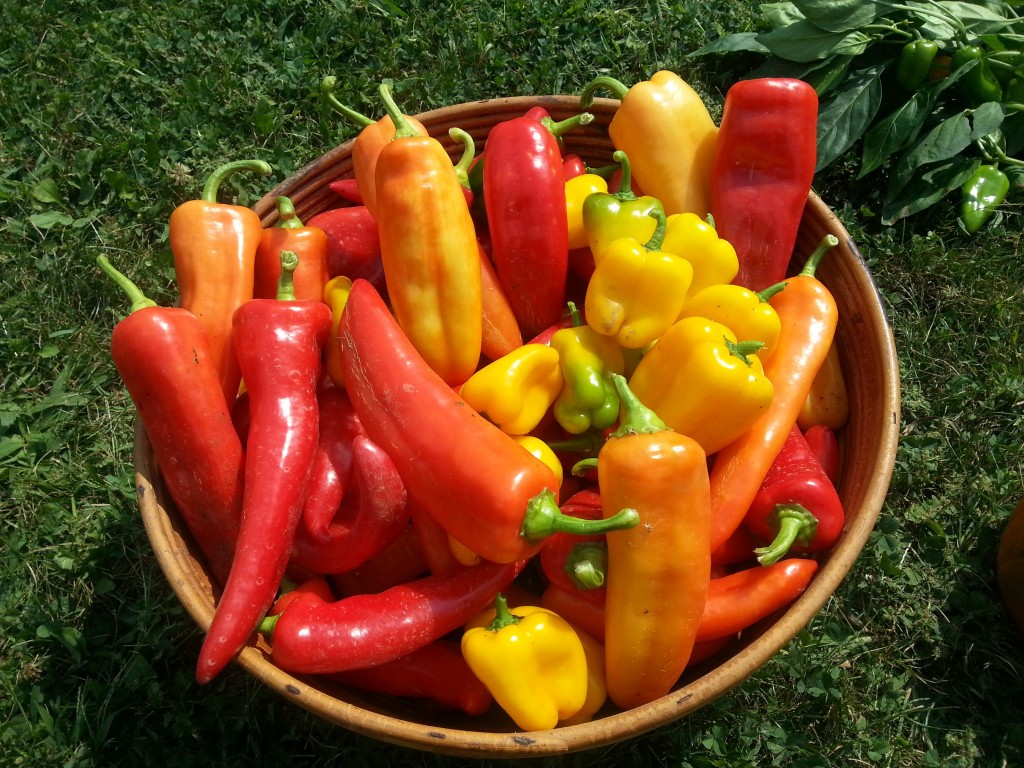
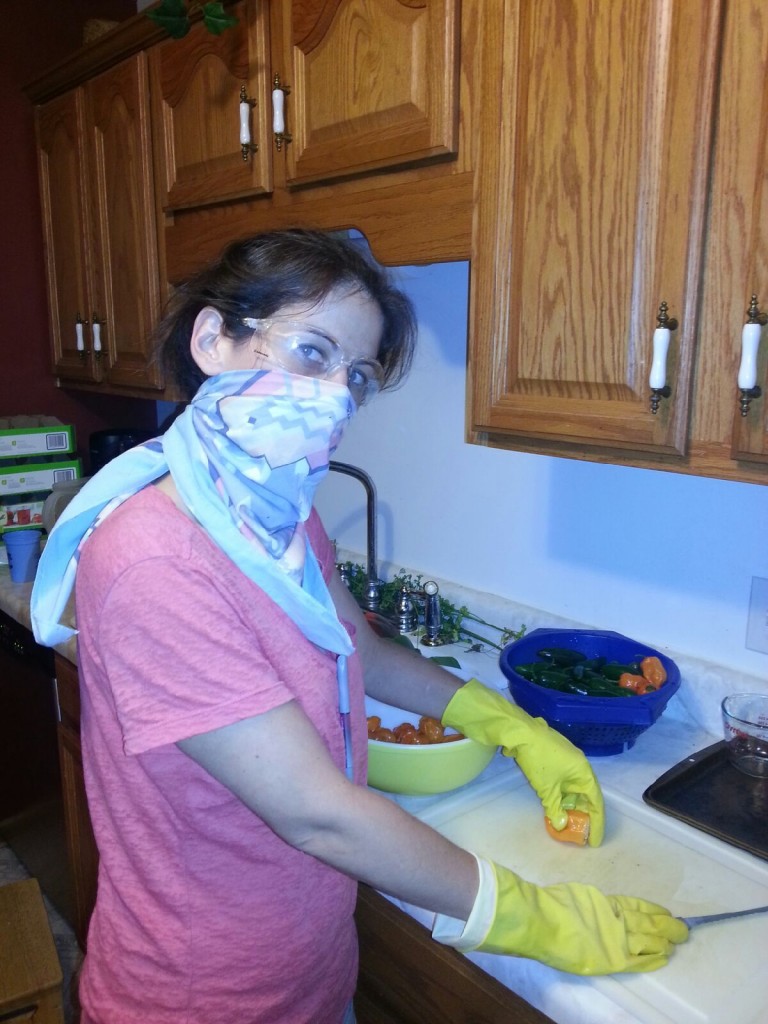
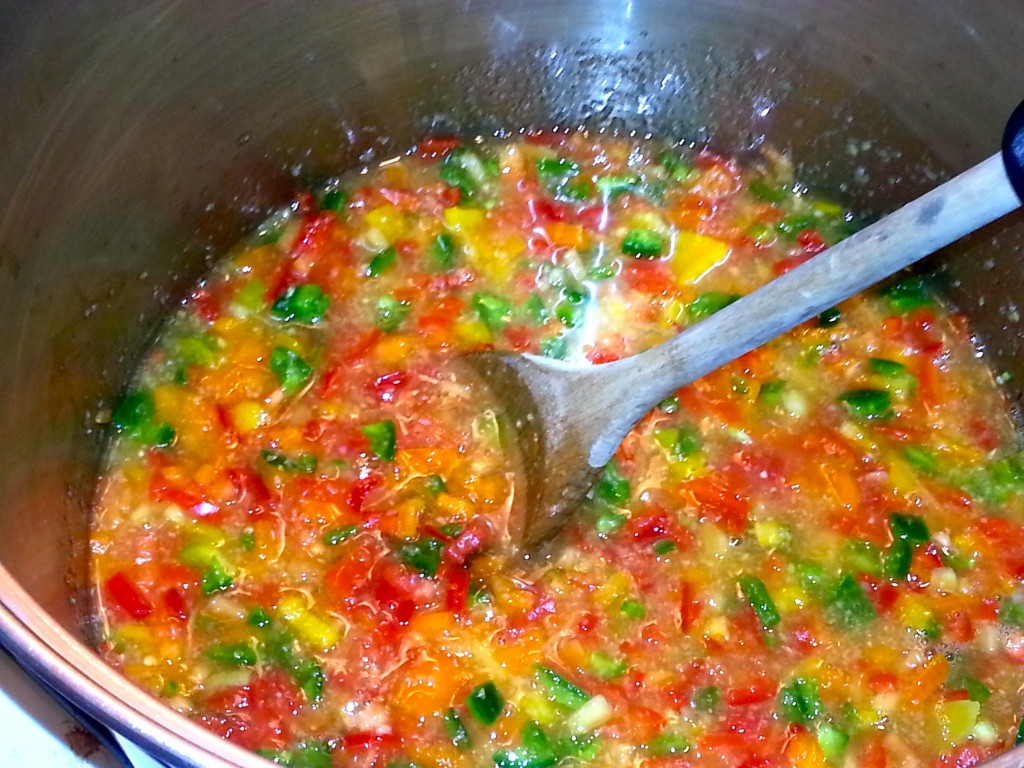 For all its complex flavor, pepper jelly is actually quite easy to make. Each year, I plan a different “edition” or “vintage.” Sometimes I use one type of pepper, other years up to six. For the last couple of years I’ve found that adding complementary fruits to the mix makes a huge impact on the complexity. This year, for example, I didn’t add any bell peppers at all, but relied on mangoes, pineapples and apricots for some of the flavors.
 The base recipe calls for 4 cups of peppers, but this is the fun part that you should experiment with. I cut the amount of peppers down to 3 cups and use 1 cup of fruit puree in place of the 4th cup of peppers.
 A few tips to make the canning process a bit easier: Always clean and organize your workspace prior to starting. There is nothing worse than getting ready to put your product into jars only to realize that you’ve forgotten something vital like a pair of tongs to grab the lids out of boiling water. Try to visualize the process itself especially if you are new to canning. Where are you going to be getting the hot jars from, lids, rings? Where will you be putting your finished product?