There are two scenes that everyone remembers from When Harry Met Sally – the fake orgasm scene at Katz’s Delicatessen, and this scene, where Harry informs Sally in a hilarious eastern European accent, “I have decided that for the rest of the day, we are going to talk like thees.”
Please, to repeat after me:
“Waiter, there is too much pepper on my paprikash, but I would be proud to partake of your pecan pie.”
Now, since I’m a much better cook than a baker, I’ll leave the pecan pie to my fellow foodies and my husband’s grandmother in Fort Worth. But let’s talk about that paprikash, shall we?
 Paprikash, correctly spelled paprikás, is probably the most well-known Hungarian food after gulyás. That’s the hearty herdsman’s soup that, after its arrival in America in the early 20th century, became known as goulash and evolved into something resembling Hamburger Helper (but that’s a whole ‘nother blog post!)
Paprikás is a classic Hungarian dish of stewed chicken or boneless veal in a creamy, paprika-rich sauce. It is most often served with spaetzle–like dumplings called nokedli or galuska, and a little uborkasaláta (cucumber salad) on the side.
Full disclosure: I’m a first-generation Hungarian-American, born and raised in central New Jersey. There’s still a very active Hungarian community there, as seen in “Pigs Blood and Paprikash” of Andrew Zimmern’s Bizarre Foods America.
If you’ve ever seen My Big Fat Greek Wedding, just replace Greek with Hungarian and that was my childhood. I went to public school during the week, but weekends were all Hungarian, all the time. On Friday nights I had Hungarian Scout meetings and folk dance rehearsals. Saturday mornings meant Hungarian school, and then there was Hungarian Sunday school and church services on Sundays.
I left New Jersey to attend college and seek my fortune, and as fate would have it, married a non-Hungarian guy from Texas. When he saw that movie, he immediately identified with the culture shock that Toula’s non-Greek husband experienced. My family may not be as big as Toula’s, but we can be loud and opinionated, and good food is central to our life.
“Hey Chad, are you hungry?”
“No thanks, I just ate.”
“OK, I make you something!”
I was raised on my mom’s cooking. It’s her húsleves, which my kids call “Mama soup,” and her chicken paprikás with nokedli that I’d want for my last meal on this earth. Much of Hungarian cuisine can be described as hearty, rib-sticking comfort food, which is why I mainly cook it in the fall and winter. But anytime is a good time for paprikás.
Chicken Paprikás
Like most Hungarian 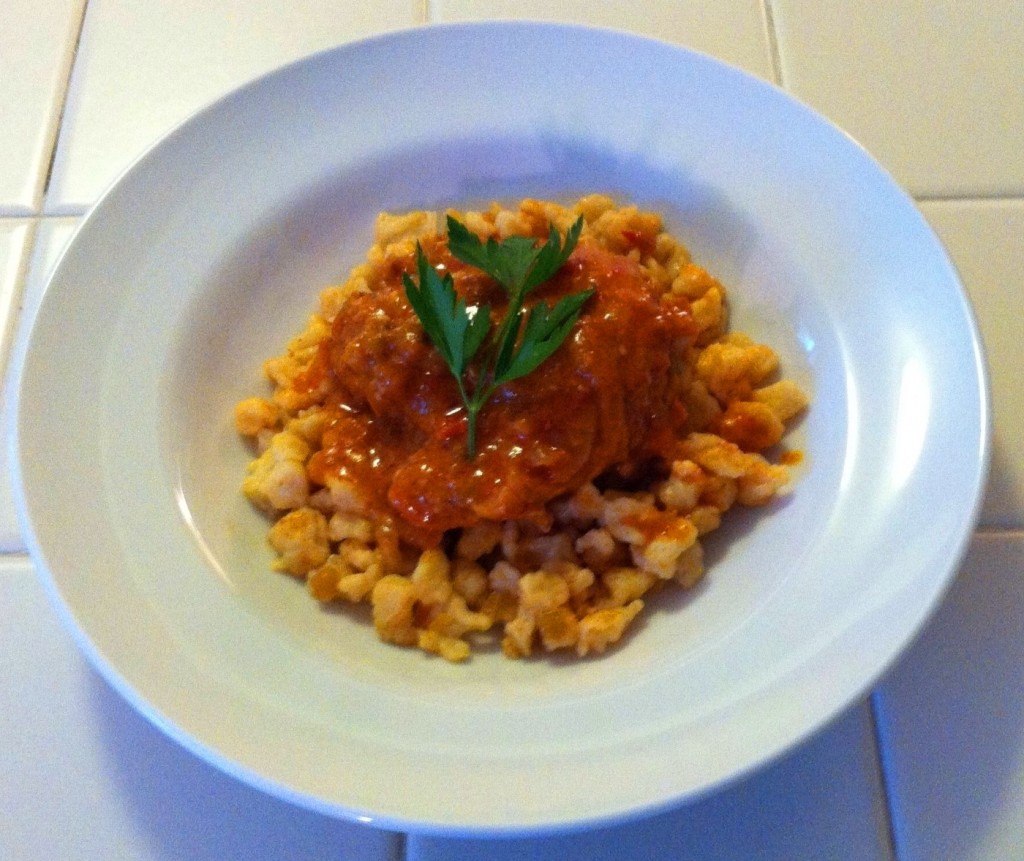 mothers and grandmothers, my mom doesn’t use recipes (except when baking.) I learned to make the paprikás featured here and other Hungarian dishes by watching her cook – all by eye and hand: a little of this, a bit of that and cook until done! Over the years I’ve also incorporated what I’ve learned from Hungarian cookbooks and food writers, like George Lang, Susan Derecskey, Carolyn Bánfalvi, Lajos Mari and others.
Like most Hungarian food, paprikás contains just a few simple ingredients, but quality and technique are everything. For example, forget that ancient canister of McCormick’s paprika that you use for sprinkling on deviled eggs. Smoked paprika, while wonderful, won’t do either. You need the real thing. Pride of Szeged and Kalocsa are fine, and they are available in most supermarkets, but consider ordering from Penzey’s or The Spice House. For a good primer on Hungarian paprika, click here. You’ll see other tips below.
2 tablespoons lard or oil (Lard if you’re old-school, oil if you’re health conscious)
2 large yellow onions
2 to 3 tablespoons of fresh, sweet Hungarian paprika (Yes, you read that right! 2 to 3 tablespoons!)
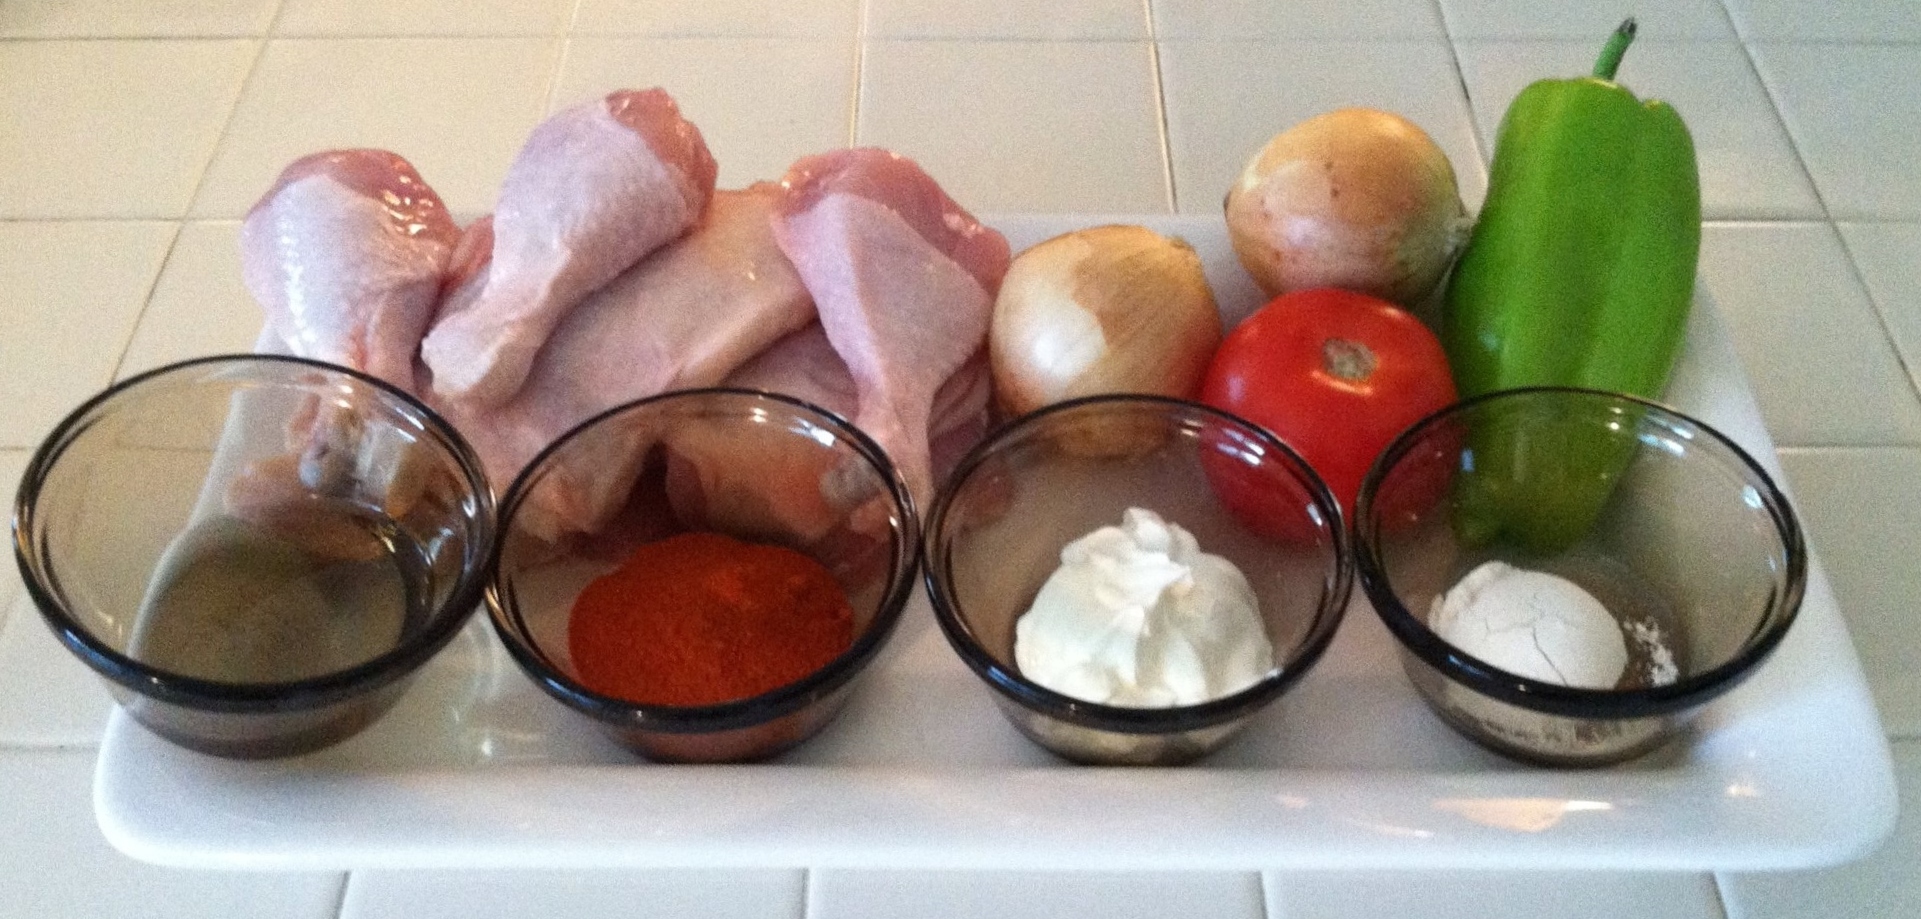
2 pounds of chicken pieces, preferably legs and thighs, bone-in and skin-on (You really need the bones and skin for flavor and consistency, but feel free to remove before serving. Free-range, organic chicken has the best flavor.)
Salt, to taste
1 tomato, as red and ripe as possible
1 pepper (Green bell peppers don’t have the right flavor or texture. For authenticity, use sweet Hungarian white peppers, which are often available at farmer’s markets in the summer. If you can’t find them, pale green Italian frying peppers or Cubanelles make a fine substitute.)
1 tablespoon flour
3 to 4 tablespoons sour cream (Full-fat is preferred. Some versions of paprikás use heavy cream for thickening, but this is the peasant version, á la my mom.)
Chop the onions, tomato and green pepper as finely as possible. Heat the lard or oil in a heavy pot with a tight-fitting lid. Throw the onions into the pot, stir well and sauté slowly until the 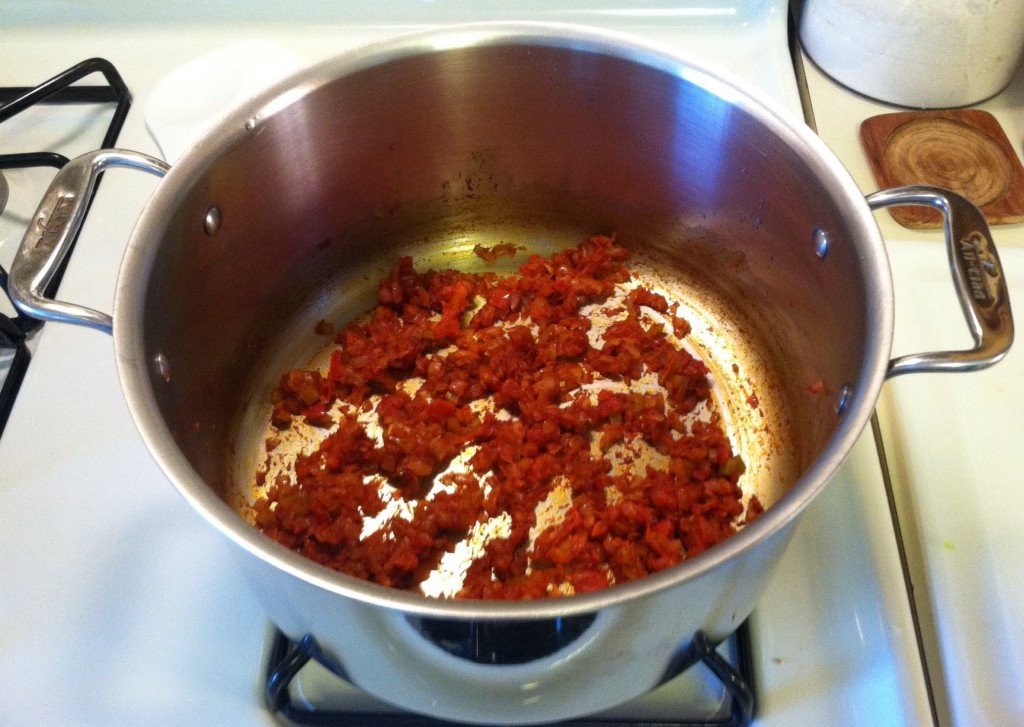 onions are very soft and translucent, but don’t brown them! You want them to become so soft that their presence won’t be discernible in the finished dish (that’s one of the secrets to Hungarian cooking – sautéing the onions slowly so that they almost melt and give body to the sauce. Some cooks even cover the pot while the onions cook to ensure that they don’t brown.)
Add the chopped tomato and pepper to the onions, and sauté until softened. Now remove the pan from the heat and stir in the paprika. It’s very important that you do this off the heat, otherwise the high sugar content of good Hungarian paprika will cause it to burn and become bitter. Season with salt to taste.
Return the pot to the heat; add the chicken and about 1/2 cup of water and sear on medium-high for about 5 or 10 minutes, turning as needed. It won’t brown, but that “raw” color will disappear. Reduce heat to low, cover the pot and simmer until tender and cooked through — about 40 minutes — adding a bit more water if necessary. Remove the chicken from the pot and keep covered in a warm place while you finish the sauce.
Whisk the flour into the sour cream until smooth, then whisk into the sauce until it thickens. Do not boil the sauce once you’ve added the sour cream! The sauce should not be too thick, but more a consistency that’s just a bit thicker than heavy cream. Return the chicken to the pot and coat with the sauce.
Serve hot over spaetzle, nokedli (recipe below), or wide egg noodles with cucumber salad (recipe below) on the side, and some good, full-bodied Hungarian red wine. Jóétvágyat (that’s Hungarian for bon appetit)!
Nokedli
While the paprikás is simmering, mix up these little dumplings. If you have a spaetzle maker, this is the time to use it. If not, keep reading! When the paprikás is done, steal a couple of spoonfuls of the sauce before adding the sour cream-flour mixture. You’ll toss it with the finished nokedli to keep them from sticking together. If you’re short on time, as I often am, serve the paprikás over wide egg noodles – it will still be delicious!
3 cups flour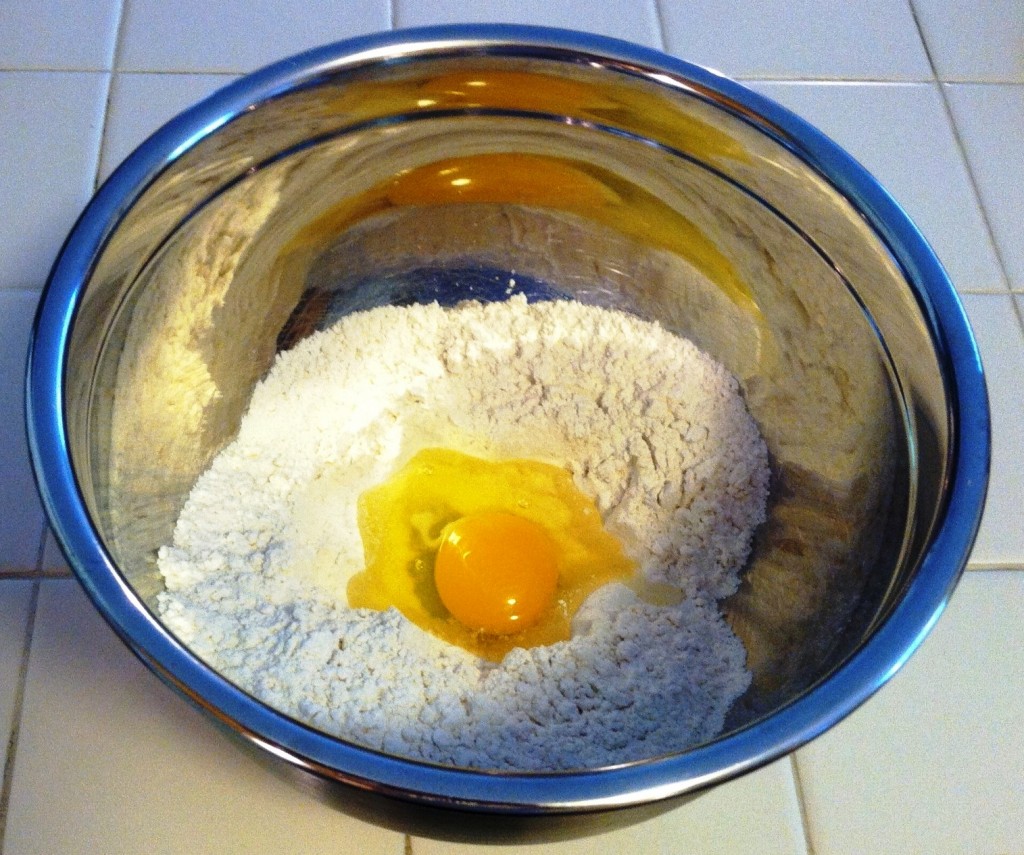
2 teaspoons salt
2 eggs
Water, as needed, to get the right consistency
Combine flour and salt with a wooden spoon in a deep mixing bowl. Make a well in the center and add the eggs. Beat well with the wooden spoon until smooth (this will take some elbow grease – I usually do this standing up, with the bowl tucked in my left arm).
Add water, a little at a time, until the dough is smooth and elastic. It should be thick, but not stiff. Cover the bowl and let the batter relax for about 10 minutes.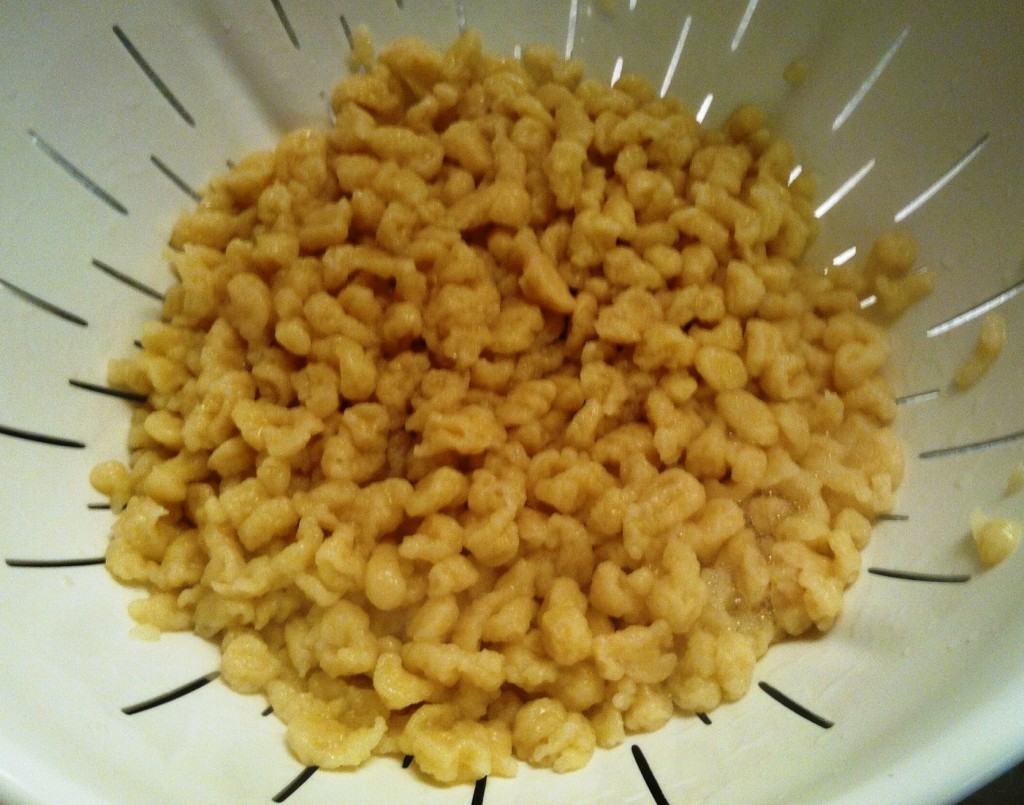
Bring a large pot of salted water to a boil. If you’re using a spaetzle maker, put the batter into the hopper and slide it back and forth so the dumplings drop into the boiling water. Alternatively, put the batter into a colander with large holes and agitate the batter with the wooden spoon to push the dumplings through the holes. If you want to go medieval, tear off small bits of the batter with a spoon and drop them into the boiling water. Or put the batter onto a small cutting board and flick small pieces into the water with a sharp knife.
The nokedli are done when they float to the top of the water. Drain them, transfer them to a bowl, and toss them with a little of the reserved paprikás sauce. Serve topped with the paprikás.
Uborkasaláta (cucumber salad)
Hungarians are an opinionated bunch. Start a conversation about politics, food or just about any other topic, and just see what happens! Uborkasaláta is a perfect example: Should it be on the sweet side, or more sour? Should it have thin-sliced onions or peppers mixed in? What about garlic? Sour cream? Every Hungarian has a different way with uborkasaláta, so feel free to improvise! Everything is optional except the cucumbers, salt, water, sugar and vinegar.
3 to 4 Kirby cucumbers or 1 large English cucumber (I find these work better than the typical waxy cucumbers.)
3/4 teaspoon to 1 teaspoon coarse salt
1 small clove fresh garlic, minced (Garlic is a must for me!)
2 to 3 thin slices of white or red onion, separated into rings
1 small Hungarian white pepper or Cubanelle pepper, thinly sliced into rings
1 cup water
Sugar
3 tablespoons white vinegar (I’ve also used rice wine vinegar – definitely not Hungarian, but very good!)
3/4 teaspoon table salt
Sour cream, for garnish
Sweet Hungarian paprika, for garnish
Peel the cucumbers, or not, according to your preference. Slice them very thinly, using a mandoline or a sharp knife. Place them in a bowl and sprinkle with coarse salt and allow to sit for about 15 minutes. The salt will draw out the liquid and soften the cucumbers. Drain off the accumulated liquid, lightly squeezing the cucumbers with your hands before transferring to a serving dish. Add the garlic, onion and/or pepper, if using.
Make your dressing by combining the water, sugar, vinegar, and salt. Start with a cup of water, a teaspoon of sugar, about three tablespoons of vinegar and around 3/4 teaspoon of salt. Stir well, taste, and adjust the sugar, vinegar and salt to your liking. The trick is to keep tasting until it’s right. When you are happy with it, pour the dressing over the cucumbers, let the salad sit 30 minutes to an hour.
Just before serving, garnish with sour cream and/or paprika, if using. Serve alongside the paprikás.

 evening at home.
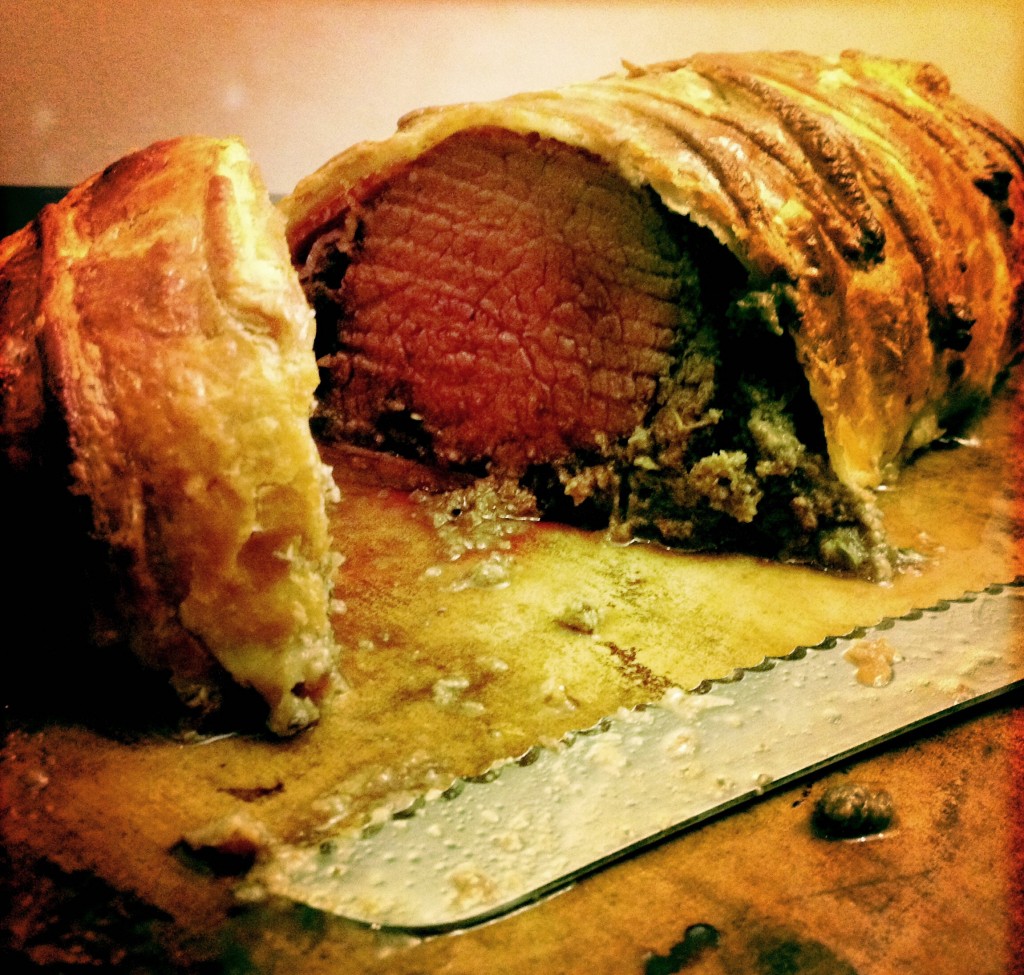 There’s just something inherently lovable about Julia Child. Perhaps it was the voice, or her statuesque presence and personality. I like to think that it’s because she was never afraid to screw up in the kitchen.
 funny thing: Our guests actually loved the meal. Several had seconds. It wasn’t until they had finished their first plate that I confessed my error. My husband insists to this day that nobody would have known if I had just lied. In Julia’s words, it was a, “Remember, you’re alone in the kitchen,” moment.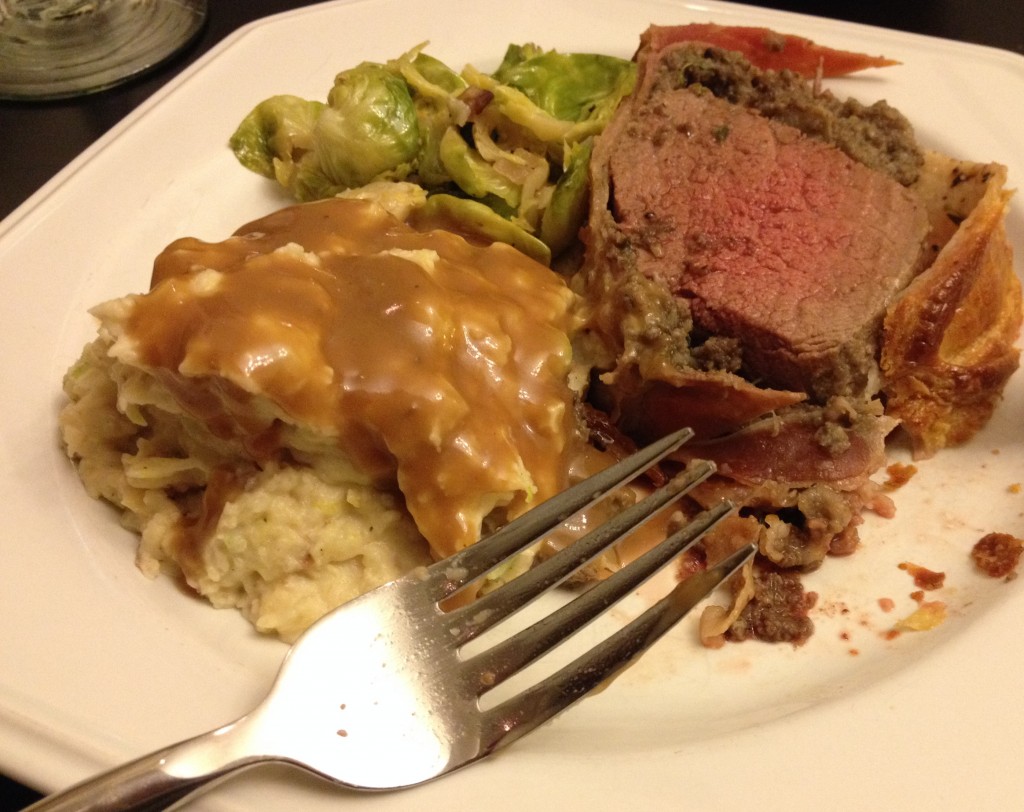
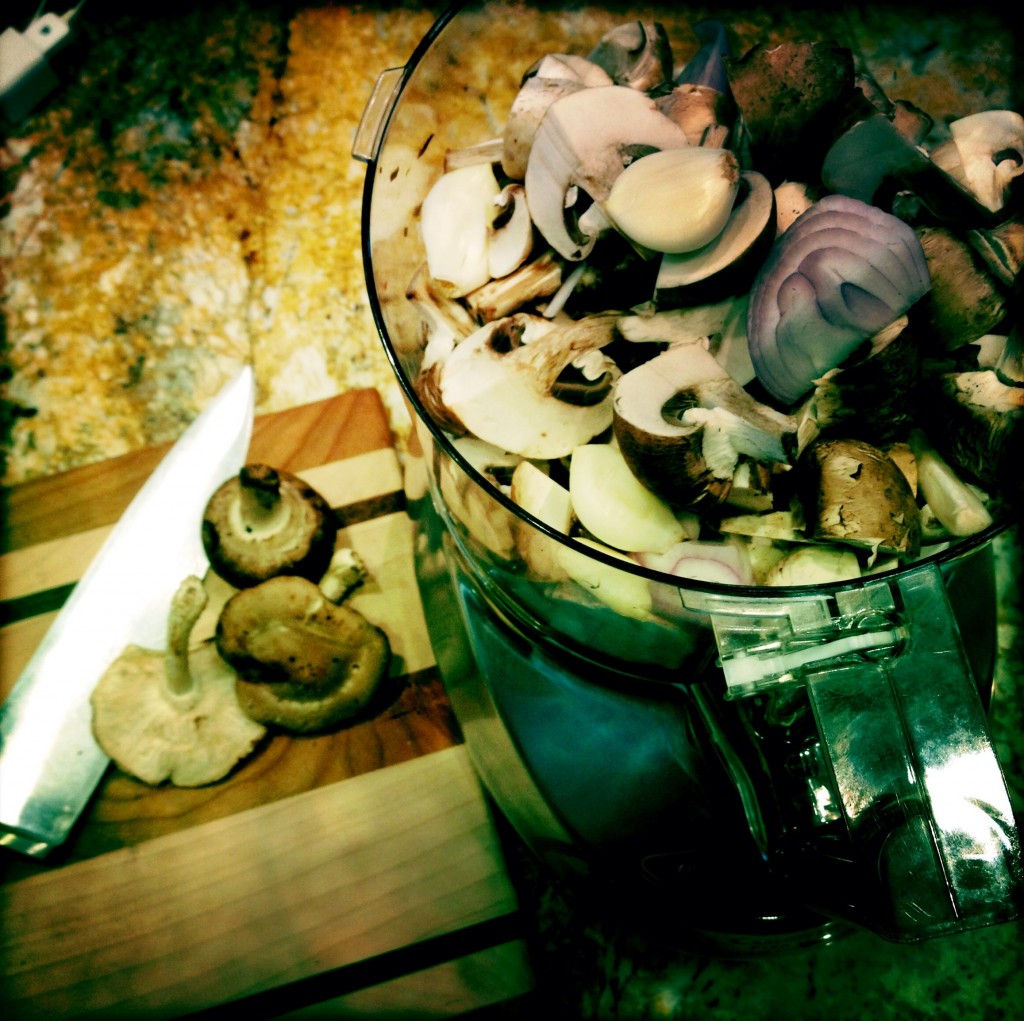 2 pounds mixed mushrooms (I used cremini, shitake and white. If you have to reconstitute any mushrooms, like porcinis, reserve the liquid for the Madeira sauce.)
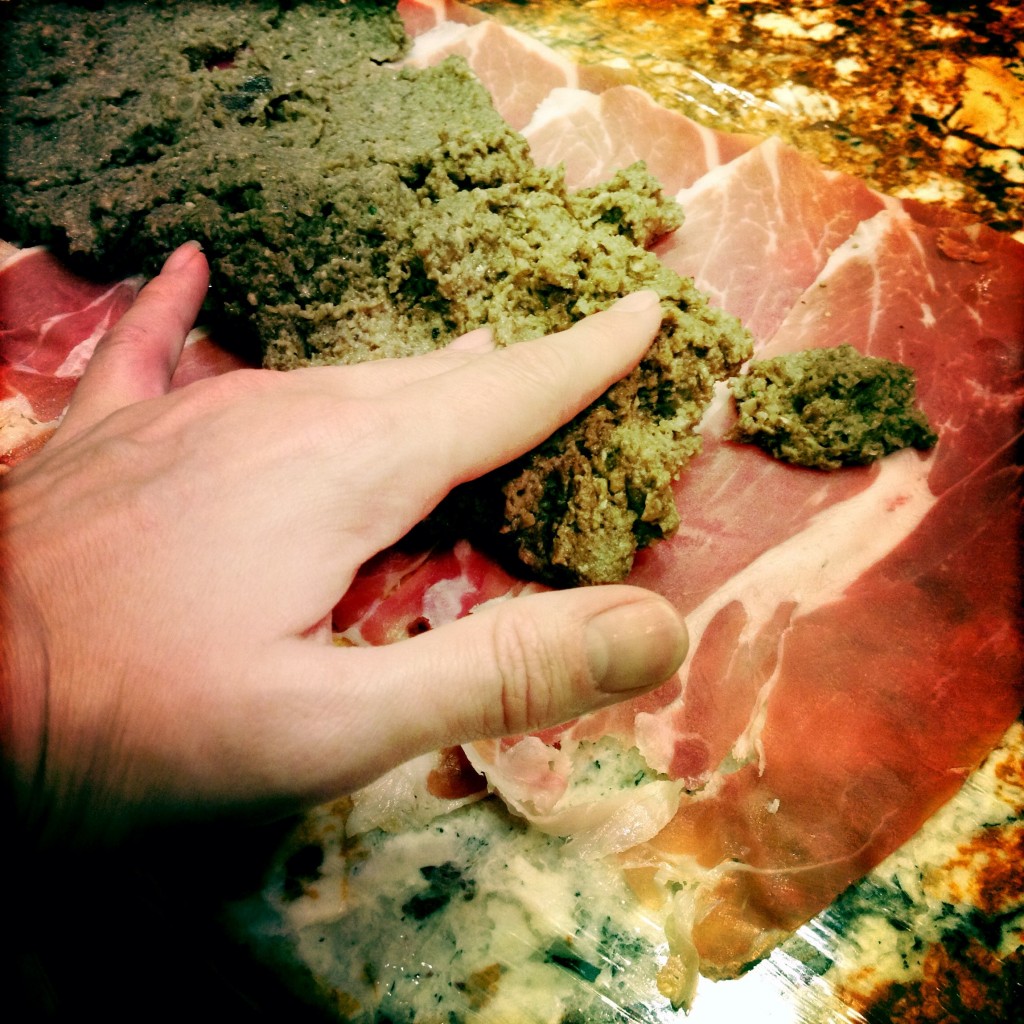 While these items are cooling, take your truffle butter out of the fridge and allow it to come to room temperature as well. If you can’t find truffle butter, you can always make your own by combining shaved/minced fresh or preserved truffles with softened unsalted butter. Just salt to taste! You can also use truffle oil, but the flavor is not as strong. (That said, I used this in place of pate or foie gras, which you may prefer.) Coat the top of the meat evenly with truffle butter.
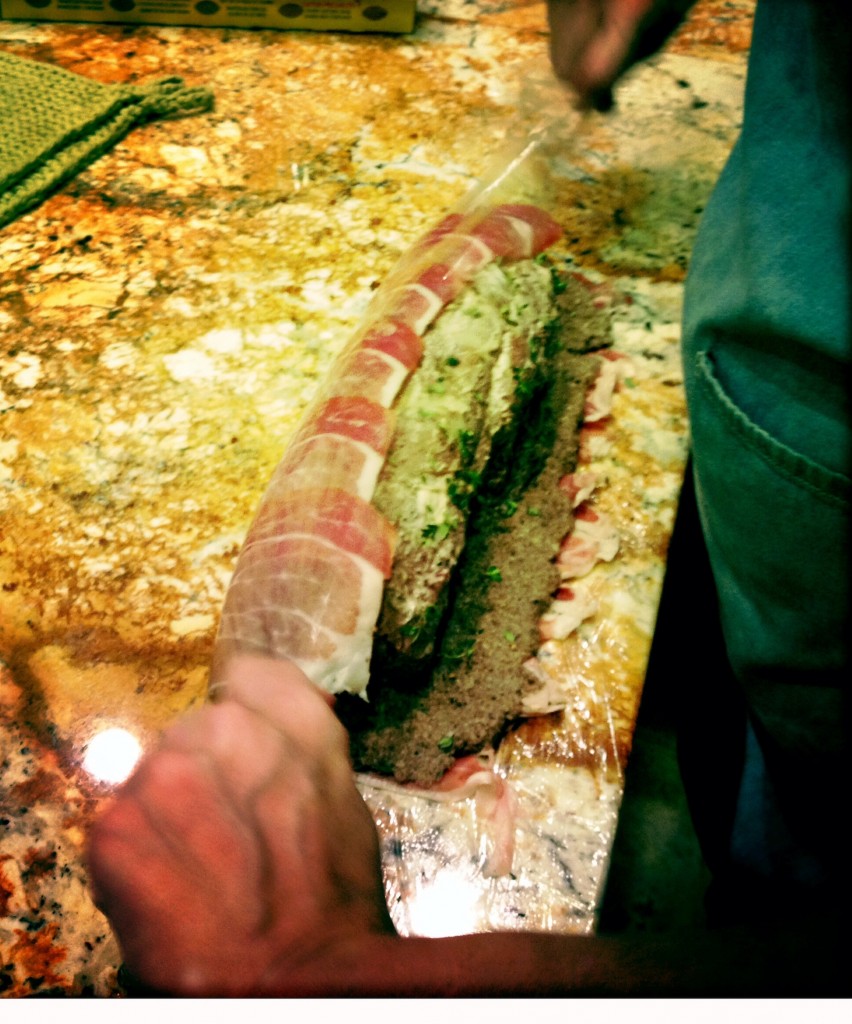 over the top and sprinkle with thyme (or you can incorporate into the duxelles before spreading if that’s easier.) Place the meat with the truffle butter side down in the middle.
 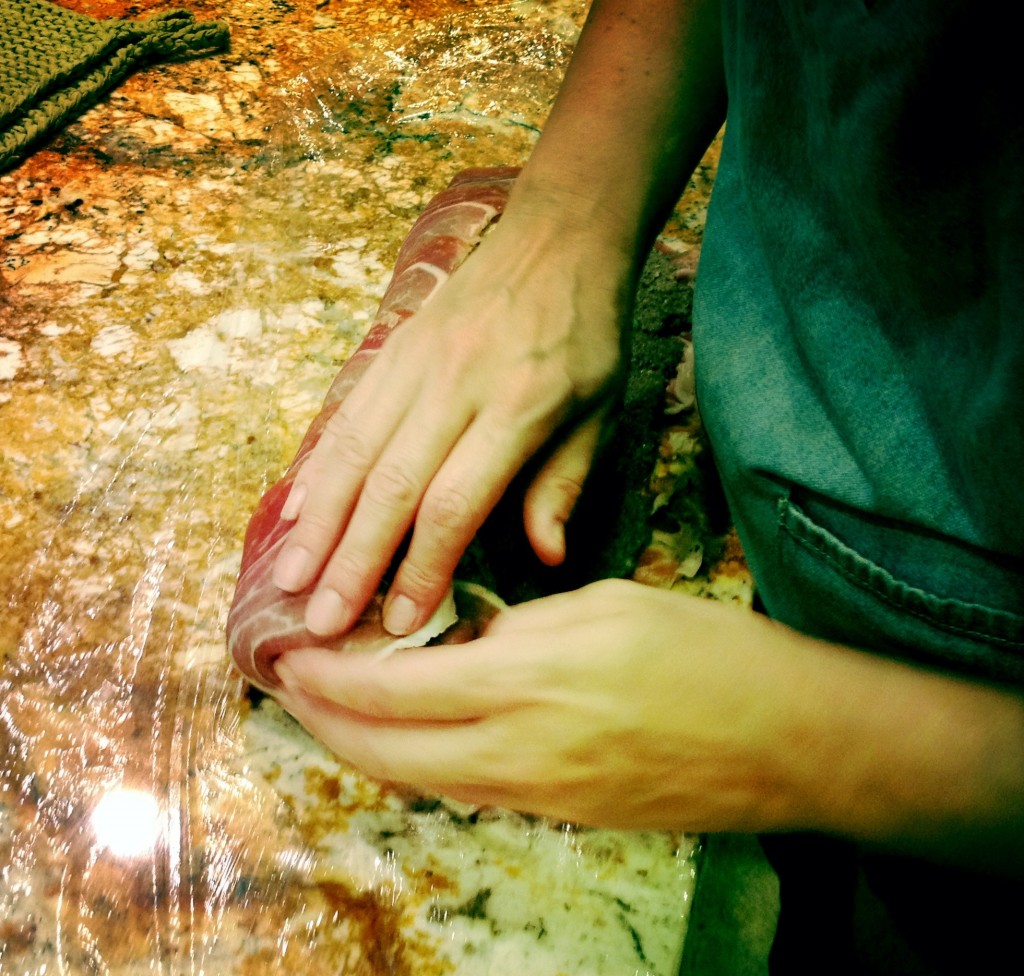 and extend mushroom mixture on sides until it does. My tenderloin was long and skinny, so this wasn’t an issue, but if yours is fatter, it might be. Wrap tightly in the plastic wrap and refrigerate at least 30 minutes.
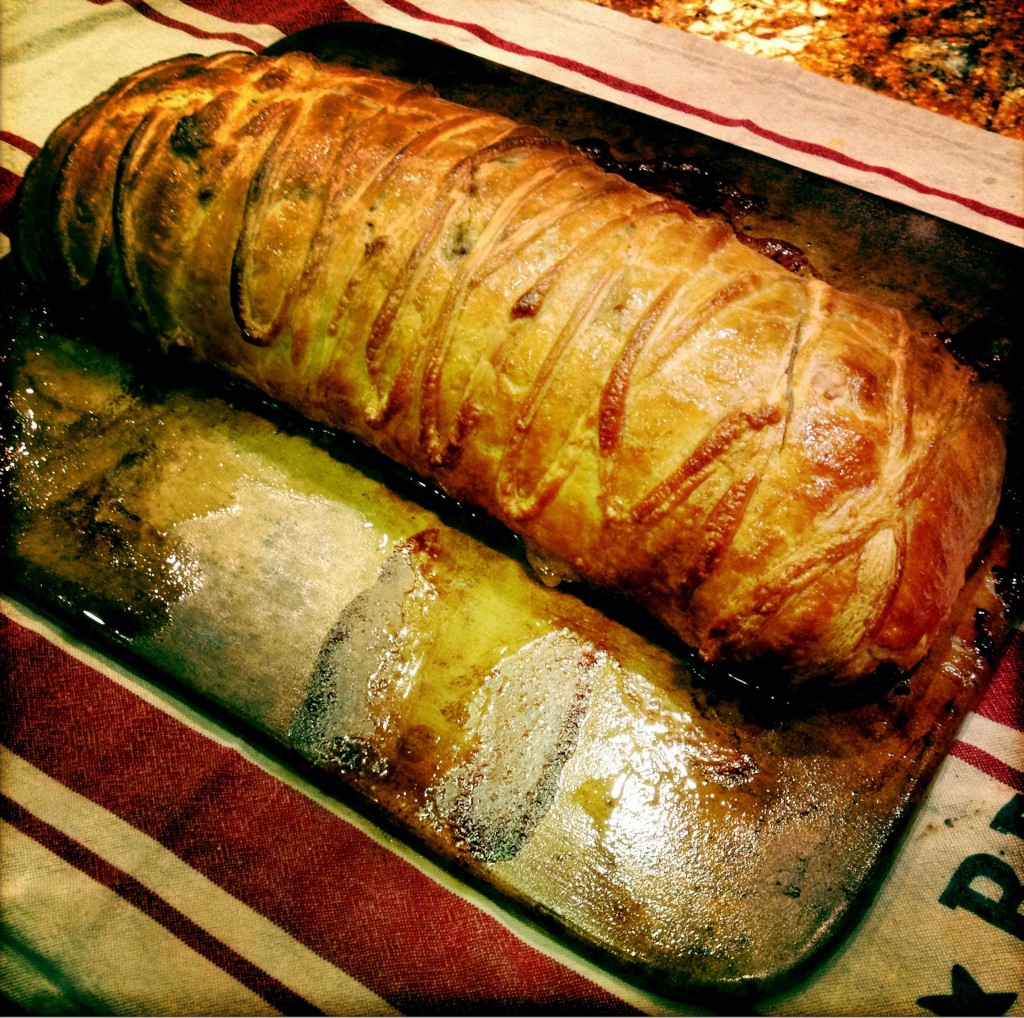
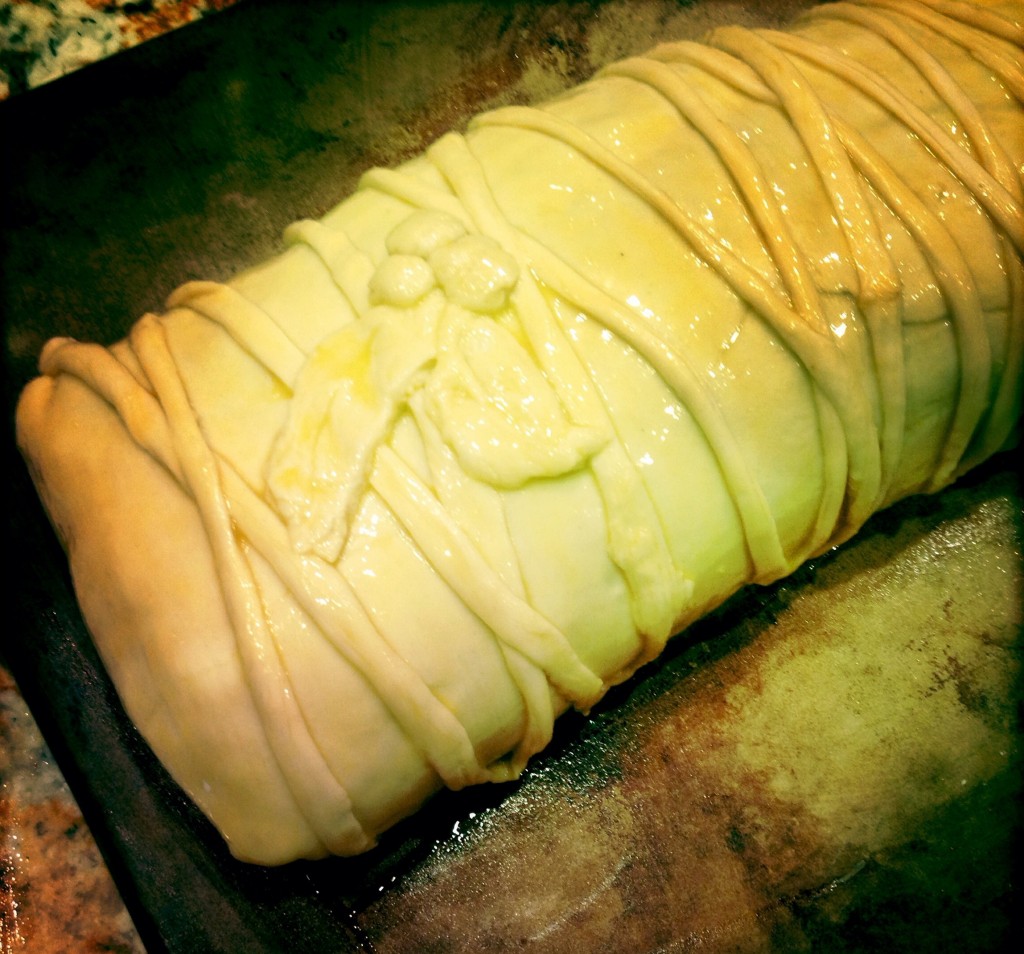
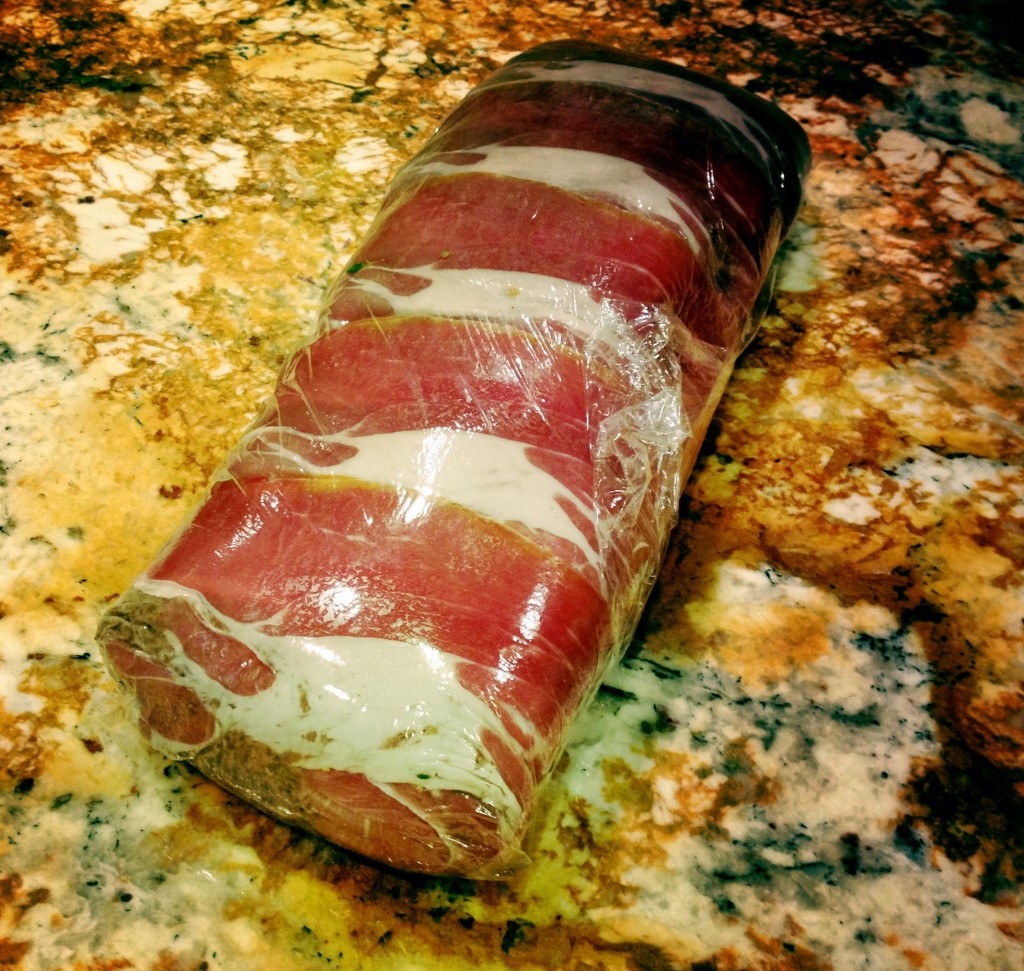 Trim pastry to the size of the meat and return to the baking sheet. Remove tenderloin from refrigerator and discard plastic. Place on top of pastry. Roll out the remaining puff pastry (I had to press two sheets together) to 1/8 to 1/4 thick on a lightly floured surface. Brush the roast with egg and lay the pastry over the meat. Carefully tuck long ends under the sides of the cooked pastry, folding short ends in last. Brush with eggs at any points the pastry touches to bind. You can decorate the top with any leftover pastry if you choose, brushing with egg, then laying pastry over the top. Make some small slits with a pairing knife on the top of the Beef Wellington and brush entire pastry surface with egg before placing in the oven.
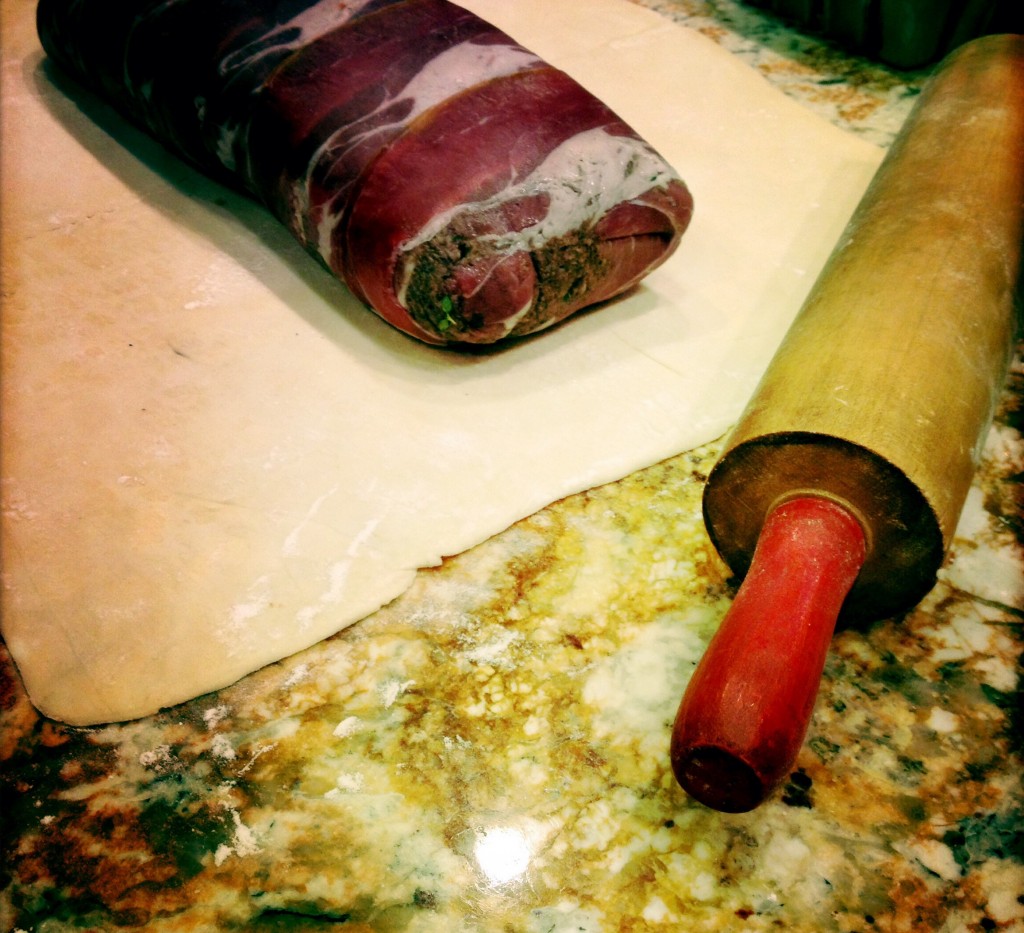 individual wellingtons by using sliced filets and repeating the same processes described here on a smaller scale. In my opinion, that would just take way too long, but the presentation would be really upscale. And very Julia.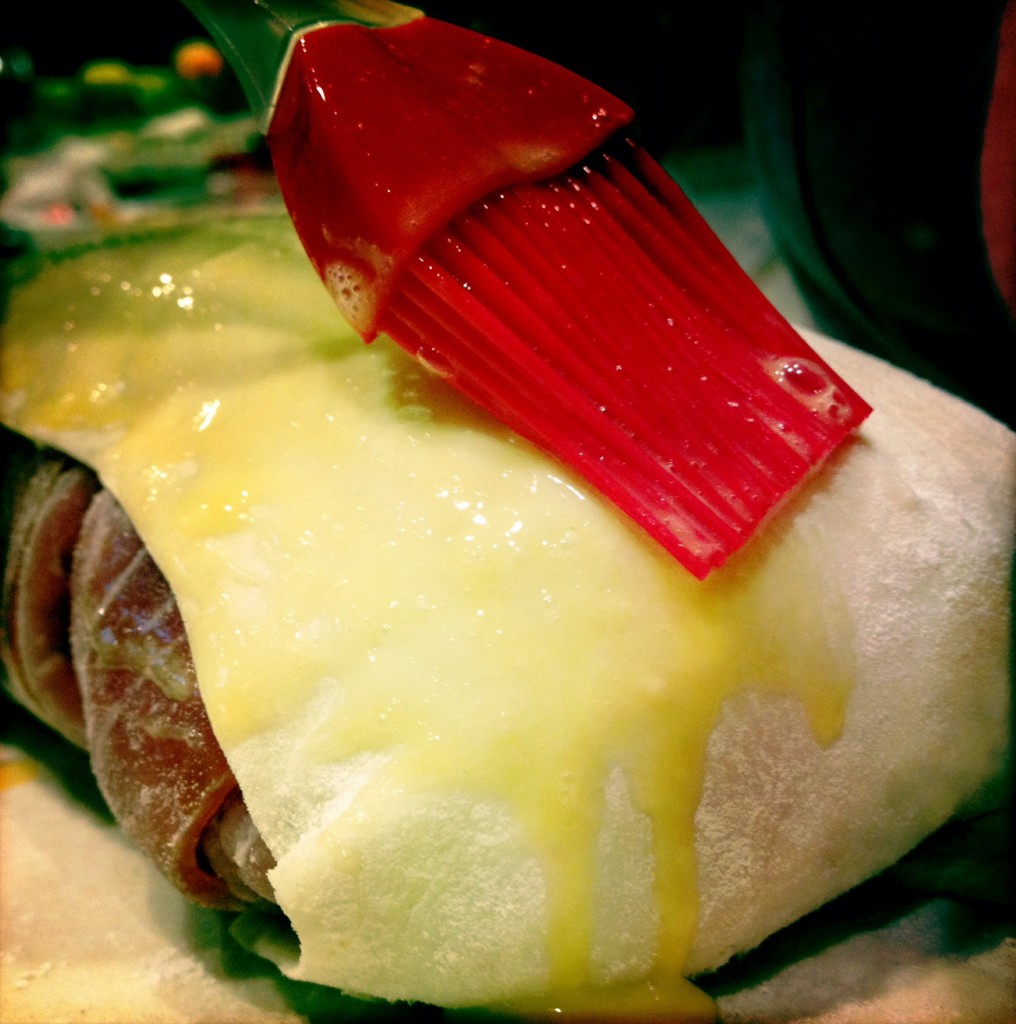
 beef broth and tomato paste until reduced to two cups – about an hour. Remove any grease and thicken with cornstarch mixed with Madiera. Viola.