George Foreman Knocks French Toast Out

bread2I used to own a George Foreman Grill, the lean, mean “fat-reducing” grilling machine marketed by the former world heavyweight champ. With more than 100 million sold, it certainly is one of the most popular alternative cooking appliances on the market today.

My use of this little grilling wonder was a bit unorthodox. For a few months shortly after college, I traveled around the U.S. working as a software installer and trainer. I’d spend two weeks in some middle-of-nowhere city (don’t get me wrong … I can find the coolest stuff to do in those kinds of places!) training people at newspapers on how to use circulation software.

Employees got a per diem, meaning a certain amount of money to spend on food each day. It didn’t take long for me to figure out that the less I spent on eating out, the more I’d take home. So my first stop once we landed in town would be to get groceries … and a George Foreman Grill.

In an effort to save money, I cooked meals in my hotel room. Don’t judge. I’ve bread3heard tell of people who have actually lived in their offices for the same reason—and I was just making a meal. I can think of 100 easier ways to eat on the cheap while traveling now (PB&J, anyone?), but back then, this was my answer.
I’d buy packages of chicken breasts, hamburgers or steak and throw them in individually portioned Ziploc bags with different marinades. Each night, I’d fire up the electric “grill” and cook myself dinner. Sadly, the windows in a hotel rarely open, so the smell of cooking meat and a slight greasy haze would linger — but it got the job done.
egg1Okay, NO. I do not** have some bizarre George Foreman collection: I’d donate them at the end of each trip. For space’s sake, I had knocked the Foreman at home out of my kitchen long ago. But I started thinking about that little clam shell of a cooking machine as we got talking about spring cleaning and reinventing appliances for this month. I pondered what in the world could it be used for, aside from meat and maybe grilled veggies?

A lot, as it turns out. And stuff that had me wishing it was still tucked in a corner. Like bacon. That crispy pork treat is such a conundrum for me: adore eating it, freaking hate cooking it. There is nothing fun about grease splatters. In fact, one bestie gave this sound advice when sending her R.S.V.P. for my wedding: Never cook bacon naked.

That said, bacon is still meat, and thus, kinda what you’d expect. That idea isn’t up to the standards set by other Eaters this month. I mean, bread in a slow cooker? Falafel made in a meat grinder? These ideas are out of the box. I needed something sweeter.

Oh, yes. Sweeter.

Maple-Pecan Encrusted French Toast With Grilled Bananas

 This is an original We The Eaters recipe, but we loved the tips in this article! If you have a George Foreman, feel free to use it to make this dish. If not, any old pan will do — and in my humble opinion, French toast tastes best cooked in butter.

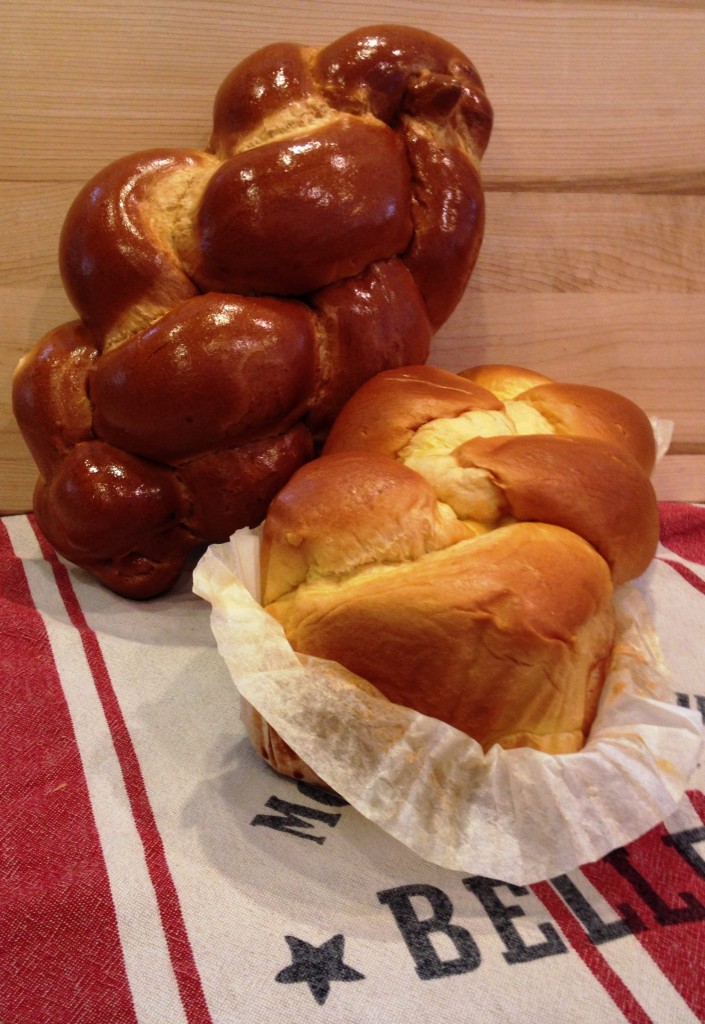
We tested two kinds of bread to get a sense of what worked best. Both of the choices suggested here were delicious, but the slightly sweeter, eggy flavor of the brioche paired best with the pecans and banana. If you prefer a different topping, like a berry compote, the milder challah flavor would work well — with or without pecans.

French Toast:
1 loaf challah or brioche breadgrilling1
5 eggs
2/3 cup half-and-half
1 teaspoon vanilla
1 teaspoon cinnamon
1 teaspoon ground ginger
1/2 teaspoon salt
2 tablespoons maple syrup
1 to 2 cups pecans

Grilled Bananas:banana2
2 bananas
About 2 tablespoons honey
2 tablespoons sugar
1/4 teaspoon cinnamon

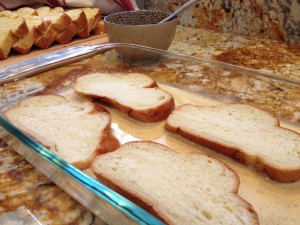
Cut bread into 3/4 or 1-inch slices (less will be too soggy, more won’t properly soak up the egg custard.) Leave out on cutting board covered with a towel overnight. Stale bread makes the best French toast!

Pulse pecans in a blender or food processor (you can use a coffee grinder in a pinch) until coarsely ground, small pieces no bigger than a pencil eraser. We really coated ours with pecans, but you can just “dust” the slices as well. You’ll need about a half-cup or more for every four slices to moderately coat. Set aside.

Beat eggs thoroughly until all whites are combined. Mix in remaining ingredients. Transfer a cup or so at a time into a shallow glass dish. Set up another plate or shallow dish next to this and spread about a 1/2 cup pecans on it. You’ll need to wipe the plate clean and put fresh pecans on it for each dipping (the eggs mix in with the pecans and they become more like part of the batter than a crust.)

Working two or four slices at a time (depending on your kitchen dexterity … the bread can get soggy fast, so you need to work fast), place bread in the dish, turning once the mixture soaks in and before the bread gets soggy (about 1 minute or so per side, depending on how dense the bread is. Leave it too long and it gets mushy, too little and it is just bread in the middle. Practice makes perfect—and my first batch wasn’t!)  Repeat on other side. Pull bread out of egg mixture and allow excess to thoroughly drip off.

plated2Make sure your cooking surface is pre-heated. If you are using a George Foreman, you can place directly on the grill. If you are using a pan, spray with cooking spray, then put a small dab of butter on before placing French toast in the hot pan. Cook until golden brown on each side. Place in a warm oven.

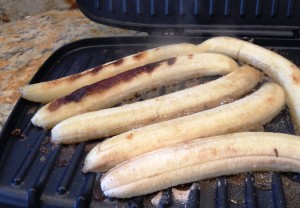
If using a George Foreman, remove bananas from the peel and cut in half length-wise. It can be easier to cut them while still in the peel. Mix cinnamon and sugar together. Brush cut side of bananas with honey and sprinkle on sugar mixture. Place face down on grill and cook until grill marks. Remove before they get too mushy by sliding off grill with a spatula (I found they didn’t caramelize as well as I would have liked).

(You can also make these on a regular grill — just leave in skins and cook fruit-side down for 2 to 3 minutes before flipping and cooking on the peel for 3 to 5 minutes, until the peel pulls away from the fruit.)

Arrange French toast on plate with caramelized bananas on top. Sprinkle with powdered sugar and serve with maple syrup, or for a really sweet treat, drizzle with homemade caramel sauce.

Enjoy!
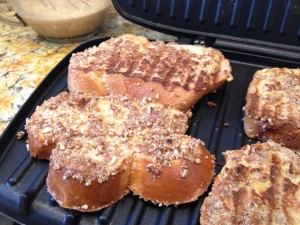
** Many of you may be wondering how I made this delicious recipe without owning one of these magic machines. The irony is — I had to buy one for this post. Yes, really. I have since donated it. Again. I sincerely believe I am actually keeping this company in business.
Tagged with: , , , , , , , , ,
Posted in Dear Diary

Meat Grinders For Vegetarians: Baked Falafel

DD-04112014-falafel1Ten years.

That’s how long I’ve had my prized KitchenAid stand mixer — about as long as I’ve owned my house. It’s as old as my two cats. It’s outlasted less reliable kitchen equipment … a few friends … and one or two love interests. But this constant owns a permanent corner of my small counter space, and my heart.

It’s just the basic model in boring white, and while there are better, more professional versions to be had in lots of trendy colors, for a girl with a sweet tooth and a love of baking, this one suits me just fine.

You can mix a lot of cookie dough, cake batters, frosting and other gooey substances in the course of a decade. About a year into our relationship (yes, still talking about my mixer), I decided to spice things up a bit. I bought a couple of … accessories. One is the ice cream bowl, the other, the food grinder.

Long story short, neither have been used much since then. The ice cream bowl begged to be kept in the freezer, ready to be used at a moment’s notice, but took up too much space. So down to the basement it went. In fact, both pieces have been living in their original boxes — inside other boxes — in the basement. Out of site, out of mind.

Like many people, I’m sure, I find it hard to part with kitchen gadgetry. I don’t think I’m at hoarder status — we’re only talking about two accessories! But still, their presence haunts me. So the spring cleaning challenge sounded like a good opportunity to get some new and exciting uses out of this stuff … and decide whether or not to get rid of them.

The last, and perhaps only, time I used my food grinder was to grind up leftover holiday ham to make sandwich spread. If you don’t know what that is, you may be better off not finding out. For me, it’s one of those yummy, but kind of sickening childhood memories. It came in a tube. You squirted it out onto white bread. Then you ate it and felt like a fat kid. But you were so happy! Making it from scratch was at least a little better than buying that tube.

The point is, I always associated the grinder with grinding meat — hamburgers, sausages and spreads. But it can be used to grind many things, including vegetables, legumes, bread and cheese. I started researching recipes for something I’d never tried before … something that most people might not think to use a grinder for …

DD-04112014-falafel4Falafel.

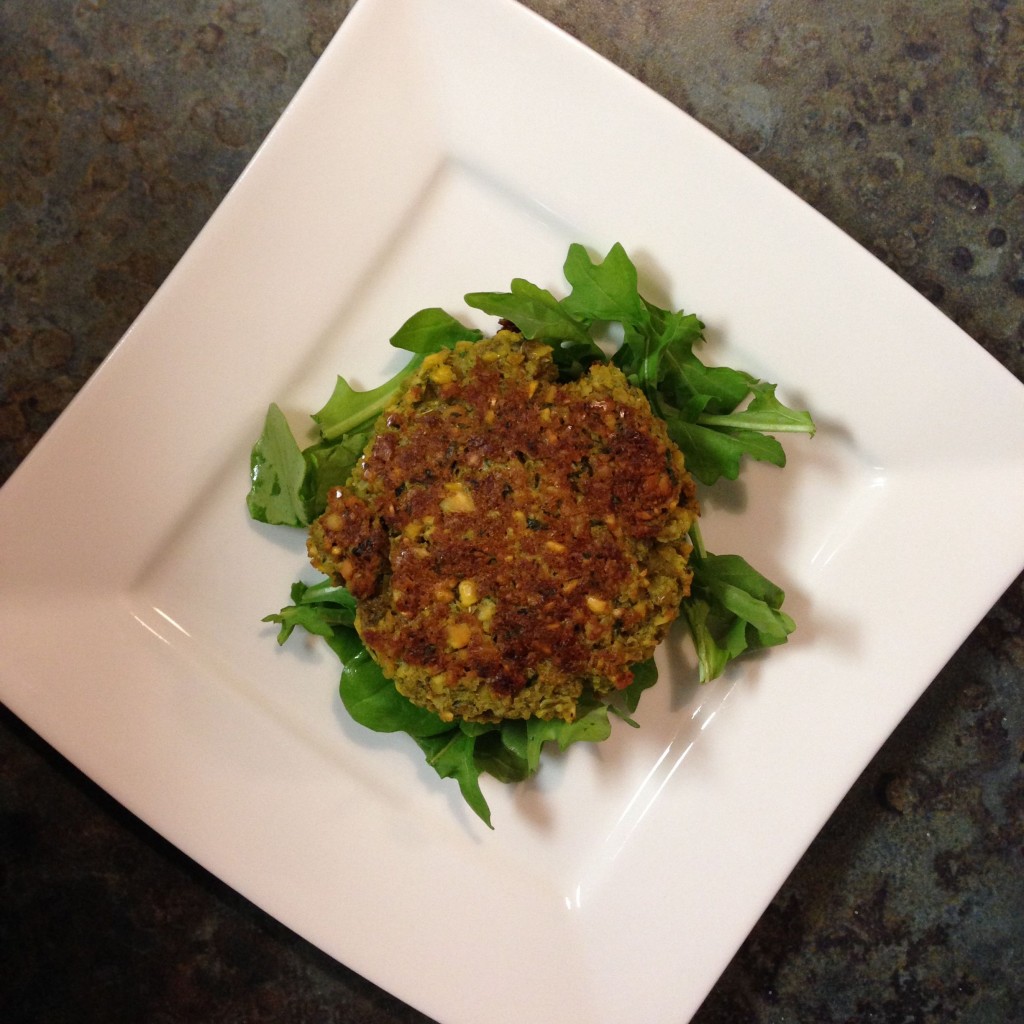
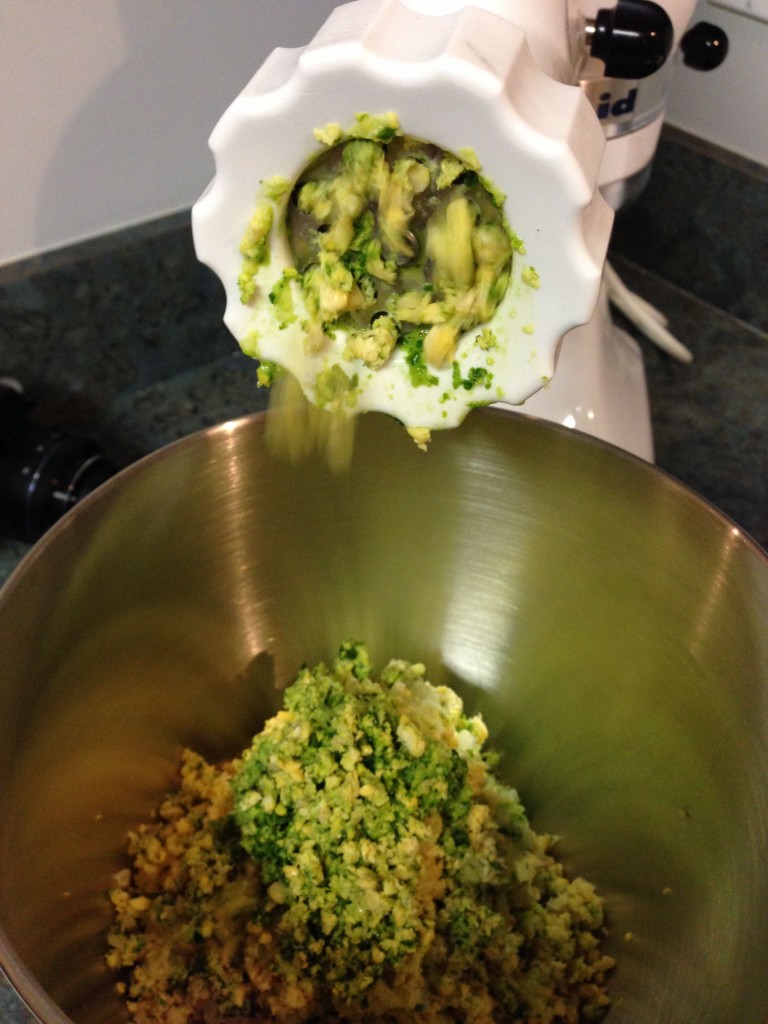
I knew the chickpeas had to be ground up. Typically this is done in a food processor or Vitamix with the other ingredients, so I figured I could just change up the steps. I pulled out the grind-able items — the chickpeas, onion and garlic — and pushed those through to get that mealy, fine, dry texture of falafel “batter.” Then I added the rest and stirred it all up.

In the end, I decided not to part with this attachment. Unless the stand mixer breaks (which would also break my heart), I’ll simply keep it tucked away … but maybe not too far out of reach. The falafel was so easy to prepare, gluten-free for the hubs, and made enough to have dinner and lunches for both of us.

It also inspired me to seek out other uses for the attachment– even going back to try more traditional things, like making my own ground hamburger mix or sausages or even tartar.

So, if I’m going to make space in my kitchen cabinets, looks like I’ll have to dig deeper. And don’t even suggest the ice cream maker — later this month, we’ve got one Eater cooking up something awesome to repurpose that!

Baked Falafel

For inspiration, I drew on Mark Bittman’s baked falafel recipe. It called for putting all the ingredients into a food processor to chop and blend. Since we’re using a grinder here, I broke that out into two steps – grinding the chickpeas, onion, garlic and parsley, then mixing in the spices and lemon juice.

Falafel:DD-04112014-falafel3
1 3/4 cups dried chickpeas
2 garlic cloves
1 small onion, quartered
1 tablespoon cumin
Pinch of cayenne, or to taste
1 cup chopped fresh parsley
1 1/2 teaspoons salt, plus more to taste
1/2 teaspoon black pepper, plus more to taste
1/2 teaspoon baking soda

Tahini Sauce:
1 tablespoon fresh lemon juice
4 tablespoons olive oil
1/2 cup tahini

Cover the chickpeas in a large bowl with water by 3 to 4 inches. Soak for 12 to 24 hours, checking as they soak to ensure they are submerged and have enough water. They should triple in size and break apart with your fingers when they are ready.

Heat the oven to 375 degrees. Drain the chickpeas and add to a bowl with the garlic and onion. Set up the stand mixer with the food grinder attachment and turn on. Place a large empty bowl under the opening of the grinder to catch the ground chickpea mixture. Turn the mixer to level 4 and begin adding the chickpeas, onion and garlic into the grinder funnel. Use the plunger tool to push the chickpeas down into the grinder, forcing the grind.

DD-04112014-falafel6Once all is ground, add the cumin, cayenne, herb, I teaspoon of salt, pepper, baking soda and lemon juice. Stir together till well mixed. Taste and adjust the seasoning, adding more salt, pepper or cayenne as needed.
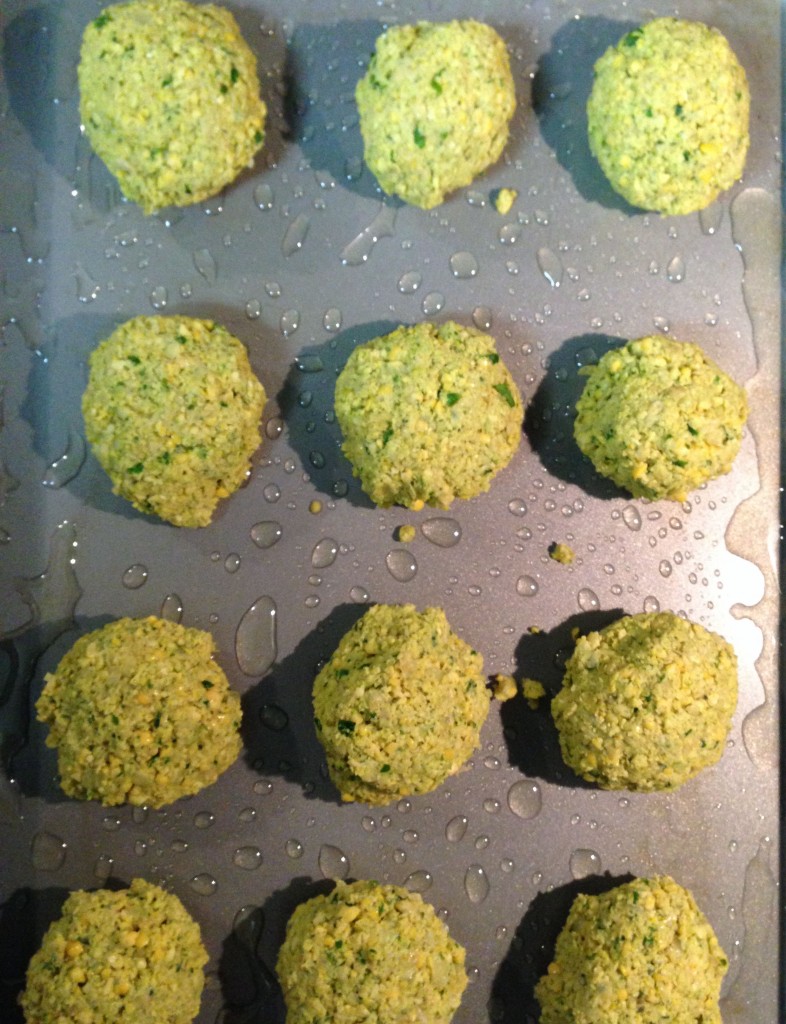
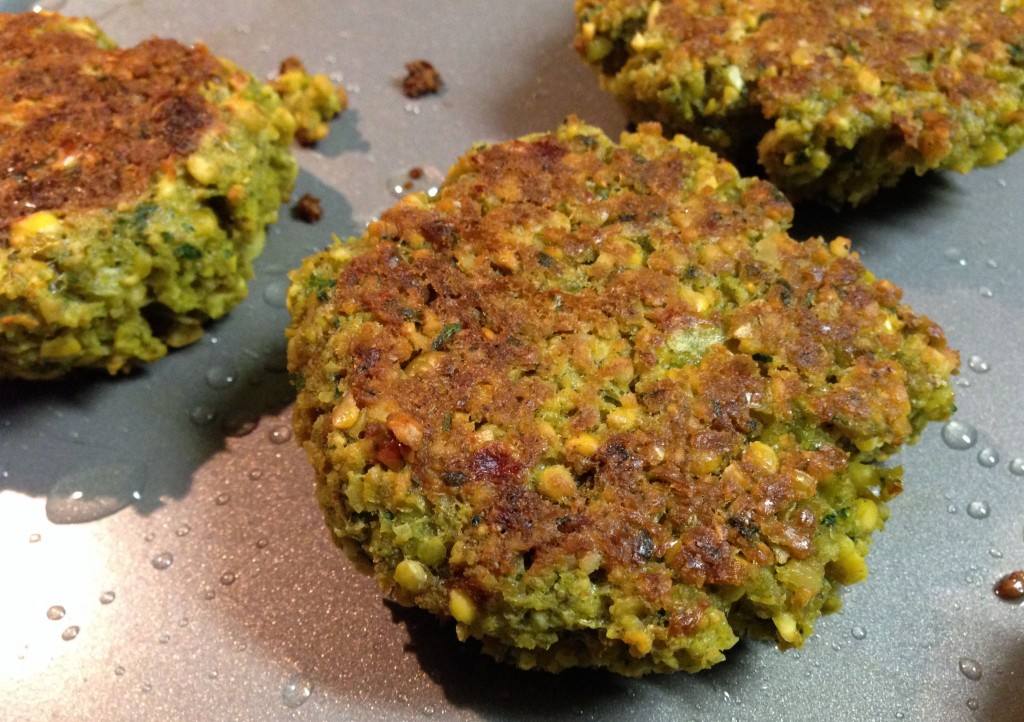
Spread 2 tablespoons olive oil onto a large rimmed baking sheet. Roll the chickpea mixture into large balls, roughly 1 1/2 inches each. Should make 18 to 20 balls. Place the falafel balls onto the pan and brush the tops with the remaining tablespoons oil. Bake until golden brown, about 10 to 15 minutes on each side.

Whisk the tahini and remaining salt with 1/2 cup water in a small bowl until smooth. Drizzle the tahini over the falafel and serve.

Tagged with: , , , , , ,
Posted in Dear Diary

Bread In Your Slow Cooker: Not Slow Enough

IMG_8957The slow cooker. It’s a rediscovered favorite of foodies everywhere. But yours truly was a bit slow to embrace the ‘ol crock pot.

Not because I consider slow cookers passe — far from it. But the limitations of a wee apartment made it hard to justify such a bulky item. At my house, where we’ve squeezed extra storage into every conceivable space, we have a pretty high bar for any kitchen appliance that plugs in. Ice cream maker — nope. Toaster oven? Sadly, no. Food processor bigger than three cups? (Oh, how I want a real food processor!) Not a chance.

So my little kitchen and I pined for a slow cooker for years before I scored a cast-off (thank you, Brian and Julie!). Because, with it being free and all, and just a 4 quart size — how could I say no?

Yet despite my enthusiasm, and the slow-cooker renaissance of recent years, we don’t get as much mileage out of our little crock pot as we could. That’s due in large part to my fear of leaving the thing unattended all day. (Leave something cooking? While no one’s here? Yeah, yeah, I know — that’s the whole idea. But … really??)

IMG_8940 I digress. The point being, we have this thing taking up space that gets pulled out quarterly, if that. Now, I won’t be giving this trusty machine up — that quarterly slow-cooked pork we make is far too delicious for that — but It would be easier to justify its presence better if I found more uses for it.

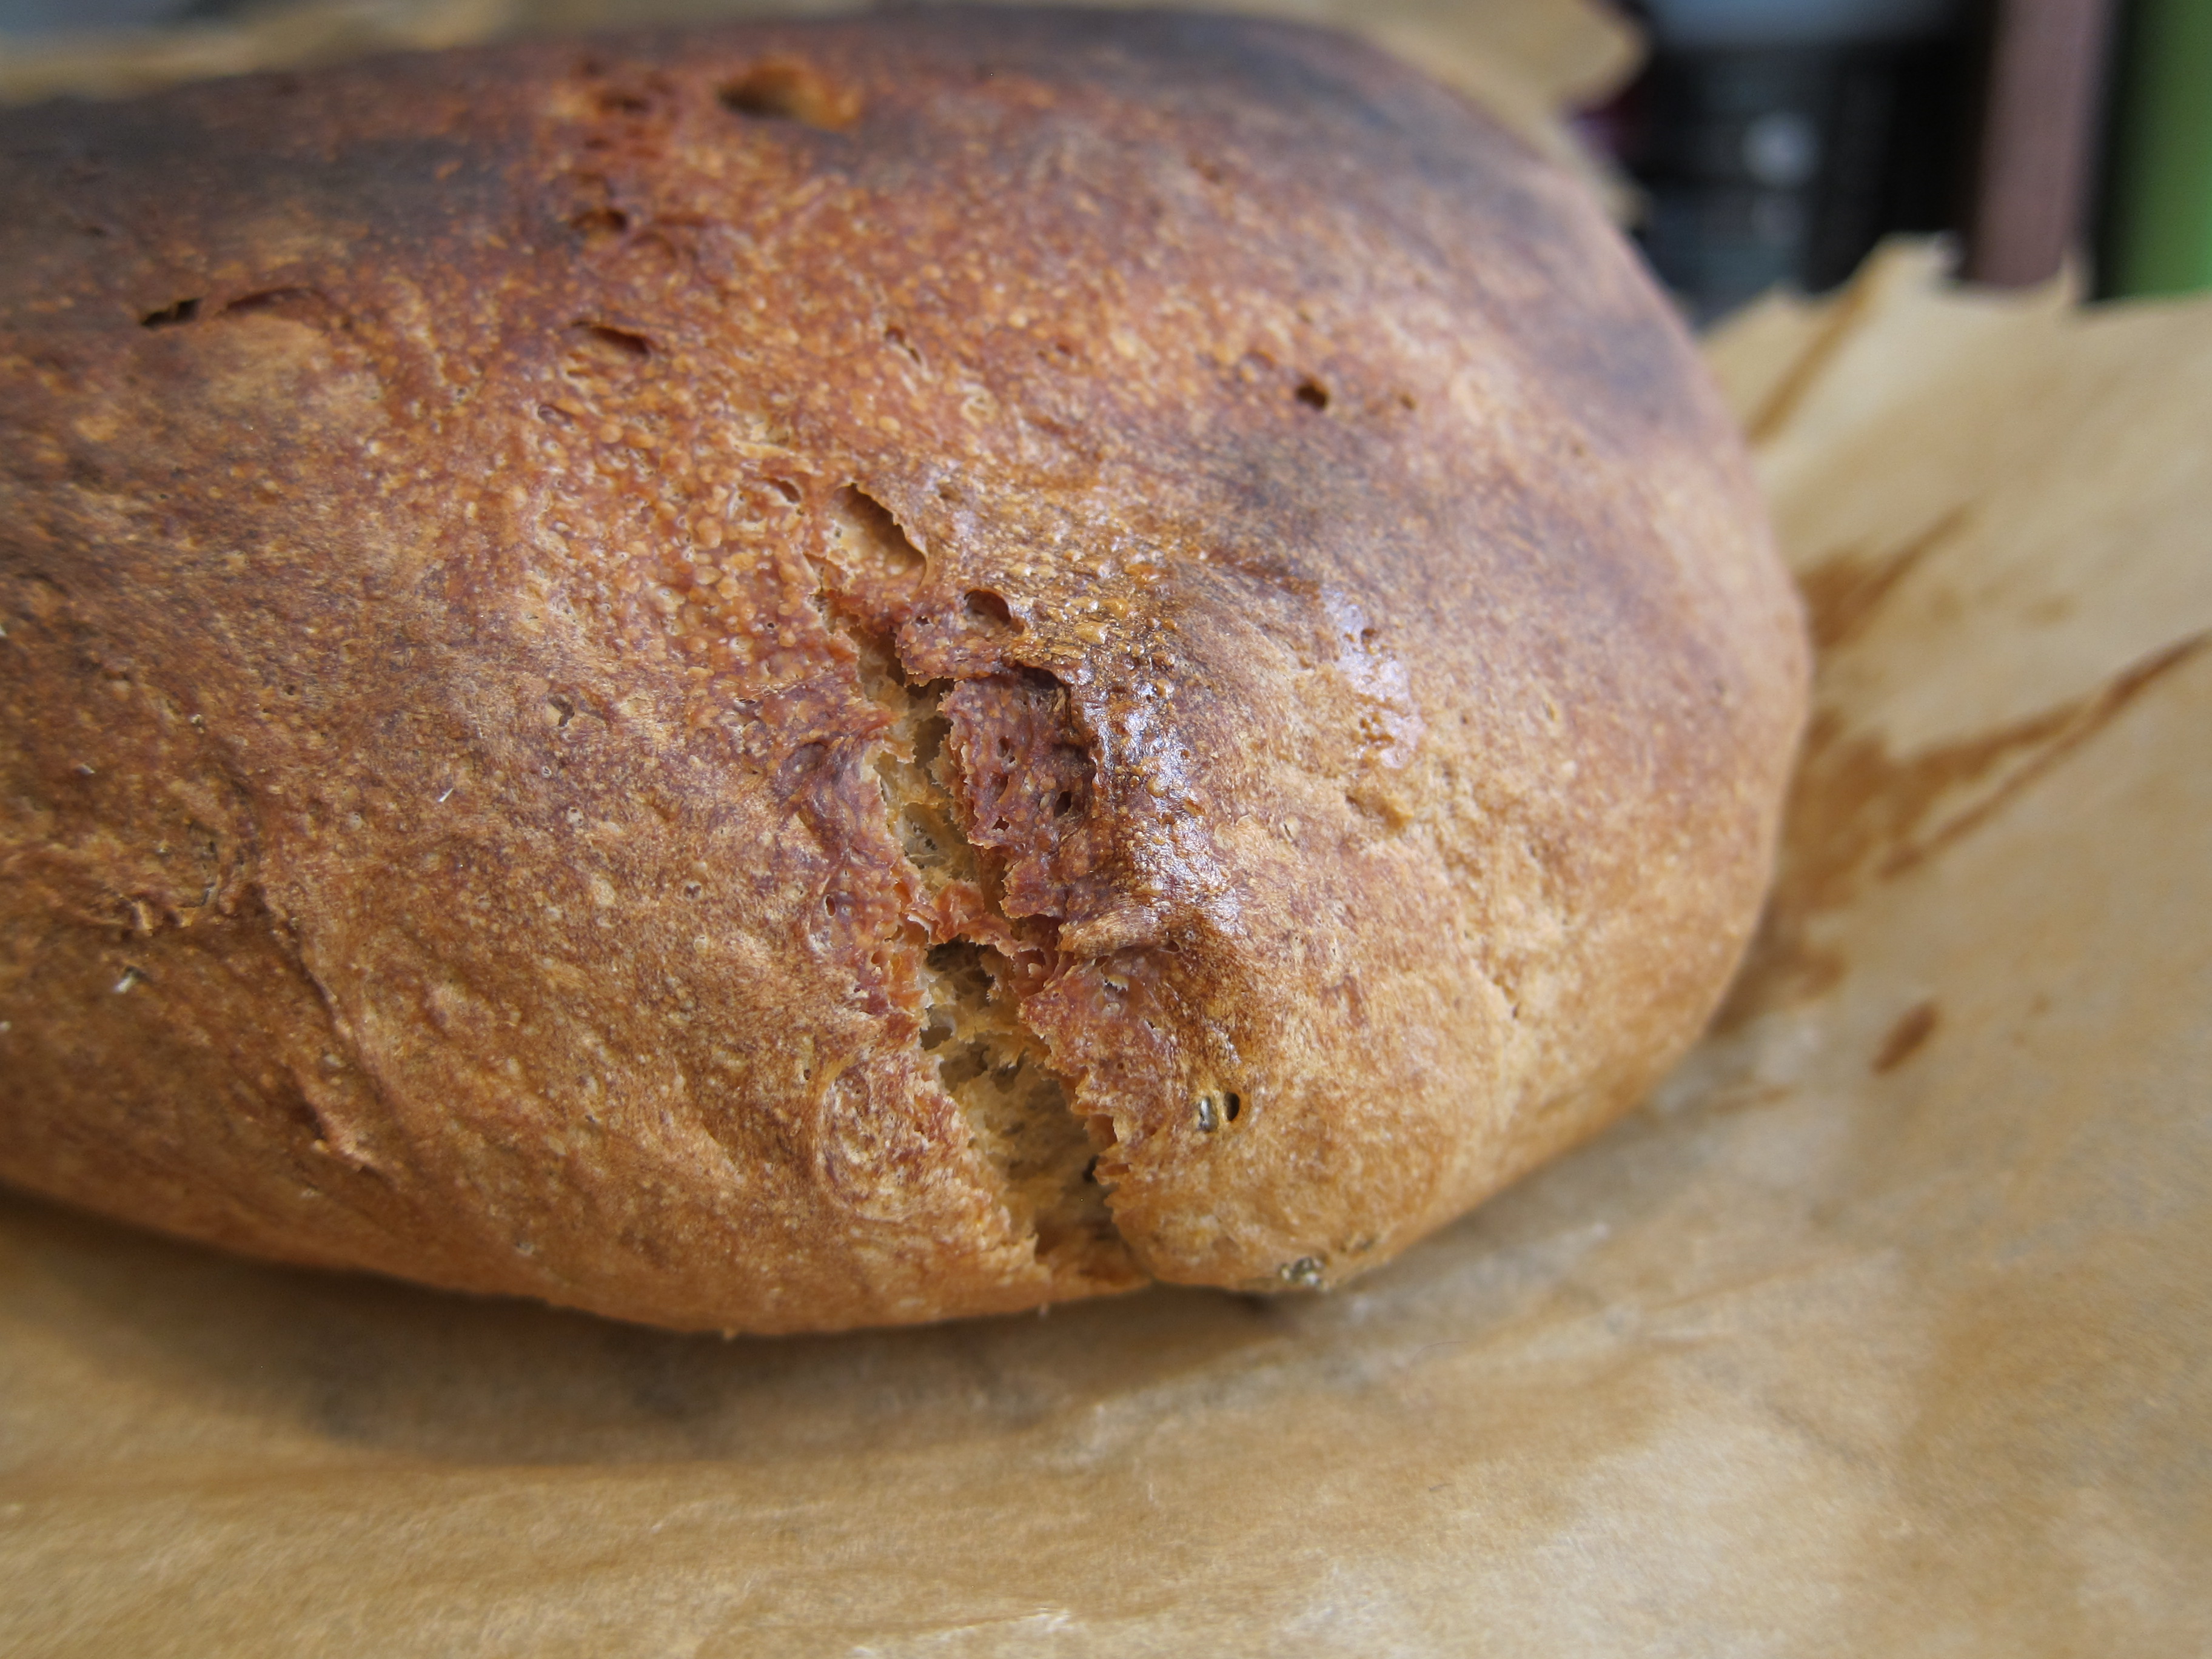
So … why not bread? Yup, it’s true — you can bake bread in your slow cooker. Who knew? Well, lots of slow-cooker trailblazers, apparently, who have put some effort into perfecting it. And since we love making bread, I decided to give it a go.

I did some hunting around for tips, with some additional help from Adam. I stirred, I proofed, I shaped and I slow-cooked. And the bread was good.

Buuuut … my verdict? Honestly, I don’t really see any particular benefit to baking bread in a slow cooker. It just isn’t slow enough, you see. In the end, it takes about the same amount of time, at least the preparation I made, as baking it in the oven.

IMG_8932

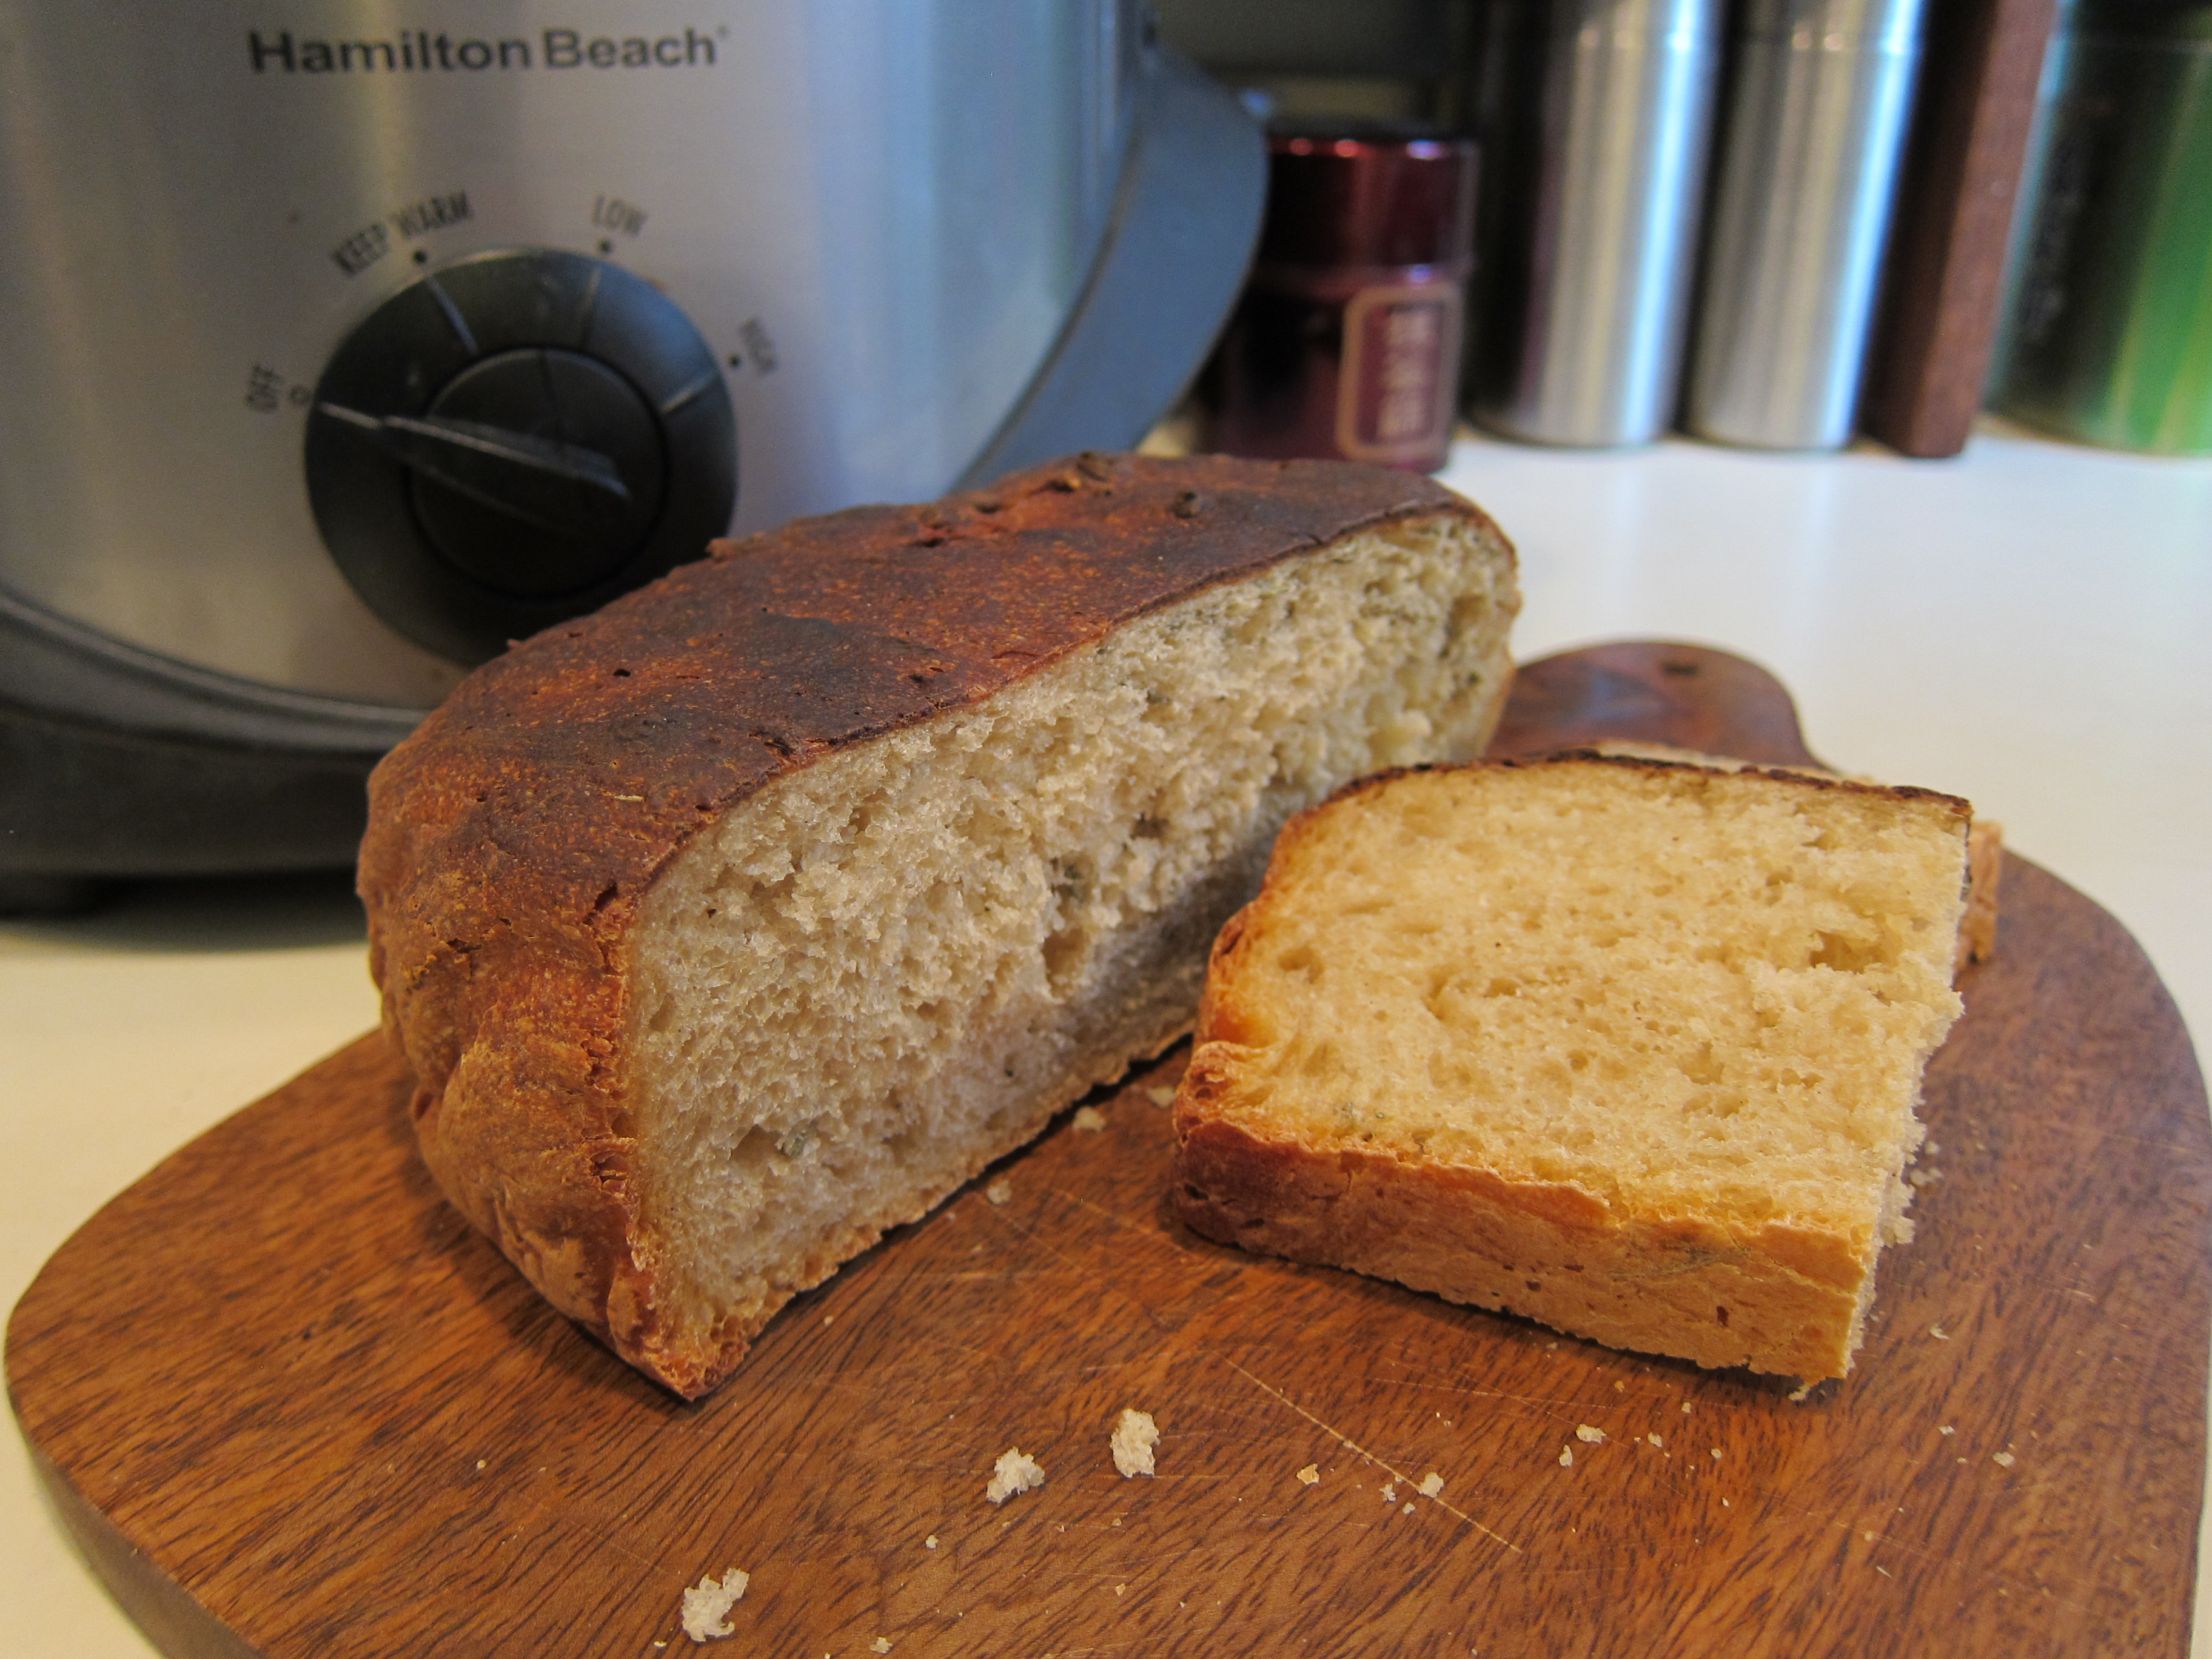
While my loaf didn’t need a second rise, which takes about an hour, it took an hour longer in the cooker than my typical oven technique. And during the last 20 minutes or so of cooking, I had to keep checking the bread’s internal temperature to ensure the final product would be neither under- nor overcooked.

In the end, the crock pot neither saved me time, nor baked slowly enough to give me the freedom to wander off and go shopping, much less go to bed or to work. And you can’t get a nice, browned crust without putting the baked loaf under the broiler to finish it off.

Don’t get me wrong — the bread was delicious. The texture was as good as my oven-baked preparations — though perhaps a wee bit drier. There was no difference in flavor. The only added benefit, as far as I can tell, is if you need to bake bread while your oven is otherwise in use. Or if you want to bake bread on a sweltering day and your oven, like mine, makes your entire kitchen unbearable. Or you just want to justify keeping a slow cooker in your tiny kitchen.

For some cooks, the novelty of telling your friends, “Did you know you can make bread in a slow cooker?” may be enough of a benefit to try it out.

Slow Cooker Bread

I riffed on the no-knead bread recipe and technique from the Artisan Bread in Five Minutes folks. You’ll find their full instructions here.

I cut their original recipe in half, which made two small loaves (I baked one in the oven, one in the crock pot). If you have a large crock pot, you could try making a single loaf, but I didn’t test that out. 

I also found this post from The Kitchn extremely helfpul — lots of great tips. Also, as I mentioned, the slow cooker won’t give you the browning or crust  you expect with a loaf of bread, so you’ll see some instructions below for finishing it off under the broiler. 

1 1/2 cups lukewarm (not hot!) water IMG_8942edit

1/2 tablespoon yeast  (I used granulated)

1/2 tablespoon (or so) salt

3 1/4 cups (1 pound) flour. I used about 1 part whole wheat, 2 parts all-purpose)

Mix water, yeast and salt in a large bowl. Pour in the flour in one go and stir until it’s all well-incorporated.

Cover the bowl with plastic wrap punctured with a small hole (I pricked it once with a pen tip). Let it sit for about 2 hours. It will grow and get bubbly!

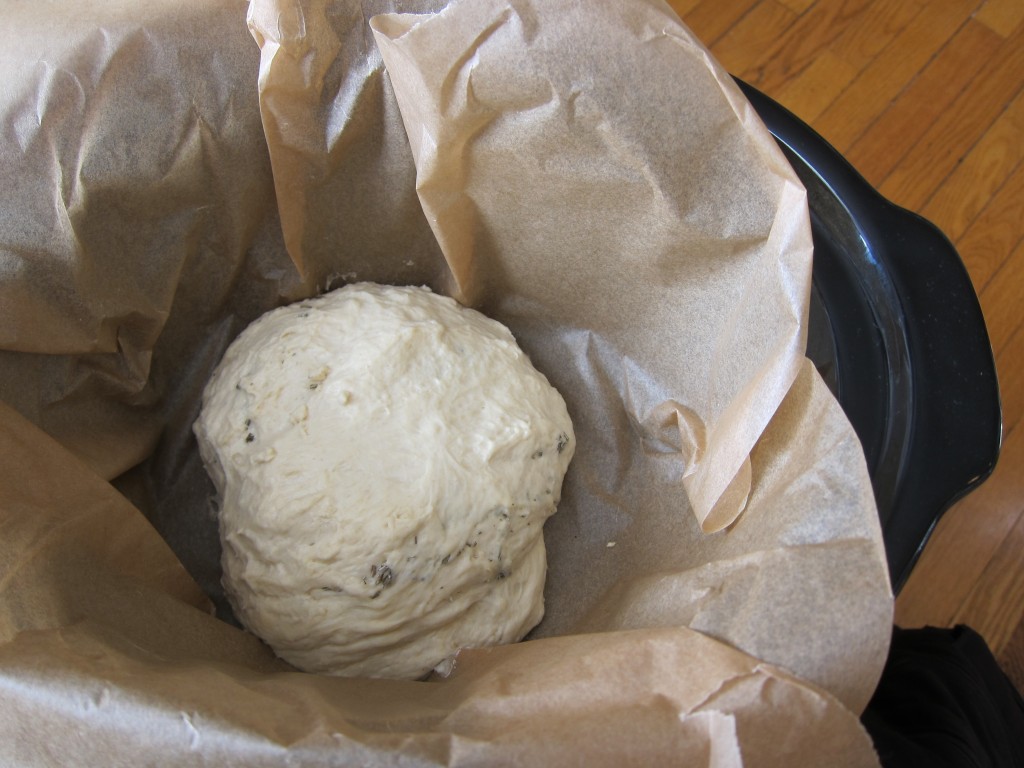
At this point, I formed two balls from the dough for two small loaves (I baked one in the oven and one in the crock pot).

Put the ball on a large piece of parchment paper and carefully place it in the slow cooker, set to high.

Now comes the tricky part: slow cookers are all very different. You want your bread to reach an internal temperature of 110. Lower and you risk gummy bread, higher and it will be too dry. You’ll want to check your bread temperature with a cooking thermometer after about 45 minutes to check its progress.

Ultimately, my cooker took about 2 hours, total. Cooking time may vary.

Your loaf won’t be browned, so crank up your broiler and pop the cooked loaf in on the middle rack, for a few minutes. Watch it closely — I probably didn’t pull it out fast enough! The broiler will quickly give it a nice, browned crust.

Now, the hardest part of all: waiting! Don’t slice your bread before it’s completely cooled. True bread bakers insist it will mar the texture of your loaf, and they would know!

Finally, the Artisan Bread in Five folks shared this disclaimer, and it seems very wise to me: “Check with your crock pot’s manufacturer before trying this, since some model’s instructions specify that the pot has to be at least partially filled with liquid to avoid safety or durability problems. And never bake in a crock pot unattended.”


Tagged with: , , ,
Posted in Dear Diary
photo credit to Aaron Otis Photography 2014


July
Watermelon is the perfect summer food. It hydrates, it cools, it's sweet and juicy. We have some great ideas for your table, including a salad, ceviche cups, popsicles and cocktails. Get ready to beat the heat with us!