Foreward by Greta, a We The Eaters regular contributor
 One of my earliest memories is sitting in front of the television while my mother cooked or cleaned the house. There weren’t 500 stations, and back then, cartoons didn’t run all day every day. I watched whatever was on PBS. My favorite shows were Mutual of Omaha’s Animal Kingdom, Marty Stouffer’s Wild America and NOVA (I honestly hope you can recall these gems too).
One show in particular captured a spot in my memory. It was a NOVA episode about indigenous groups of Indians in South America that had little, if any, contact with western civilization. The show followed everyday life in a specific village. At one point, the film settled on the women of the village spitting in a large bubbling pot on the central fire to create a ceremonial drink. I was a bit grossed out, but so intrigued that I immediately grabbed my neighbor and one of my mother’s large soup pots and headed for a spot in the 16 acres of woods that surrounded our house to concoct my own version of this mysterious drink.
That pot is probably still out there somewhere – God bless my mother. I don’t know how long our seven year old attention span lasted that day but, when no mysteries were unlocked and the sky didn’t open up within 5 minutes or so, my friend insisted that the Gods were not happy with my recipe of dry pudding, canned corn, milk and some spit and we should play something else.
This past winter, Pittsburgh hosted the United States Bartender’s Guild (USBG) Northeast Regional meeting. For three days, amazing bartenders from all over the Northeastern Seaboard got a chance to see what Pittsburgh bartenders were up to. We competed, shared knowledge, networked, went to seminars, made lifelong friends, worked hard and played harder.
I was lucky enough to meet JP Caceres, a master mixologist from the Washington, D.C., area. It was immediately apparent that Caceres was passionate about our craft — a true Bon Vivant. Luckily, he returned a few months later with his consulting company, The Menehune Group, to impart some knowledge to the bartenders in my neck of the woods: Grit & Grace. For three days, we were lucky enough to learn from some of the best in class, while making great friends and connections.
Originally, I had planned to do a fermentation piece on some of the great home brewers here in Pittsburgh. But, when I heard that Caceres was back in Bolivia working on a few small projects — like revolutionizing the Bolivian cocktail scene and resurrecting historical and culturally important recipes — I decided to ask him if he would like to share his knowledge and passion with our audience. He mentioned that he was working on the fermented beverage Chicha.
“The stuff you spit in?” I asked, remembering. Laughing, he explained. I hope you enjoy it as much as I do.
Chicha: A Gold Fermented Beverage From The Pachamama To Your Glass
By JP Caceres, a bartender traveling South America discovering flavors. Read his bio at the end of this post.
#DrinkSouthAmericaThe Quechuas (pronounced KETCH-you-AH) are an indigenous group of South American people native to Peru, Ecuador, and Bolivia. Their land stretched from the mountains of the Andes to the forest of the Amazons. Quechuas have a traditional beverage called “Chicha” that involves a ritualistic aspect of giving back to Pachamama, or “Mother Earth.” Chichi is made from corn and corn is a vital part of the Quechua’s culture. Corn was used as currency and was an integral part of their everyday lives.
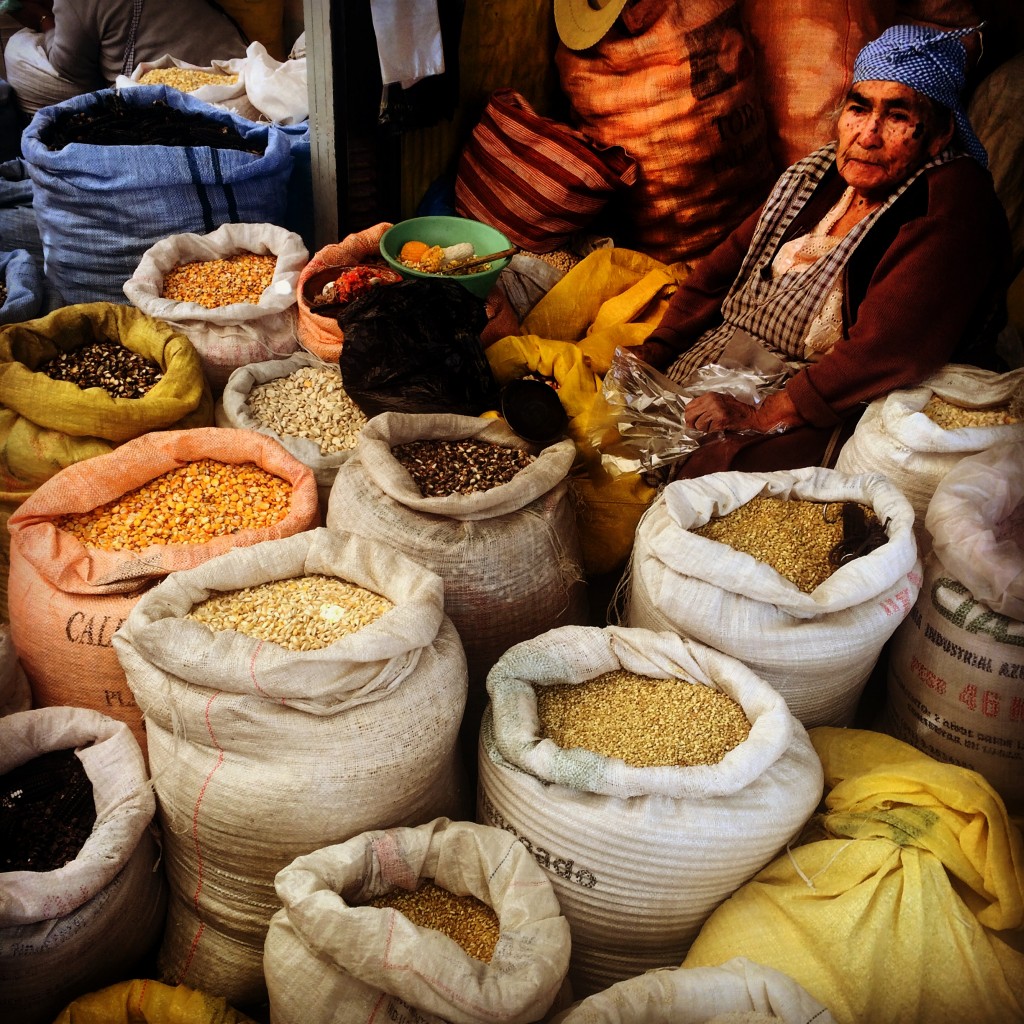
“My 84 year old “Casera” (the nickname of a lady that sells you a product on a regular basis) suggested that I try yellow and purple this time …”
One of the most important parts of South American and Quechua culture is to pay respect to Pachamama. As we take from our Mother Earth, we must give back to her. When the Quechuas drink Chicha they always pour a little out on the ground as an offering to Pachamama to thank her for her gifts.
I recently rediscovered Chicha as I traveled back home to Cochabamba, Bolivia after being gone for 15 years. I cleaned out my old room and dusted off my memories. It’s been hard for me to readjust to the Bolivian culture after being gone for so long, but a conversation with my very sick Grandfather, Juan Rojas Siles, now 92, makes me understand that I was meant to be on this trip. My Grandfather and his Grandfather used to make Chicha in Punata, a small town located 45 minutes from Cochabamba. He tells me his stories of watching and helping my great grandfather making Chicha, so I want to continue the tradition and make my abuelito proud.
This process is detailed, perhaps too detailed, but I respect their technique since this fermented beverage of the Quechua gods has been made the same way for centuries. Who am I to change this? Certainly not me, a humble bartender that has Spanish and Quechua blood.
Making Chicha begins in the early hours of the morning. I take a bus to Tarata, my Grandfather’s hometown. My host is Chicha maker (ake’ro in Quechua) Mr. Humberto Soliz. I recognize his Chicheria (aka’huasi in Quchua) or a house where Chicha is made because of the white flag hanging of the wall. There is no such thing as marketing or advertising in this part of the world, just a simple white flag hanging by the door of a weathered bamboo hut.
Here are the steps to make Chicha. For your convenience, I have divided it into two parts.
Part one: The process of making the P’itu (a quechua word for corn flour)
Buy the Corn: Choose kernel corn in bulk, preferably a yellow corn from South America. Peru and Bolivia export high quality yellow, white, and purple corn. My 84 year old “Casera” (the nickname of a lady that sells you a product on a regular basis) suggested that I try yellow and purple this time, so I pick 6.5 pounds of each. This corn can be found in your local Latino grocery store or bodega. Corn was and is the primary ingredient in making Chicha, however in recent times people have discovered that quinoa is an appropriate substitute.
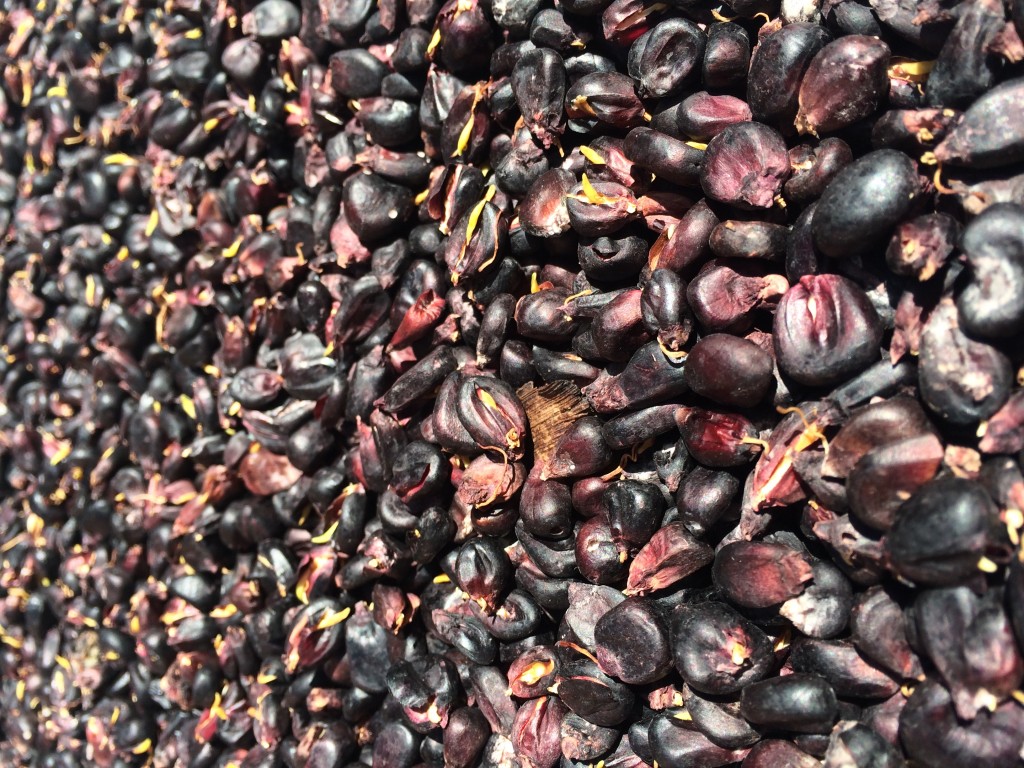
Germination: (Wiñapo a Quechua word for germination) Wash the corn in cold water and let it sit on a flat surface, allowing the corn to germinate for 5-6 days. This process will allow the corn to imagine that it is time to grow and become a beautiful corn plant. It should develop a small white sprout up to an inch. If for some reason it doesn’t by day three, spray some more water on it to speed up the process. Mr. Humberto lays an old sheet on the ground and lays down the corn, covering with another sheet of plastic; he mentions that this will protect the corn from birds and other creatures.
Note: The original weight of the dry corn (6.5 pounds) will drop to approximately 5.5 pounds, as the corn loses weight due to water loss.
Drying: Once the corn develops a small sprout it is time to let it dry in order to concentrate the of sugar within the corn. This process takes about 3-4 days. The weather plays a big role in this process. If it’s winter, it may take up to 10 days, longer if the corn kernels are larger.
Milling: After the corn is completely dry, use a hand grinder or a food processor to mill the corn. Taste the corn–when you chew it, it should be dry and not have any moisture. While we are on the subject of chewing corn (Muke’o a is the Quechua word for chewing) it’s interesting to note that in some small Bolivian towns they still chew the corn and spit it out after it has been milled, and then continue the entire fermentation process with the chewed up corn. The process of Muke’o was once a job left only to the young and beautiful quechua women in an effort to find a mate. They believe that this process allows the Chicha to have a higher alcohol content. I do not make it this way for sanitary purposes.
Note: After milling there will be 3.2 pounds of ground yellow corn or 9 ¾ cups.
Part 2: The process of making Chicha
Step One:
In a large pot mix 11 cups of warm water (105 F°) and the 9 ¾ cups of the ground yellow corn, stir well until the corn mixes with the water. Stir until dissolved. This is a very important ritual in making Chicha; the water temperature has to be warm but never hot (water temp should be an average of (130 F). This is very important. Do not let your water get too hot as this could change the texture of your Chicha and make it too thick. Taste the mixture with a wooden spoon, but do not put your fingers in the mixture as you could cause it to turn sour. The oils from our body contain a high level of acidity.
Add 5 cups of boiling water (212 F°) little by little and keep stirring for another 10 minutes. Taste the difference; you will notice that the flavor is a bit sweeter from before.
Step Two:
Split the mixture in two parts. Bring the first part back to boiling. You must stir the whole time as the corn can stick to the walls of the pot and burn easily. From now on we will call this mix “Upi”, a Quechua word for the combination of warm water and corn flour that is used to make Chicha.
The second half is sitting and you will notice that the “Upi” is turning a golden color, that’s the final color that we want in the Chicha. This process must be repeated twice.
Step Three:Allow the Upi to cool down for 2-3 hours; cover the pot with a lid or plastic wrap as any contact with the Upi could change the flavor.
With a ladle spoon, carefully skim the liquid into another clean container. Do not run the entire Upi into a strainer. Only skim the top liquid. If you need to let the corn sit again for another few minutes do so as you will be able to strain a little bit more liquid. Expect 6 ¼ cups of liquid after straining.
Step Four:
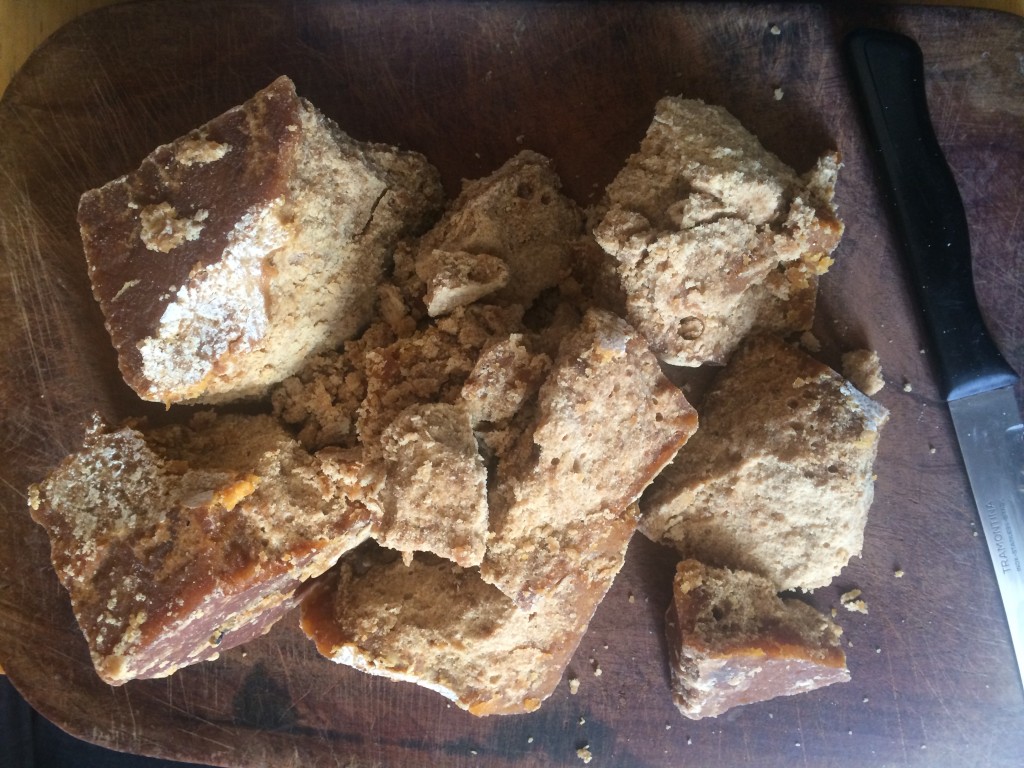
The left over wet ground corn pot goes back in a low heat, keep stirring as you don’t want the corn to stick to the walls of the pot. Add 1 pound of raw sugar (Chankaka in Quechua). Once the sugar has melted, cover the pot with a lid and let it sit on low heat for 5-6 hours. Stir as much as you can to avoid the mixture from caramelizing and burning the walls of the pot.
After the Queta (Quechua word for the ground corn mixed with the raw sugar) has cooked for 5-6 hours, let it sit and cool down. Be sure to cook this the same day as you are preparing the Upi, as the Queta mixture can make the Chicha very sour.
Step Five:
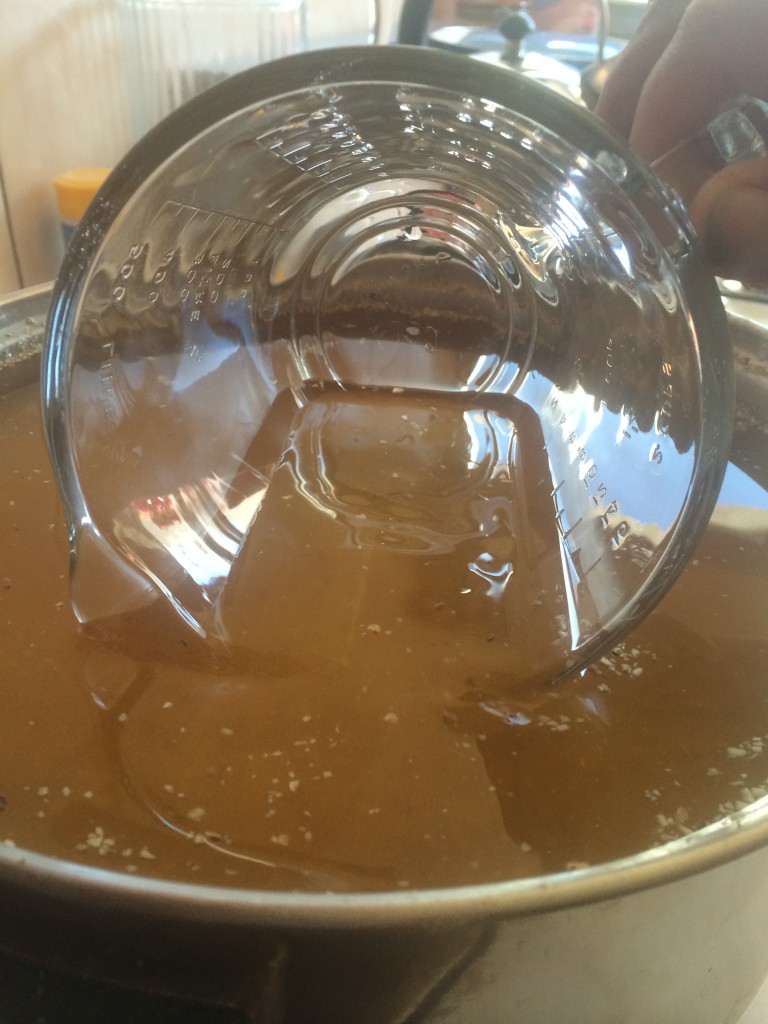
Bring back to boiling point the liquid from the Upi (6 ¼ cups) that we have strained in step three. Reduce the heat to low and let simmer for 2 hours. Turn off and let it cool down overnight. Do the same for the Queta from step four.
Step Six:
Now mix 3 cups of Queta with the 6 ¼ cups of Upi. Mr. Humberto tells me that if we mix the Queta with the Upi while both or any of them is warm or hot, the Chicha will turn sour.
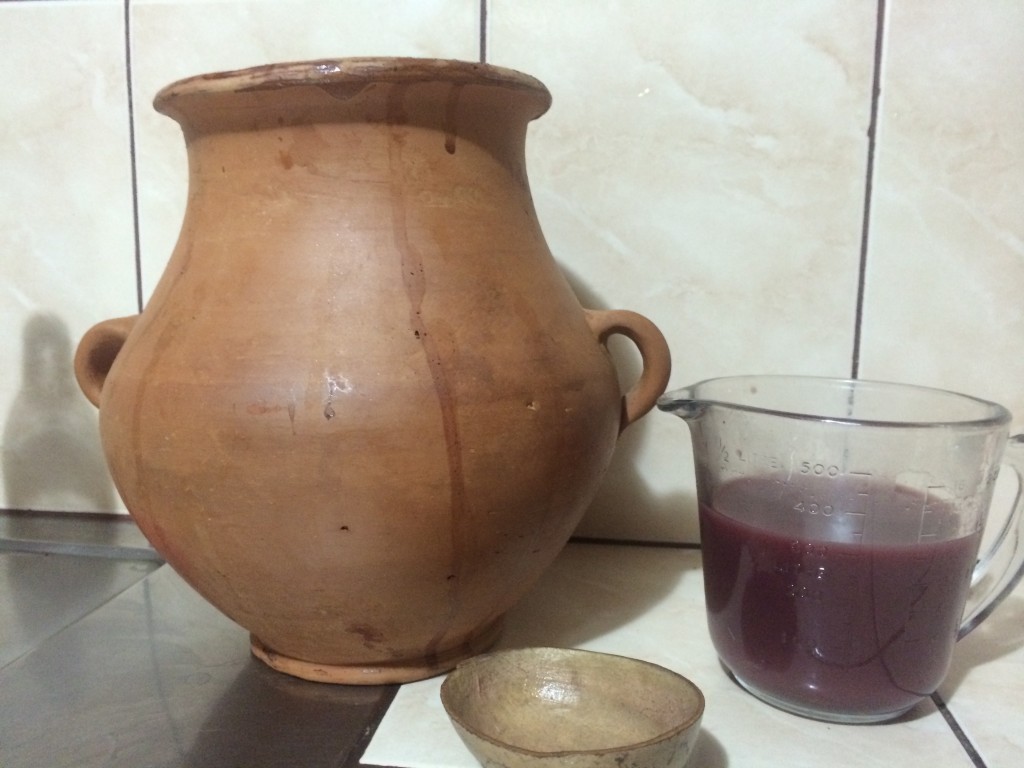
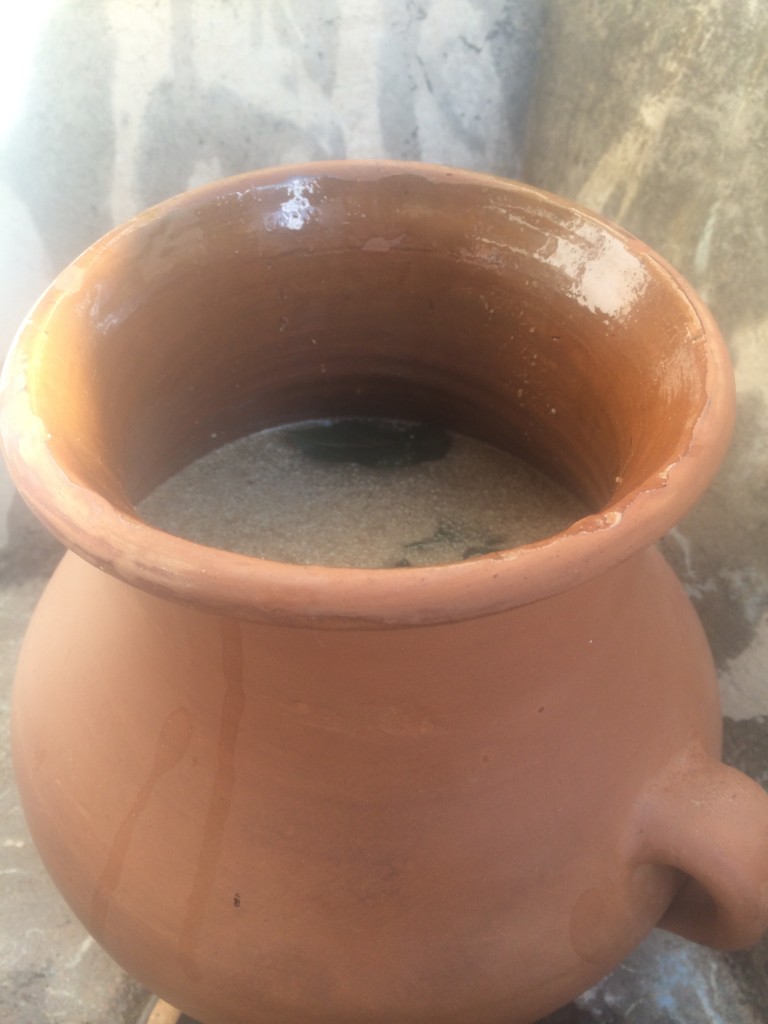
Allow both Queta and Upi to sit in a large pot covered well with a lid and preferably wrapped with a piece of cloth to allow the Chicha to stay warm. Mr. Humberto wraps his very well with an old blanket and suggests you let it sit for 4-5 days in a warm dark room that doesn’t change temperature.
Note: After 3-4 days if you listen closely to the pot you will hear the fermentation make a “popping,” noise. If you don’t hear this, allow the Chicha to sit an extra day or two.
Final Step:
Strain one more time using a fine strainer or cheese cloth, refrigerate and serve. The Chicha is ready to drink. If you find it sour and you decide to add a little bit of sugar, do it in individual portions and not to the whole mix of Chicha as the sugar will create another fermentation process and your Chicha will turn sour within 24 hours.
The level of alcohol should be between 4-5% ABV. This product must always be consumed cold and the Quechua tradition requires that before drinking you spill a little Chicha on the ground for Pachamama as a gesture of appreciation to allow you to use her Earth, her corn, and water to make this incredible fermented alcoholic beverage.
Note: if you use purple corn instead of yellow, use ½ lb of raw sugar and ½ lb of honey
Salud!
Afterword, again, Greta:
Fast forward almost 30 years from that 7 year old girl mixing potions in the woods near Lake Erie, looking for magic. I’ve been lucky enough to find friends and mentors from all corners of the globe that are as passionate about our craft as I am. There is nothing quite like crafting the perfect drink, passing it across the bar and watching a friend take that first amazing sip. Funny where magic shows up. Cheers!
JP Caceras Bio
Award winning mixologist, JP Caceres is from Cochabamba, Bolivia. He moved to Washington, DC at 19 years old, and began his career in the restaurant industry. He worked as a barback at Jose Andres’ Jaleo, and quickly advanced through the ranks to become one of the city’s most well known and loved mixologists. Before coming to the States, he studied to be a lawyer at the prestigious Catholic University in Bolivia, but soon realized that was not his calling: His refined palate was much more suited to a career in the culinary arts. On a trip to the Amazon with his father, JP had his first taste of Singani, a Bolivian spirit, and thus, began his journey on his illustrious career.
His positions as head bartender at Oyamel, general manager at ChiCha Lounge, head mixologist at Againn, and many more, allowed him to work his way up in the restaurant and bar industry. In his early career, he worked under renowned mixologist Derek Brown, as well as “America’s foremost spirits authority,” Paul Pacult. His impressive work ethic, and commitment to perfecting a cocktail, ultimately led him to where he is today. Today JP owns his own consulting company. In early 2014 alone, he created cocktail menus for an impressive 7 restaurants.
JP is proud to have worked with Oyamel, Againn, Bourbon Steak at the Four Seasons, Sidebar, Dirty Martini, Del Campo, Farmers Fishers Bakers, and MXDC, to name just a few establishments. He has so much passion for his craft he continues to learn and develop his skills. As such, he is a top graduate of Bar Smart, and continues to support the academy in training sessions. He has also taught seminars at the distinguished Museum of the American Cocktail.
Notable achievements include
- Washington Post Top 5 New Mixologists, 2010
- Current President of United States Bartender’s Guild, DC Chapter
- Former Mixologist at Washington DC’s only 4 star, 4 Diamond hotel (Bourbon Steak at Four Seasons, a Michael Mina establishment)
- Worked under celebrity chef Todd English, opening MXDC
- Del Campo recognized as best new restaurants, 2013 by Esquire Magazine
- Nominated best Mixologist of the year by Washington City Paper
- Won numerous national cocktail competitions
- East Coast Brand Ambassador, Pisco Porton 2012-2013
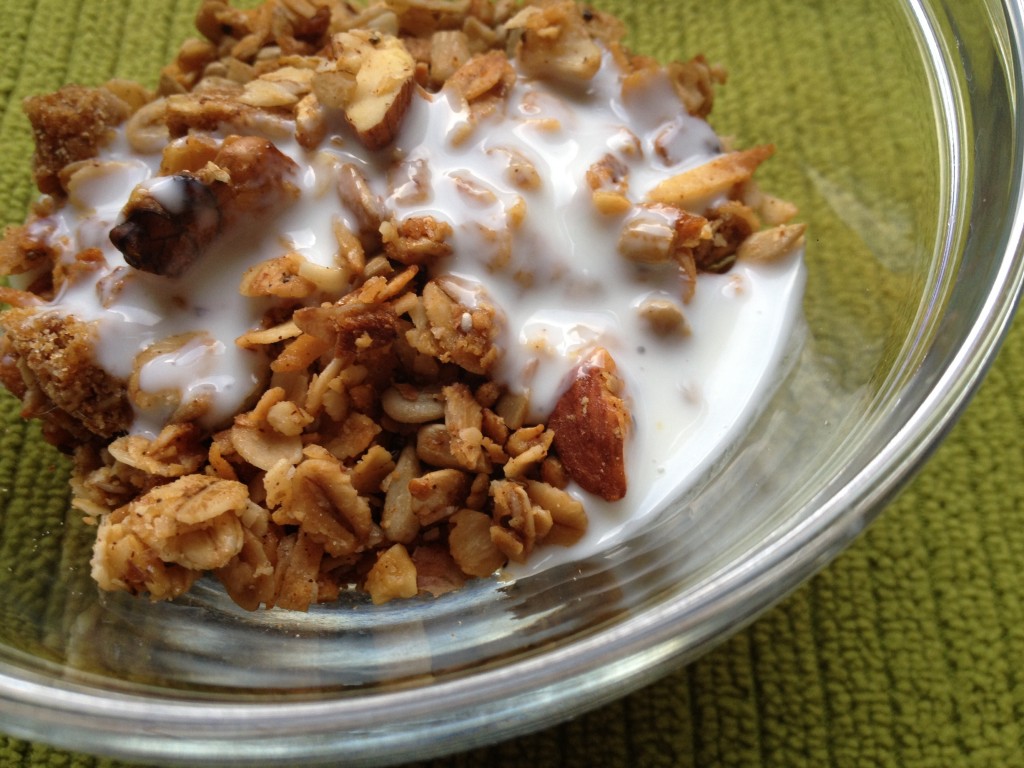
 One of my favorite breakfasts is a heaping portion of full fat Greek yogurt (it may seem counter intuitive, but
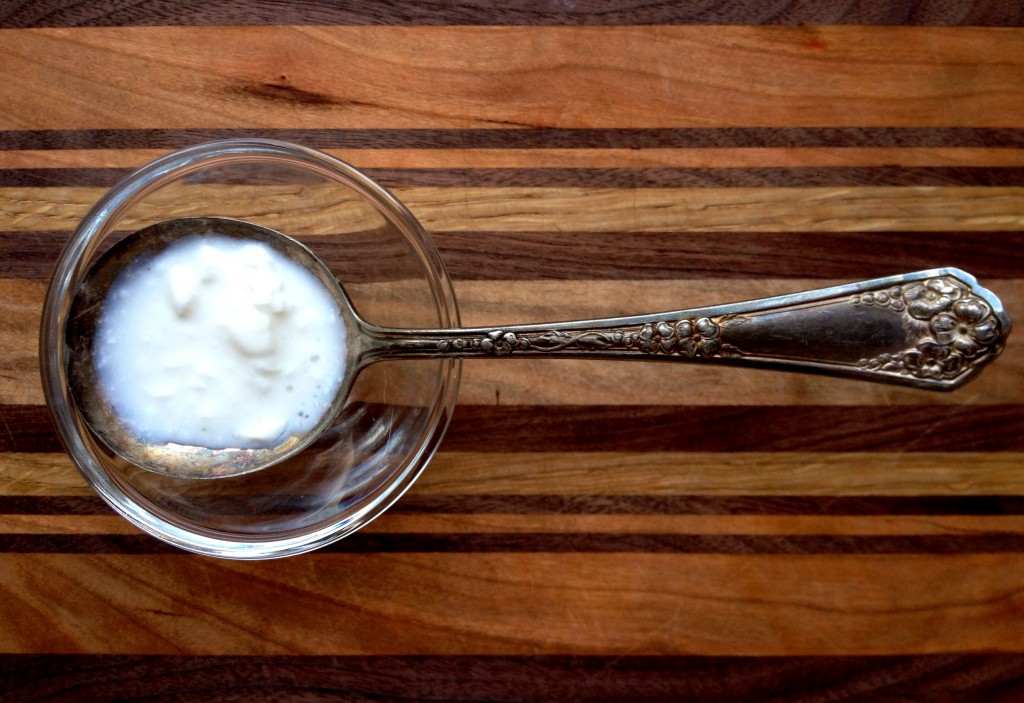
 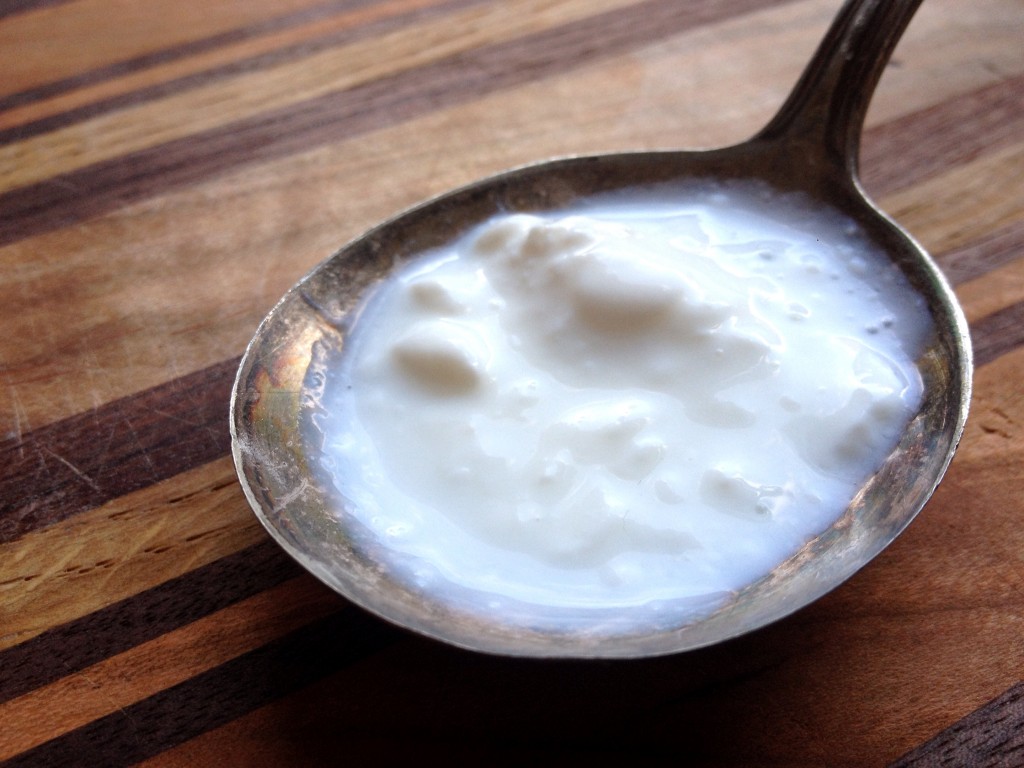 (which we’ll learn about next week), kefir requires a SCOBY, a symbiotic culture of bacteria and yeast, which are commonly referred to as “kefir grains.” You can get them from a friend who makes the stuff (thanks, Mara!), online or in some health food stores. The instructions she gave were ridiculously easy: You take a spoonful of kefir grains, add milk and let it sit for 24 hours.
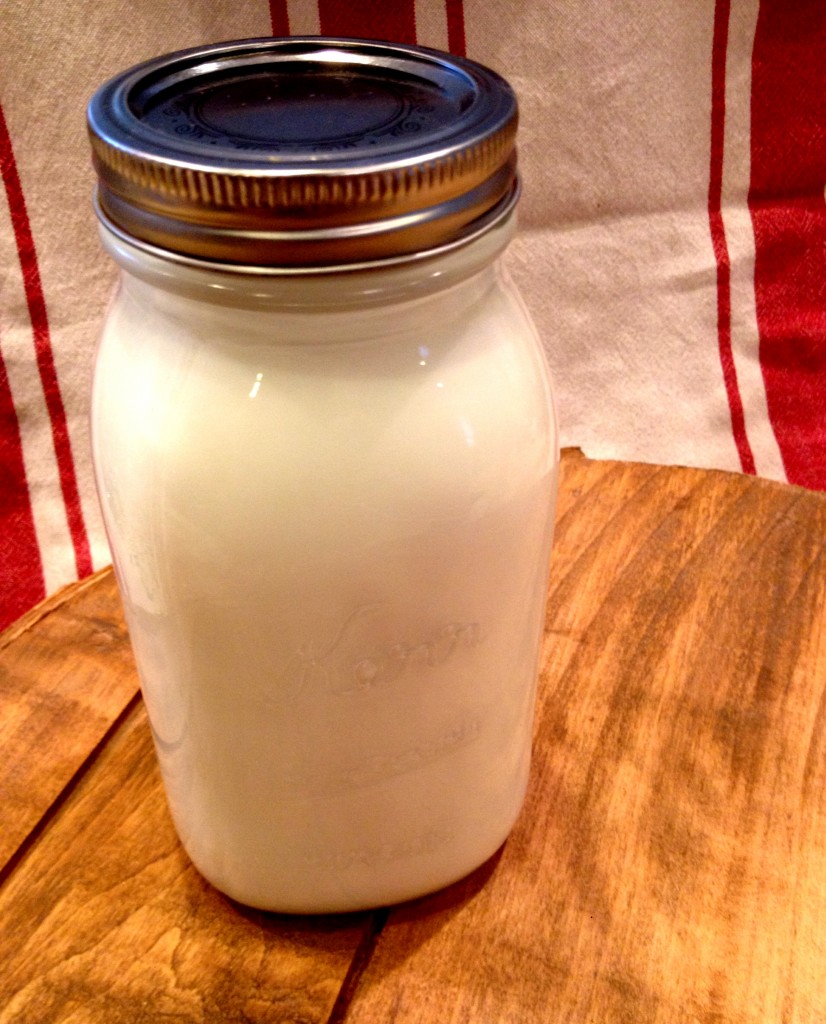 Quick & Easy Kefir
 container and pour kefir in (or use a funnel with a strainer …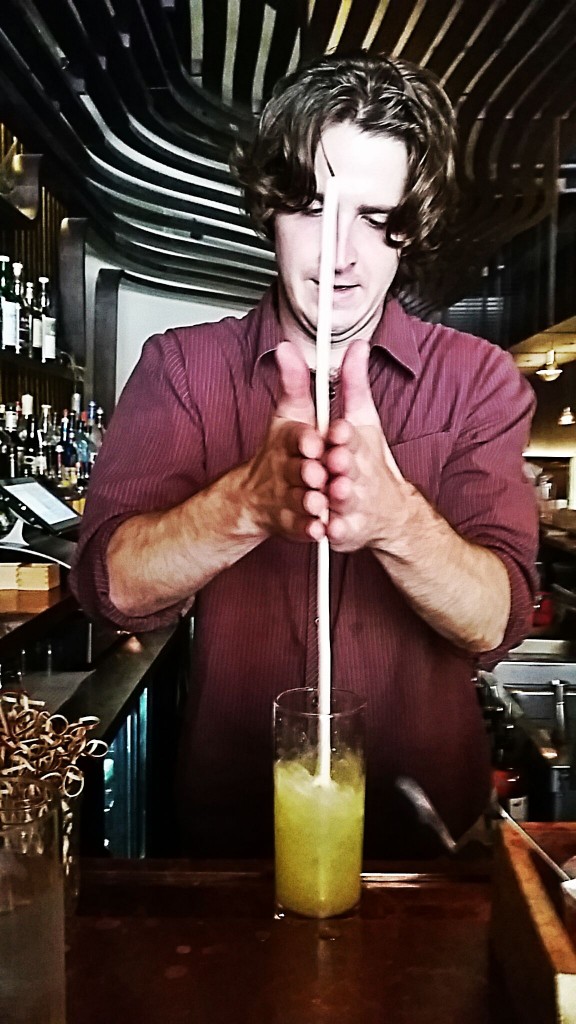
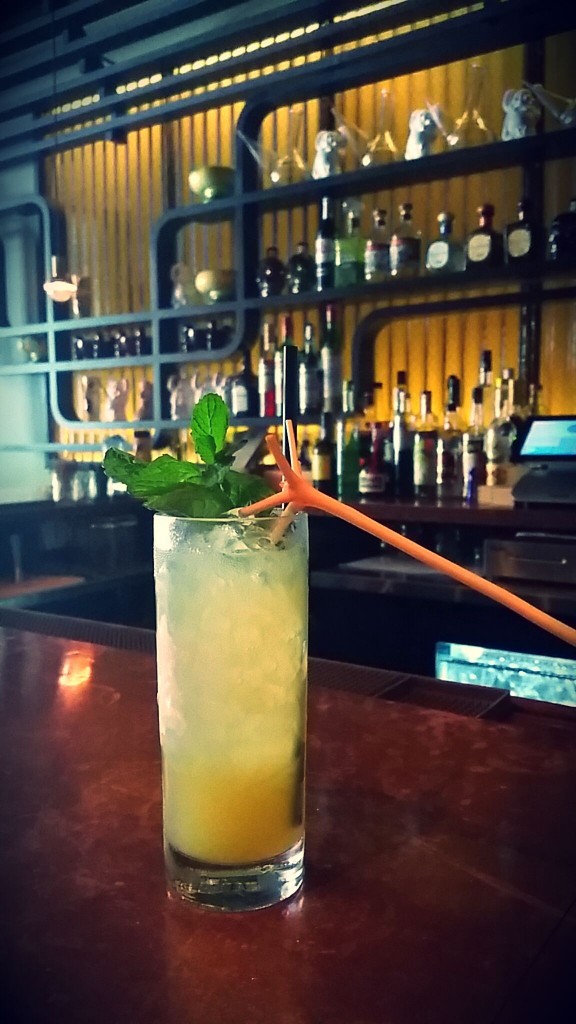 Falernum: Falernum is a bit tricky. The liquer has flavors of clove, ginger, almond, lime and allspice and is used to give tiki-style drinks great depth, complexity and spice. Sometimes it is alcohol-based and sometimes not. In this case we are using an alcohol base (Fee Brothers makes a decent non-alcoholic version). Taylor’s Velvet is a commercial, alcoholic version.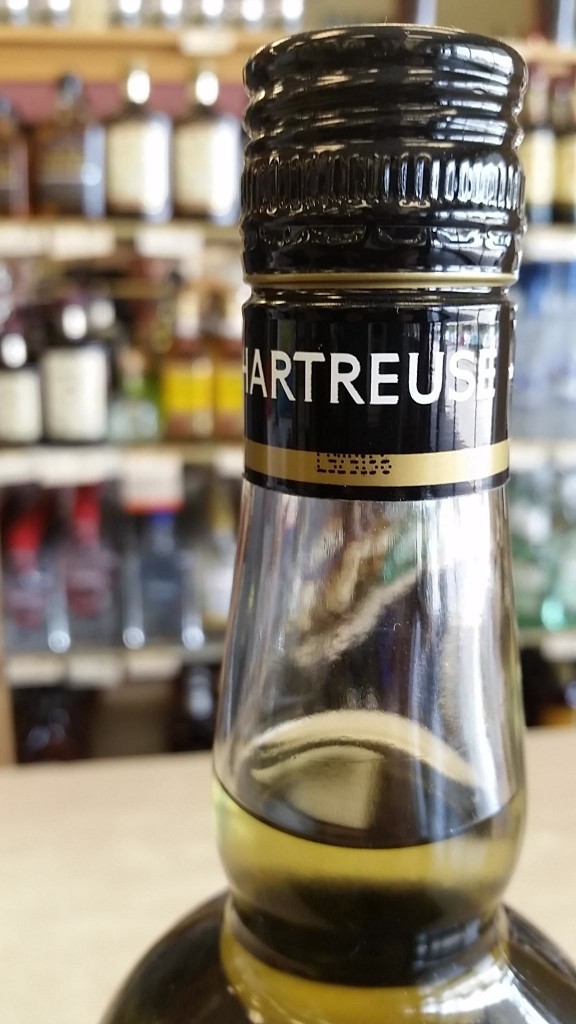
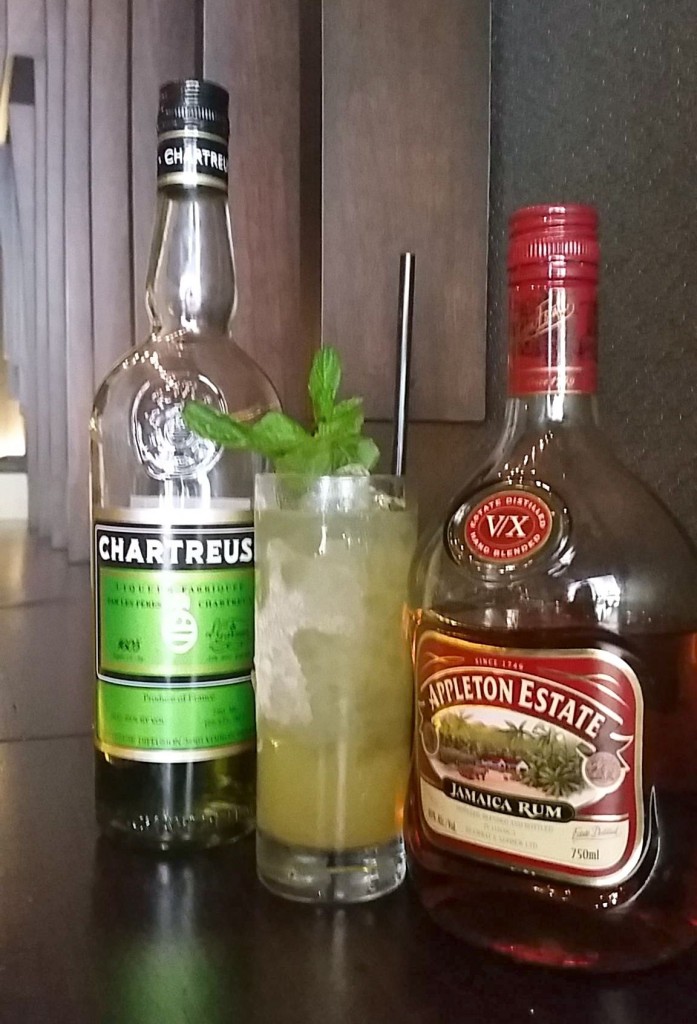 Trust me.