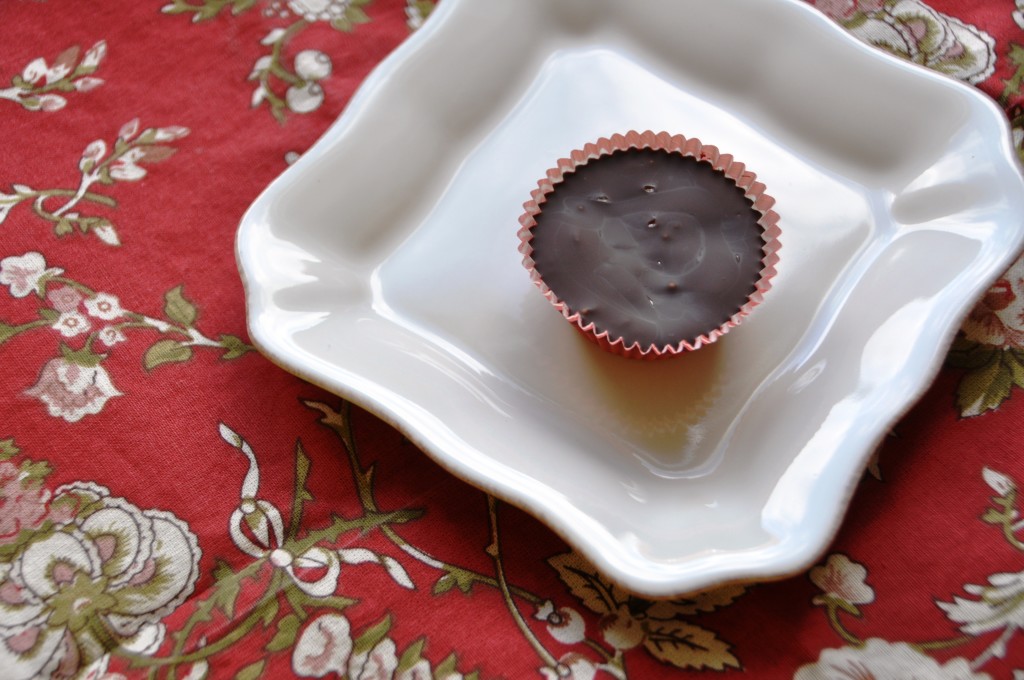
If At First You Don’t Suceed, Glaze Your Pork Again

We The Eaters would like to thank the author of this post for interning with us during the fall 2014 semester.
Sarah has been a real asset to our team, and we hope you’ll enjoy her first post!

I was in for a way-too-sweet surprise when my mom and I made raspberry and Chambord glazed pork chops. Sometimes cooking on the fly has your taste buds soaring, and other times you land in the dirt. Our foray into improvisation was the latter — so we made the pork again, this time with apricots and Triple Sec.

Second time’s a charm, right?

Cooking has always been about improvisation in my family, and my mother is the master of it. Watching her cook is like watching a whirlwind. She hardly measures anything and it always looks like she’s just throwing ingredients into a pan, but it definitely never tastes that way.
WP_20141130_054When I got my first apartment three years ago, I was determined to cook like her. There would be no diet of Top Ramen and Easy Mac for this girl! Instead, I spent the summer before my move cooking with my mom to learn all of my favorite recipes.

I learned that the way my mom cooks comes with practice. If I simply threw something in a pot when I first started, I would likely have ended up with something that resembled toxic sludge more than actual food. Or worse yet, set the house on fire! It took time, but my mom’s incredible patience helped me improve. Once I became comfortable with the recipe cards she gave me, I began to see how she cooks — and by the end of the summer, I had a repertoire that would save me from a kitchen full of pizza boxes.

Flash forward three years, and I cook almost every night. And when I come home on weekends, my mom and I cook together. Some people are afraid of too many cooks in the kitchen, but we’re a dynamic duo. And while we try to plan our meals ahead of time, it’s often a matter of what we have in the kitchen. Or what’s on sale at the store. Or both. This method can be a blessing, but it can also be a curse, as we soon found out.

When I told my mom I was supposed to cook with some sort of liqueur for my post, we found a pork recipe she used to make all the time. It called for apricot preserves, and my mom suggested adding triple sec. But a funny thing happened when we went to the store to pick up the ingredients … our improv bug kicked in. Raspberries were on sale — four packages for a dollar. We couldn’t pass them up, so decided the recipe needed an overhaul. Thus, pork with raspberry preserves, Chambord and fresh raspberries was born.

We followed essentially the same recipe, only with our berries instead of apricots. The result was a less-than-sweet success. The addition of fresh raspberries gave a nice bit of texture to the sauce, but the combined taste of the raspberry preserves and the Chambord was overpowering. And while the flavor of the pork wasn’t terrible, it was definitely not the flavor I was looking for. The sweetness of the sauce overrode the savory flavor of the pork, and made me feel like I should be spooning the sauce on a dessert instead.

After deeming our concoction too sweet for consumption, we went back to the drawing board … and by drawing board, I mean back to the grocery store to pick up apricot preserves.

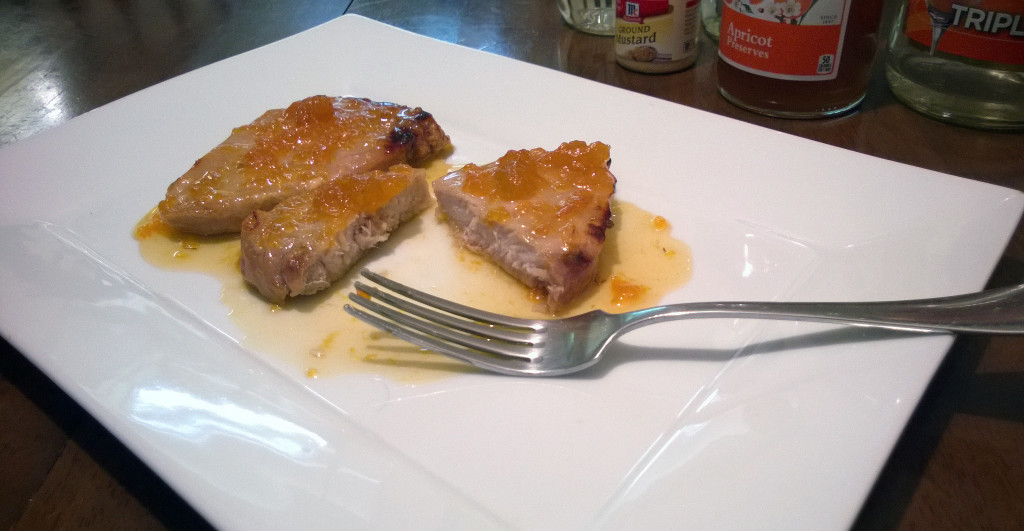
When we returned with our spoils, cooking the pork a second time was a breeze since we’d already done it once before. While making the glaze for the dish, we could tell from the smell alone that it was going to be better this time around. The apricot preserves coupled with the triple sec gave the pork that bit of tart flavor we had been hoping for, while still offering just a hint of sweetness. In other words, the sweet-tart flavor of the apricot sauce complemented the savory flavor of the pork, instead of overpowering it like the raspberry sauce had. It was well worth the effort of making the dish twice.

Cooking is about trial and error. We aren’t all Rachael Ray, and we mess up sometimes. The beauty of it is you can always make it again … or give up and order pizza!

Make sure to check back with us next week for a “Meet The Chef” post and our first cookbook giveaway! You’ll find details in next Friday’s post and on our Facebook and Twitter feeds. Good luck, readers!

Glazed Pork ChopsWP_20141130_005

(adapted from 366 Low-Fat Brand Name Recipes in Minutes)

4 3-ounce pork chops, trimmed
1/2 cup apricot preserves
1 tablespoon light corn syrup
3 tablespoons cider vinegar
1/2 teaspoon dry mustard
2 tablespoons triple sec (more or less to taste)

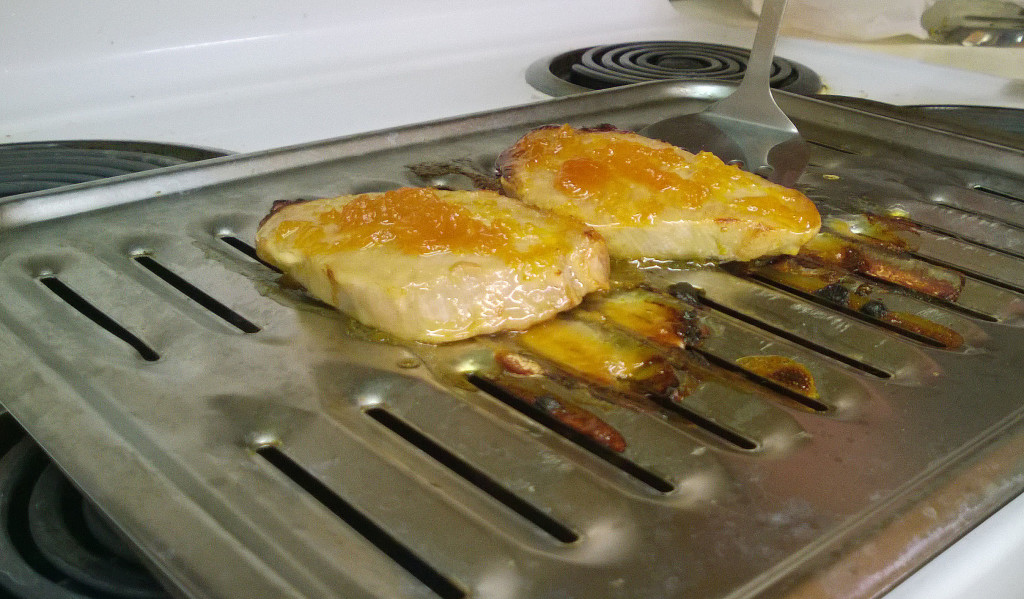
While the recipe says that the pork can be baked, broiled, grilled, or pan broiled, I decided to broil it. First, combine the apricot preserves, corn syrup, vinegar and mustard into a small saucepan. Stir them together before placing them on the stove. Bring the mixture to a boil on high heat, then reduce the heat to bring it down to a simmer. Cook it for three minutes while gently stirring the mixture. It’s ready when the sauce is slightly thick.

When the pork is almost done cooking, spoon the glaze over the pork chops. Do this multiple times during the last few minutes of cooking. The heat of the oven will thicken the glaze even more, giving it a nice consistency. Cover the pork chops with the glaze to your liking, and wait until the sauce is your desired thickness on the pork — but take care not to overcook the pork. Pull out of the oven and let stand for a minute before serving.
Tagged with: , , , , , , , , ,
Posted in Dear Diary

Slowing Down With Whiskey In My Roast

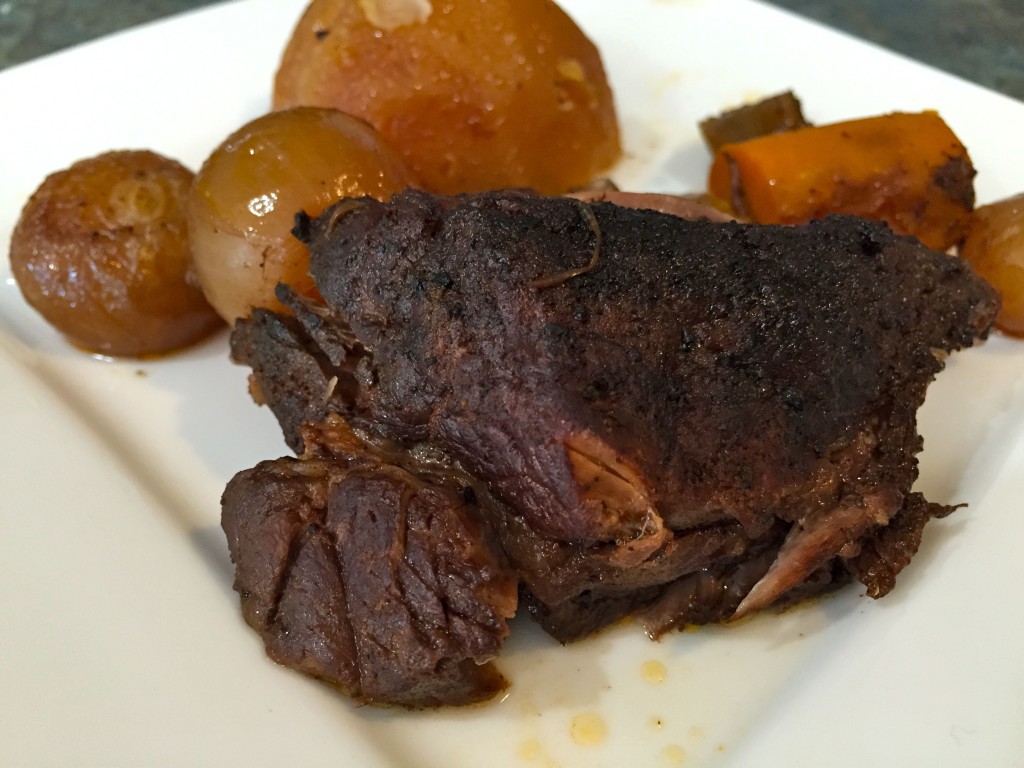
WhiskeyPotRoast7I’m not sure when I became one of those ladies who can walk into her local and order a shot of whiskey. It probably started with the mixed concoctions, like Coke and bourbon, in my earlier drinking years. But since I met my husband, Jim, I’ve gotten a better appreciation for the spirit.
Earlier this year we took a trip to Ireland with founding foodie Amy and her husband, Adam. Along the way we tried many different Irish whiskeys culminating with a visit to the Tullamore D.E.W. distillery. Tullamore, located in County Offaly, is where Jim’s father was born and raised. So the whiskey has a special place in our heart. We even toasted with it at our wedding … much to the dismay of our less-whiskey loving friends.

Given the looks on our friends’ faces after trying some, it can indeed be strong. But it’s these strong flavors that can impart so many different notes to a dish. Depending on its type and where it comes from, whiskey can lend itself well to lighter sweet dishes or heavy savory roasts.

WhiskeyPotRoast2The Whisky Advocate has a quick primer on how it’s made and the large range of types. The term whiskey encompasses many different spirits – peaty Scotches, sweeter American-made Bourbons, rich Irish-made, spicy Ryes. Specific regions are known for their own varieties. Scotland’s many distilleries impart subtle differences in taste by the region they are located, which comes out in the “peatiness” of the Scotch.

When you’re looking to use whiskey in a dish, how do you know which will work best? The first place to start is to taste it and try to get all the flavors. One trick we learned at the Tullamore D.E.W. distillery was to blow into our glasses before tasting. This simple action will remove the heavy alcohol from your palate, which will overpower the flavors you’re looking for. I’ve learned it’s also OK to water down whiskey or add ice to cut it a little.

With this knowledge in hand, Jim and I set out to make a pot roast in our slow cooker, something warming and hearty … perfect for the cold weather. And what could be more warming than whiskey? We raided our liquor cabinet and found ten different varieties. Clearly we enjoy the stuff! We tasted here and there: two different Jamesons, three different D.E.W.’s, one Scotch and a Rye.

WhiskeyPotRoast1

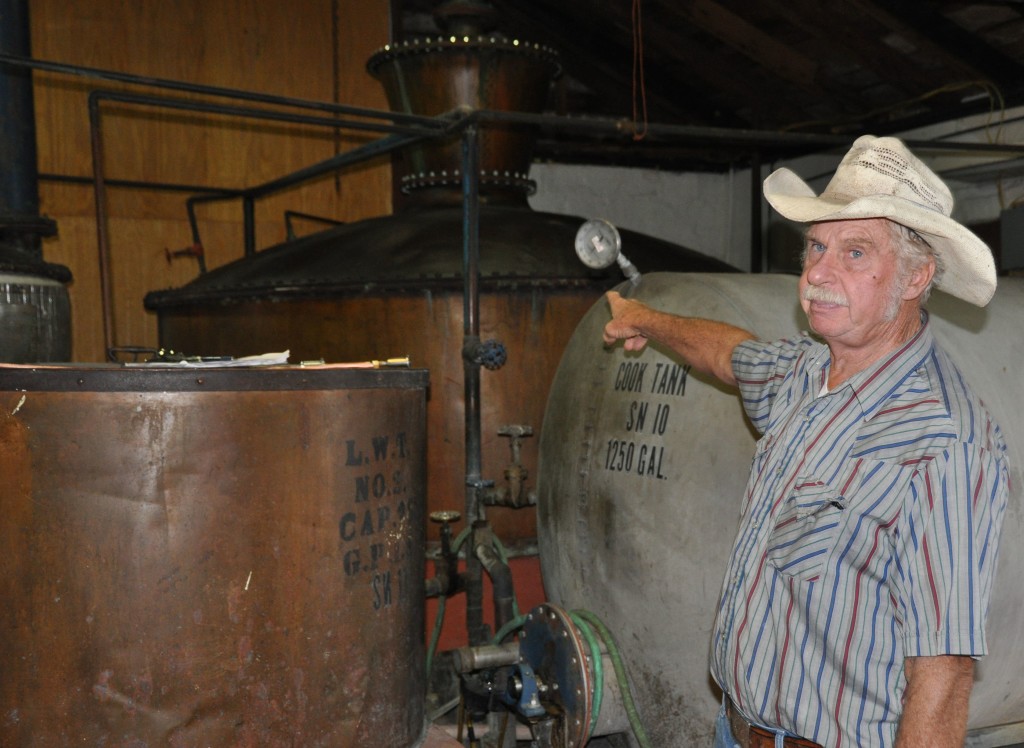
Owner and distiller Chuck Miller shows us his antique pot still, made in 1933 and re-discovered in the mountains outside of Charlottesville, VA.

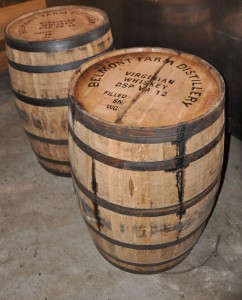
We settled on a Virginia based whiskey – Belmont Farm’s Kopper Kettle distilled and aged in traditional early American pot stills. If you’re ever near Culpeper, VA this distillery is a must see. We stopped in the day after our wedding for a quick tour after simply seeing signs along a country road. The distillers and owner were relaxing on the porch with lunch, a few dogs at their feet. We got a private tour and learned the history of the farm and the traditional methods of distillation, aging and even bottling that they employ.

As we tasted the Kopper Kettle, first blowing and then sipping, we picked up a hint of apples. That’s when Jim remembered: Belmont Farm ages their whiskey in apple wood barrels. We found our special spirited addition that our pot roast needed. After throwing this all in the slow cooker, we celebrated a little more. Thankfully, we woke up to an excellent meal to help cure us of our hangover.


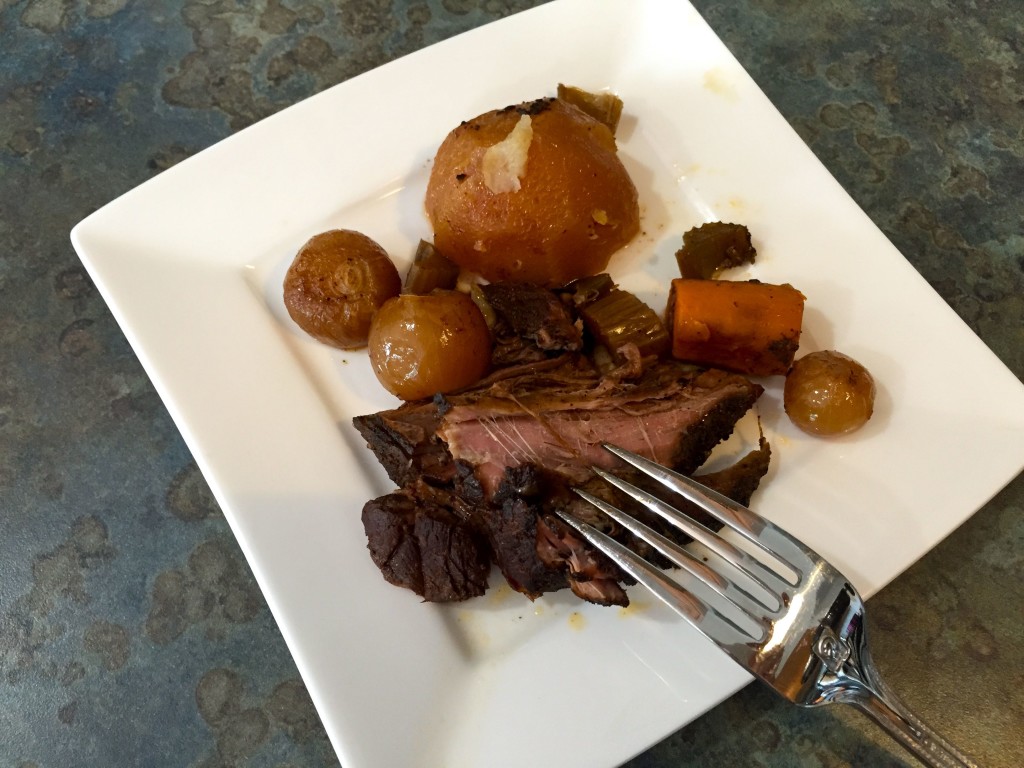
Slow Cooker Whiskey Pot Roast

We improvised the recipe by looking at a bunch of slow cooker pot roasts online. To season the chuck roast, Jim threw together things we thought would mesh well with the whiskey – coffee for earthiness and chipotle for a smoky kick. When seasoning, think of the flavors in the whiskey you’re using and try to find complimentary flavors.

2 1/2 tablespoons ground coffeeWhiskeyPotRoast6
2 1/2 tablespoons chipotle
1 teaspoon paprika
1 teaspoon sea salt
1 1/2 tablespoons black pepper
1 teaspoon fresh ground ginger
2 tablespoons Worcestershire sauce
2 1/2 pound chuck roast
4 – 5 celery stalks
pearl onions, peeled
potatoes, peeled
garlic, peeled and chopped
2 1/2 cups beef stock
1/2 cup whiskey

In a medium sized bowl, combine the coffee, chipotle, paprika, salt, pepper, ginger and Worcestershire sauce. Rub this all over the chuck roast.

Place the chuck roast into slow cooker and arrange the vegetables around and on top. Pour the beef stock and whiskey, covering the roast.

Turn slow cooker on low for at least 8 – 9 hours.

Tagged with: , , , , , ,
Posted in Dear Diary

Curiouser And Curiouser: How Can Paleo Be So Sweet?

“I can’t go back to yesterday because I was a different person then.”
— Lewis Carroll, Alice In Wonderland

My grandmother and I on a pilgrimage to ice cream mecca in Waterbury, Vt.

My grandmother and I on a pilgrimage to ice cream mecca Ben & Jerry’s in Waterbury, Vermont.

I’ve always loved dessert. My first crush was ice cream. That romance blossomed at my grandmother’s house when I was a little  kid, with bowls of Neapolitan drowning in Hershey’s chocolate syrup. I loved to mix it all up into a thick, chilly soup, spooning each creamy mouthful into my ice cream hole. As my taste buds grew up, my love affair with Ben & Jerry’s led me down a dangerous path – straight into the arms of New York Super Fudge Chunk.

At some point, “chunk” became the operative word. My ice cream hole became my pie hole … my cake hole … my brownie, cookie and crème brulee hole. Desserts and I have been friends a long time, and sadly, it shows.

As some of you know, my husband, Adam, and I took the Whole30 Challenge in October. We shed our wayward fast-food frenzies, along with alcohol and sugar … and at the end of the month, discovered we’d shed a few pounds as well. We both had more energy and genuinely felt better than we had in a long time. So we decided to stick to a Paleo diet as much as possible.

That doesn’t make desserts easy – at least not in the traditional sense — and I still crave a treat every now and then. But when you cut peanut butter (the hubs is a Reese’s Peanut Butter Cup fanatic), dairy (oh, crème brulee … how I love thee – let me count the, um, calories) and sugar (I guess that eliminates pretty much the rest of my former flames) from your diet, there’s not much left to whip up delicious concoctions with.

grave

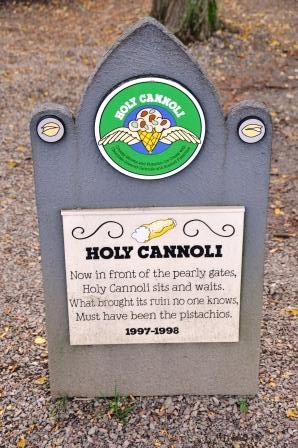
The final resting place defunct ice cream concoction “Holy Cannoli” in the Flavor Graveyard at Ben & Jerry’s.

Or is there? One look at a recipe for Chocolate Chunk Salted Caramel No Bake Cookies should be enough to convince you!

This post offered me the perfect chance to find out for myself, plus it fit right in with my personal theory on desserts — one that took 40 years to figure out! The first bite is always the most delicious. The second and the third also taste good, but a sort of law of diminishing returns comes into play. Those subsequent bites just don’t taste as good as that first mouthful. When it comes to desserts, more isn’t always better.

Test this out for yourself: Next time you have something sweet, savor every moment of that first bite rolling around on your tongue. Now, rate how delicious it is on a scale of one to 10. Be really honest! Take a few moments, then try another bite. Rate it. And a third. If your rating hasn’t dropped by that third bite, you are probably eating it too fast. I really believe that strongly in this theory.

That’s why tiny desserts are so perfect: They are designed to be one bite, maybe two.

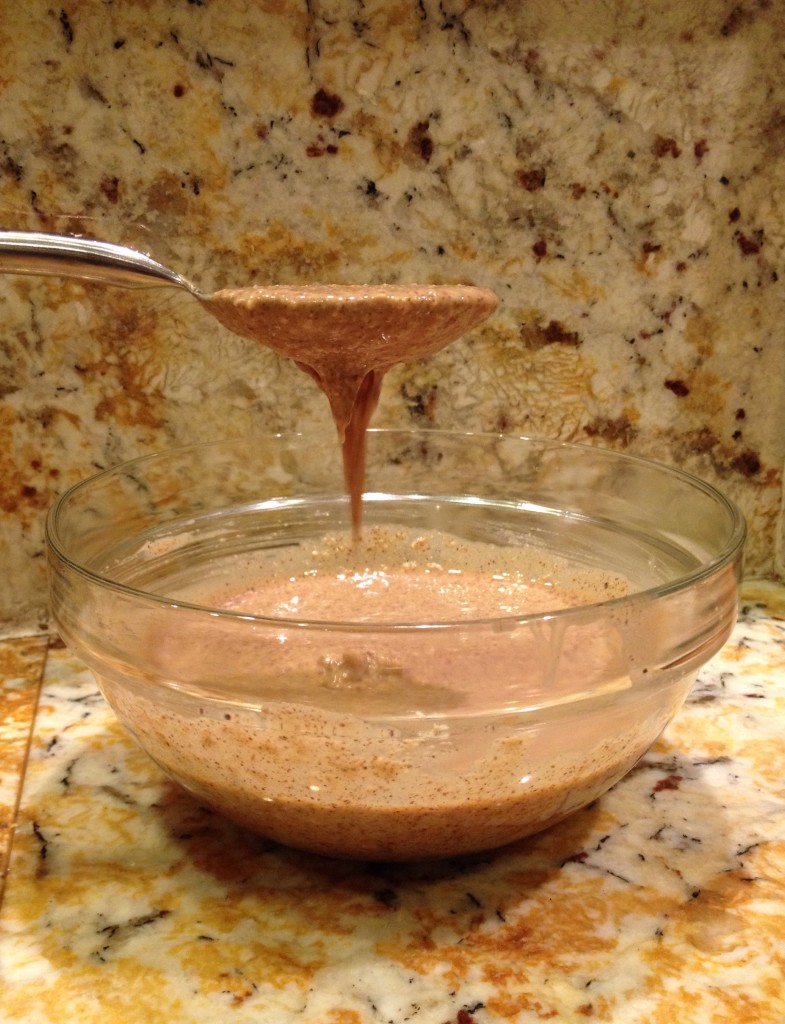
This week, I decided to Paleo-fy one of Adam’s favorites: peanut butter cups. He said this almond-butter version satisfied his craving, and was way better than the commercial varieties. I tweaked the recipe to compensate for some candy behavioral issues: a too-runny “peanut” butter that tasted really almondy-y and was so thin that a gob of chocolate sank to the bottom (which could be considered awesome). As you’ll see from the recipe below, I also added a sprinkle of his second (or third, if you count me and peanut butter cups!) love  — salt — for a little flavor contrast. Try them for yourself and let us know what you find that works better. I’d love to crowd-source an even better version!

The sad part? Just because a “dessert” like this doesn’t pack the same unhealthy punch isn’t a permission slip to go nuts (and seeds, as the case may be). I’m a different person today than I was yesterday. I’ve learned that moderation is key. But with just one bite (or three), you can even enjoy moderation … in moderation.

filling

Paleo “Peanut” Butter Cups  

This recipe was inspired by several other found on the internet, and lots of tinkering. These are gluten free, paleo, raw, vegan … and loaded with healthy fats. When selecting nut butters   fouse in this recipe, pick one that has a firmer consistency. If it is too creamy, it will result in a runnier filling (see picture at left). For the best consistency, make your own! I’d also suggest a few special tools, including condiment bottles. I use these in my kitchen all the time for sauces and such, so I have them on hand. They make cleanup trickier if you don’t just recycle the bottle when you are done, but they will make assembling these easier. Really. That said, you can also use an ungreased mini muffin tin, silicone candy molds or disposable candy cups. I used the later and found that the paper cups I used didn’t hold up well. Try foil or glassine.

1/2 cup raw smooth almond butter
1/2 cup raw sunflower seed butter
1/2 cup unsweetened shredded coconut
3 tablespoons coconut oil
1 tablespoon honey
1/2 to 1 teaspoon salt, with more for sprinkling tops, if desired (we crave salt on Paleo!)
1 package Enjoy Life Chocolate Chips (Whole Foods or other organic, healthy food markets)

Place almond and sunflower seed butter, coconut, liquid coconut oil (simply warm up the solid form), honey and salt in a food processor and puree until smooth and well combined. You can warm the entire mixture slightly to get into the condiment bottle, or if you plan to use a spoon, set aside.

There are two ways to make these. You can just add the peanut butter to the cups and top with chocolate, or go old school (preferred) and make a real “peanut” butter cup. I think making the cup helps if the filling is a little runny, or if you just like chocolate, so that’s how we roll in our kitchen. Add half chocolate chips to separate condiment bottle, or a glass bowl and heat in the microwave in short 10 to 20 second bursts until melted. DO NOT BURN. You can also heat using a double boiler on the stove — but water is chocolate’s enemy, so make it easy and nuke it.

Add a squirt or spoon of chocolate to the cup, using the nozzle or spoon to press or coax chocolate up the sides. Place in freezer to set for ten minutes or until set. The chocolate will look more matte when it is ready. I condone eating one (or three) to make sure they are ready.

Remove cups and squeeze pb cup overallor spoon a dollop of the filling into the center. Add more chocolate to the bowl or bottle and melt as per above. Cover peanut butter with chocolate forming the top of the candy. Freeze for 30 minutes. If you’ve used a muffin tin, pop these out carefully with a knife. Transferring to the refrigerator to store. Other recipes suggest storing in the freezer and then allowing to rest five minutes before eating. I’ve found keeping them in the ‘fridge means I can eat them immediately.
Just a few suggestions for those who want to experiment here: If you prefer a smoother consistency, or are serving these to someone who doesn’t like coconut, swap out the dried coconut flakes for 1/4 cup or more of coconut flour. I’d also suggest playing with the nut butters a bit. I plan to try a mixture of sunflower and sesame in my next batch. Try to avoid nuts or seeds with a really strong flavor, or those that are really oily. I love one blogger’s idea of using smoked salt to top them with.  Nom nom nom.

Tagged with: , , , , , , , , , , , , , , , ,
Posted in Dear Diary
photo credit to Aaron Otis Photography 2014


July
Watermelon is the perfect summer food. It hydrates, it cools, it's sweet and juicy. We have some great ideas for your table, including a salad, ceviche cups, popsicles and cocktails. Get ready to beat the heat with us!