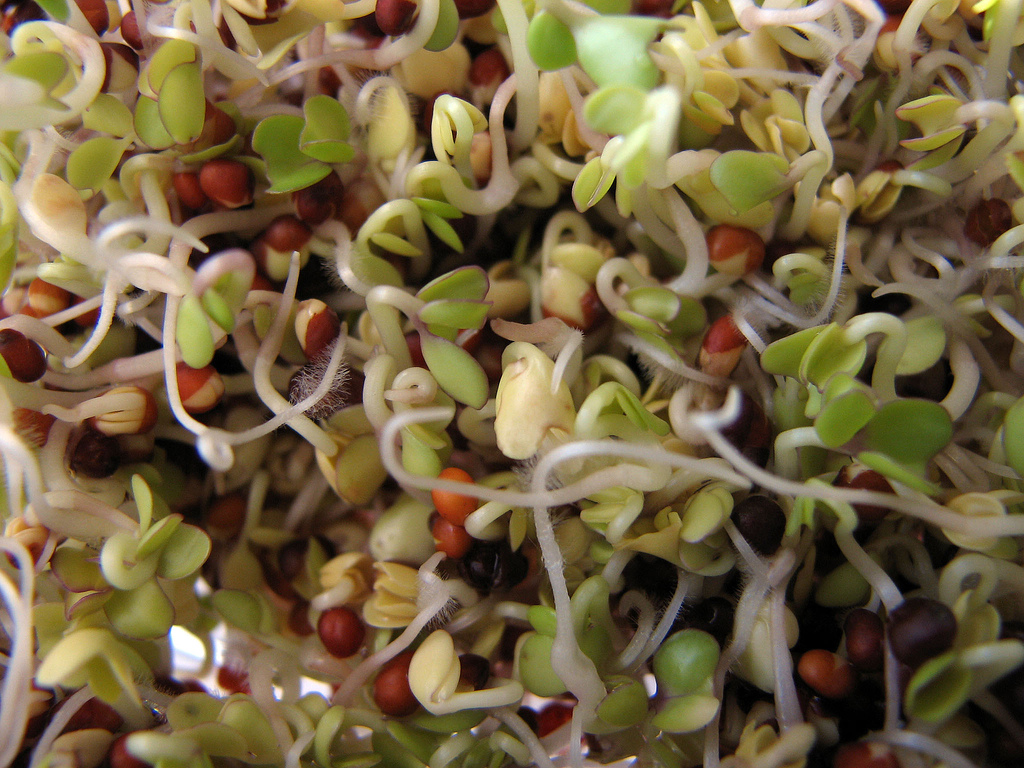
Photo Credit: lynnszwalkiewicz via Flickr
Hello Spring! Yes, it’s finally here and I’m so excited for the warmer, greener weather coming just around the corner. From getting the garden started to discovering the fresh seasonal produce at the farmer’s market, there’s a lot to look forward to.
But it turns out, you don’t have to wait for spring to sprout your own greens. In fact, you can sprout all year long in the comfort of your warm home. Something to keep in mind for next winter, when you’re longing for something fresh and bright from your garden.
Sprouts are very little, very young plants. Given the right conditions – temperature and moisture – they germinate or sprout from seeds. Think of sprouting as another form of cooking beans and legumes. You can’t eat them raw, but when sprouted the right chemical reactions take place to make them digestible. The whole thing brings me back to elementary school science class. Whether you have kids or not, sprouting is fun and rewarding. It doesn’t take a lot of time or equipment, so it’s easy and inexpensive. There are also a ton of health benefits to eating sprouts.
So what are you waiting for? Let’s get into the ins-and-outs …
What are the benefits of sprouting?
The Nourishing Gourmet has a great analogy in her post about sprouting. She describes a seed as a treasure chest containing a ton of nutritional advantages locked up tight, needing just the right key to open it up. And when you pop that lock, i.e. sprout it, you get a beautiful tiny little plant containing all those powerful nutrients! Not only is that a really adorable story … but it’s the perfect way to think about it. The Sprouting Book by Ann Wigmore is also a great resource, as is this one by Rita Galchus on Homegrown Sprouts.
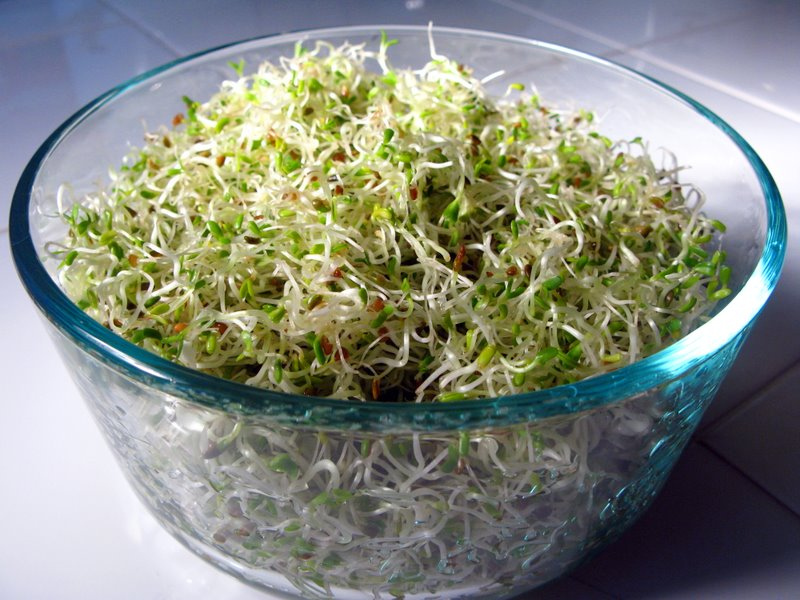
Photo Credit: johnnystiletto via Flickr
You can’t eat that treasure chest without it hurting your tummy or just not really digesting properly. The process of sprouting neutralizes the phytic acid found in the hull of nuts, seeds and grains. Phytic acid binds to certain minerals such as calcium, iron and zinc, which can lead to deficiencies in people whose diets depend solely on these foods. So sprouting allows the vitamins and minerals packed within to be absorbed more effectively.
You’ve probably heard about the magical fruit? Beans! Well, another benefit to sprouting is that it greatly reduces or eliminates the complex sugars that causes intestinal gas. By sprouting before adding to a soup or a chili, your tummy will be much happier.
In this video Sally Fallon describes the process of sprouting grains in traditional cultures. It unlocks the real nutritional potential by getting rid of the toxins, enzyme inhibitors, mineral blockers and irritating lectins that can make grains hard to digest and cause digestive issues.
What can be sprouted?
According to Wikipedia’s page on sprouting, all viable seeds can be sprouted. There are so many to try, you wont get bored – beans, seeds, nuts, micro greens, pseudo-grains and grass. It’s best to make sure you’re starting with raw, organic seeds.
You can get seeds from a variety of places, including on Amazon. They sell a huge variety of seeds, kits and accessories (like these mason jar lids Amy uses for sprouting). I was a little overwhelmed looking at the variety of seeds available on their site. Some I’d never knew you could sprout – garlic, leek, dill … and fenugreek?! There are even sprouts you can grow for cats, dogs and birds.
They all have unique tastes, uses and benefits. You can even add a variety of seeds in one sprouting jar to get a mix of flavors.
How can you use sprouts?
You can eat sprouts raw or cooked. If you choose to eat them raw, be sure to only eat sprouts like radish, clover and broccoli, according to the Nourishing Gourmet, who cites Sally Fallon’s recommendation for cooking sprouts and avoiding eating them raw, as some can still be toxic until cooked. Of course, there is some debate over this. Before choosing to eat your sprouts raw, do some research! Even just a light steam may be all you need.
As I researched, I ran into a ton of uses for sprouts:
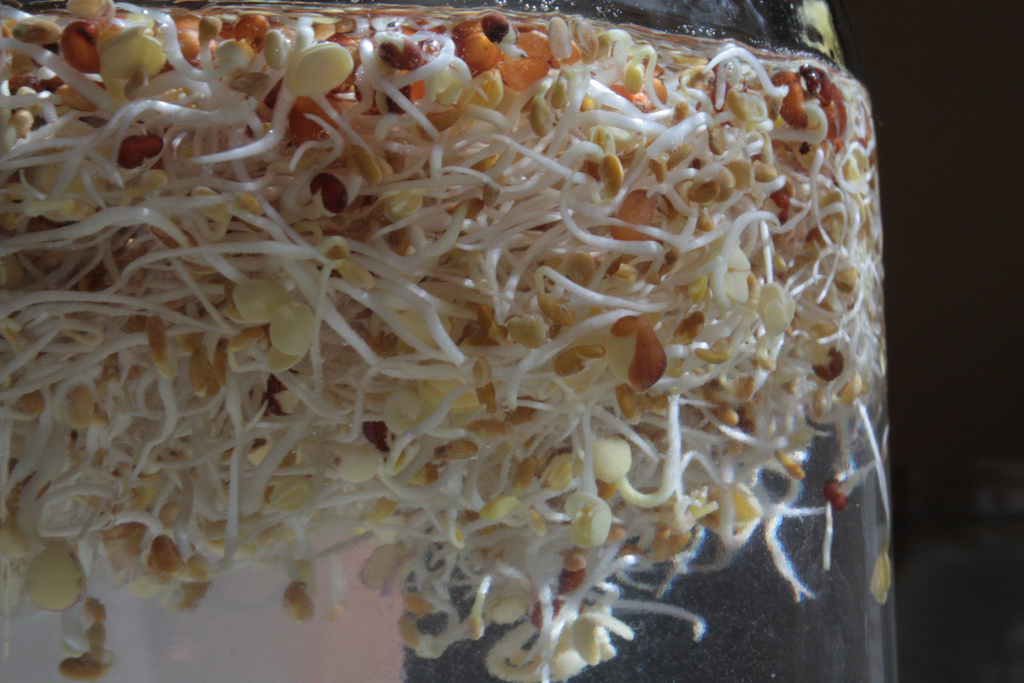
Photo Credit: katedanger via Flickr
- Bread – sprouted bread is much easier to digest and more nutritious than normal breads made with flour. The sprouts also add a crunchy texture that I personally love in my bread. Some manufacturers, such as King Arthur, makes a sprouted wheat flour you can use to make a softer, but still nutritious bread, such as this one from the Nourished Kitchen.
- Soups – sprouting beans and legumes before adding them to your soups will help you digest them better by avoiding the gas and bloat later. Also, try adding raw sprouts on top for an added crunch or at the end to get them a little wilted. Some great sprouted soup suggestions range from hearty lentil and bean beef stew to a vegetarian soup with a trio of sprouted beans.
- Dahl – this thick Indian stew is perfect for adding your sprouted lentils or beans, served over rice or eaten with bread. It’s a vegetarian staple in the near East with many variations. Vegan Richa’s blog has many sprouted bean recipes, including this sprouted mung bean dahl.
- Hummus – traditionally chickpeas are soaked overnight to soften. Why not sprout them before making the hummus? Or try making a variation with other sprouted beans or peas.
- Breakfast – throw sprouts into an egg omelet or simple scrambled eggs for an extra boost of nutrition. Or try your hand at one of these homemade sprouted grain cereals, sure to be a lot cheaper than the store bought version.
And if those weren’t enough, Sprout People has a ton recipes and ideas on their site.
Last notes …
As I researched, I ran across a few sources noting the dangers of sprouting. Unfortunately, those same conditions that help to germinate the seeds and beans are also the best conditions for bacteria to grow. This can include Salmonella, Listeria and E. coli.
There is also a risk that the seeds or beans you have purchased may already be contaminated. From what I read on various sources, while you cannot 100% guarantee that what you purchase does not have any contaminates, your best bet is to start with a known certified, pathogen-free source.
Also, by practicing simple food safety at home you can avoid a lot of the risk. Ensure your jars and other equipment are clean and sanitized. Thoroughly rinsing and soaking your seeds before sprouting will help as well. Check out FoodSafety.gov’s home sprouting guide.
Basic Sprouting Method
All month long we’ll be featuring different sprouted seeds with tailored instructions and a recipe. For the most part, you can use this simple home method with very little supplies. The time to sprout your seeds can vary … so make sure you check them daily! For a visual, check out this video from the Stone Soup showing a super simple sprouting method over four days.
Equipment
1 quart wide mouth mason jar
Cheese cloth or straining lid – something to allow moisture to drain out and air in
Fine mesh strainer
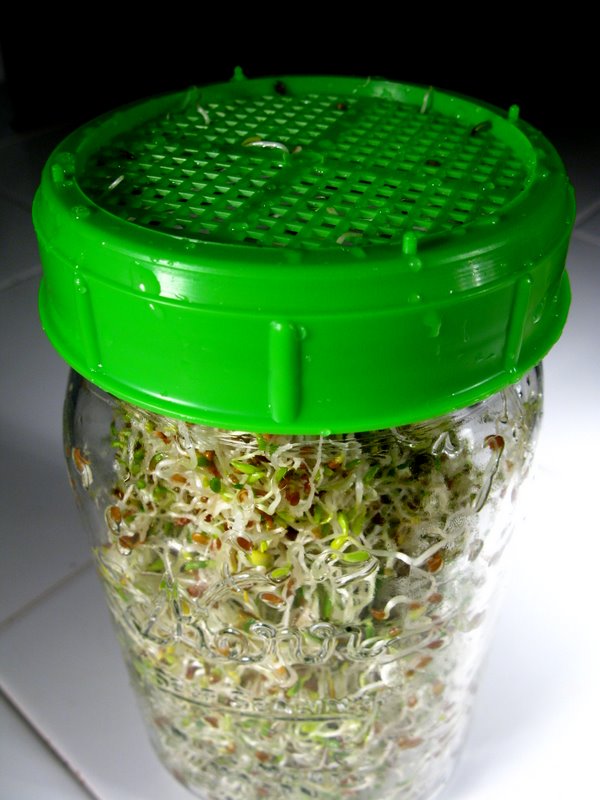
Photo Credit: johnnystiletto via Flickr
Start by thoroughly rinsing the seeds. Pour them into a fine mesh strainer and rinse under a faucet on high for about a minute. When done, shake them out and pour them into the jar.
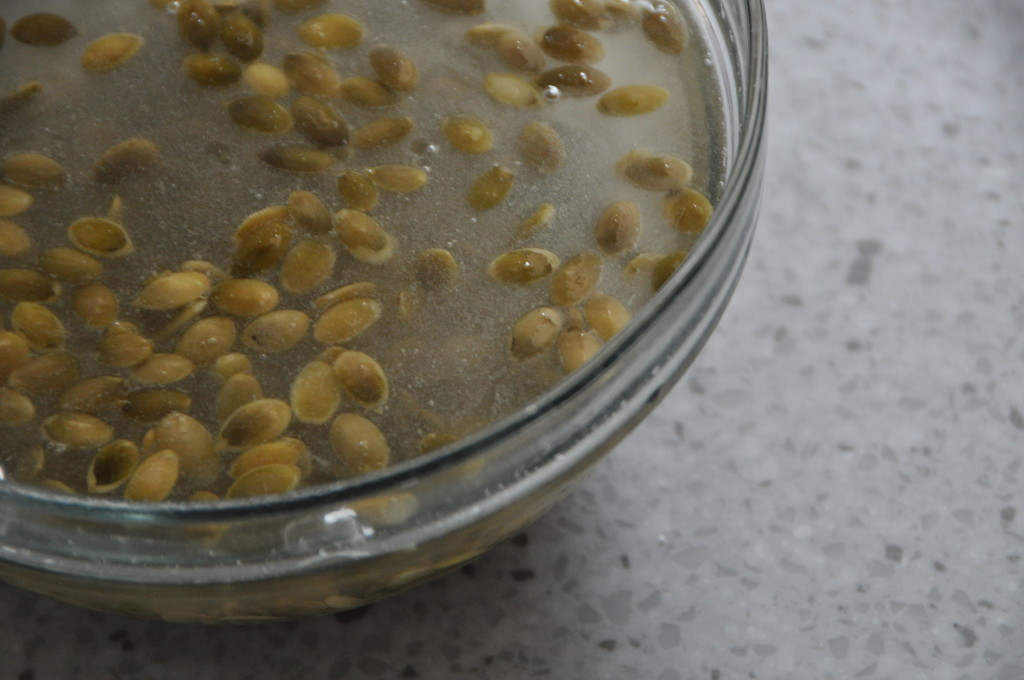
Add water about half way into the jar, ensuring the seeds are well covered and the water is about a few inches higher than the seeds. Allow to soak overnight. Note, soaking times may vary depending on what you are sprouting. See the Spouting Seeds list of seeds, nuts, bean, etc for exact times.
The next morning, cover the jar with the straining lid or cheese cloth and drain the water thoroughly. Place the jar, lid down, at an angle in a bowl or strainer on your countertop, preferably not in direct sunlight. This will allow the excess water to continue to drain while letting air into the jar.
That evening, rinse and drain again. Repeat this every day, twice a day (or as often as you remember) until sprouts form. This can take longer or shorter depending on what you are sprouting. You’ll know when they have little tails coming out of the seed. Store the sprouts in the fridge or use in a recipe right away.


 Pronounced KEEN-wah, this little grain is one of the tiniest heroes amidst the healthy buzz words you may have hears about over the past few years. But here’s our tip this week: You can make this power-packed super grain even healthier. How, you ask? By sprouting it, of course!
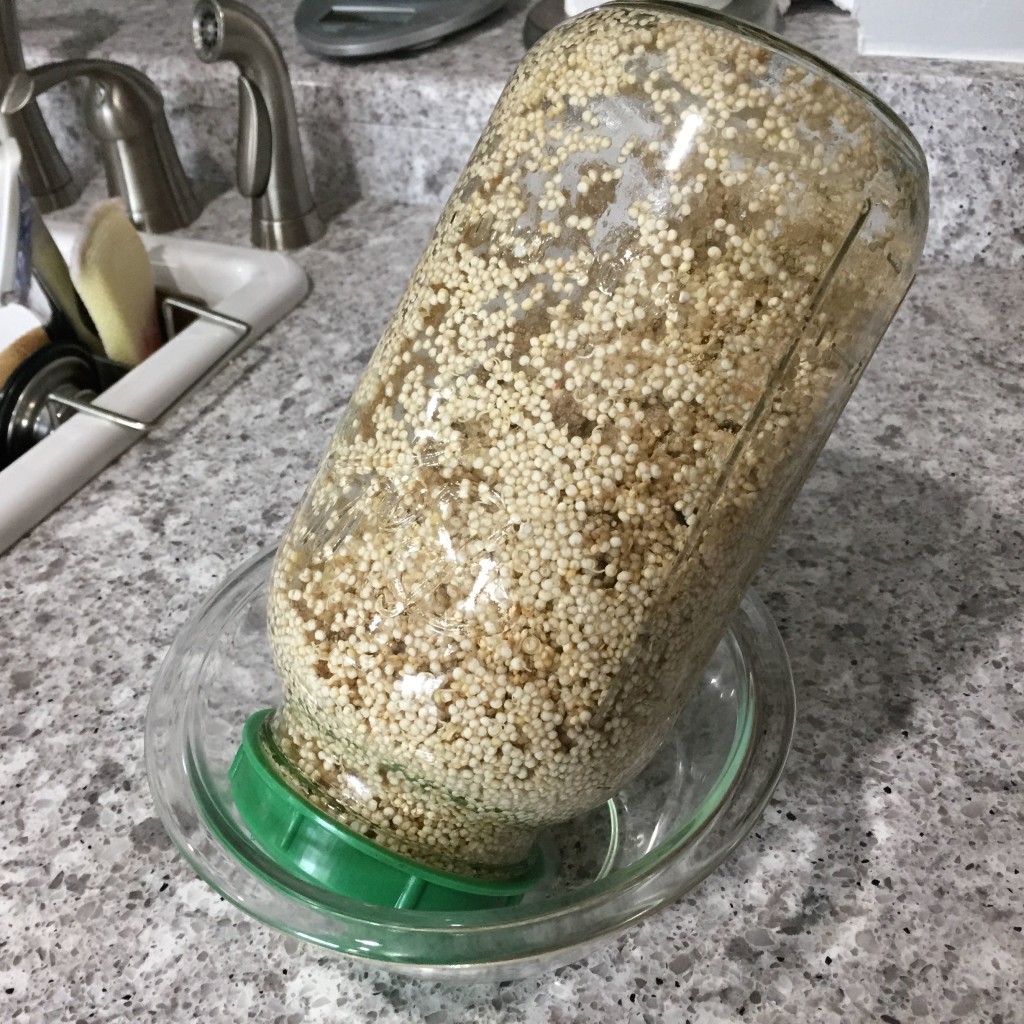 Sprouted quinoa can be swapped for non-sprouted quinoa in virtually any recipe. Some recipes call for rinsing, and/or soaking it first. You can skip this this step since it’s already been rinsed and soaked during sprouting … and rinsed and rinsed again and rinsed some more (see last week’s
 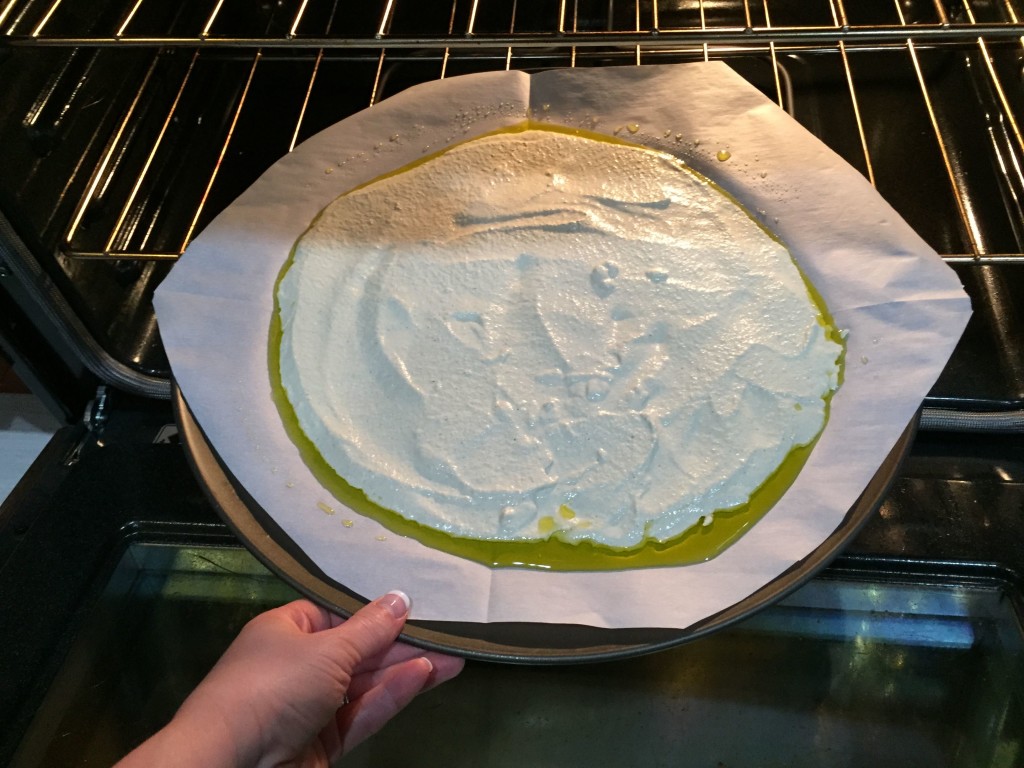 1/2 cup water