 Oh, summer! The scorching, sweltering, suffering days make this my least favorite of seasons. You may notice by my choice of adjectives that I, quite literally, can’t take the heat. There’s something about condensation on my skin from simply standing in open air that I just don’t appreciate.
In fact, I would boycott summer entirely if I could. Since I can’t, living in the sweltering Bible Belt as I do, I eat my feelings instead. When I’m hot, I’m cranky. My first inclination is to grab something delicious to balance my negativity. Which brings me to my point, and my favorite food group: The delightful hero of all desserts—ice cream.
Ice cream is very important.
That bears repeating.
Ice cream. Is. Very. Important.
I’m admittedly obsessed, but to be fair—it’s in my blood. My grandfather used to always cross himself when he had to drive past a Dairy Queen without stopping. My mom has at least two cartons of our chosen vice in her freezer at all times, nestled snugly between frozen peas and chicken. I was raised eating the creamy stuff to celebrate all occasions, no matter how minor or monumental.
I like to imagine myself raising my future spawn to snack solely on homemade kale and barley popsicles. But I’ll be honest—more for my sake than yours—that the ice cream habit will most likely be passed down to yet another generation.
Imagine my delight when, in my junior high science class, I realized that I could concoct this refreshing delicacy solo. All I needed were my own hot little hands and a few simple tools: A technique somewhat similar to this tutorial (minus the ingenious treadmill hack). Our science teacher had us roll the coffee cans back and forth on the concrete floor by hand for what felt like (OMG) HOURS of my 13-year-old life. But oh the reward for our efforts!

From that moment on, I developed a deep passion for handmade ice cream.
Knowing this, you wont be surprised to find that after my husband proposed, one of the first things I registered for was a stainless steel Cuisinart ice cream maker. My husband thought it was a little silly—something we would never use, a kitchen gadget akin to an egg cuber or a hotdog bun toaster. I promised to prove him wrong, and prove him wrong I have.
Making your own ice cream is fun. It can be a cool way (forgive my pun) to experiment in the kitchen: It’s not difficult, and homemade ice cream is always a crowd-pleaser.
Today, I’m sharing two D-I-Y recipes. We’ll start simple, making an ice cream using just a bowl and your freezer. Then we’ll move on to a more complex recipe that requires a blender and an ice cream maker.
For this first recipe, you’ll need a large bowl (preferably stainless steel, but glass would work), a whisk, aluminum foil, a sealable container to store the ice cream in and access to a freezer. Also, it’s best to do it earlier on in the day, and possibly the weekend if you work or go to school: The freezing process will take three to four hours and you need to be there to stir it once in a while.
Excellent Basic Ice Cream
2 cups whole milk (2% will work if you’re watching the caloric intake)
2 cups heavy cream
1 cup sugar
1/2 teaspoon salt
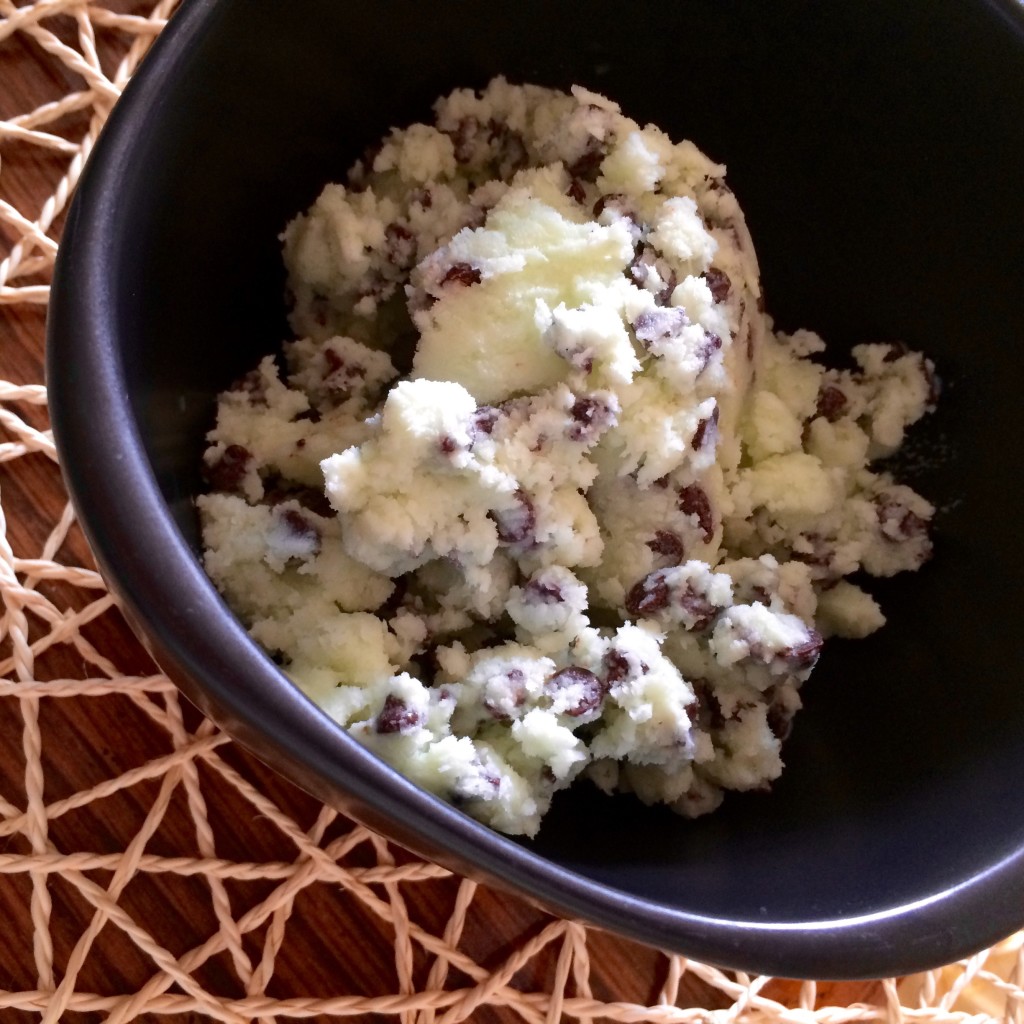
1 teaspoons vanilla extractThis recipe is a great as is, but I always add things to make it fun. Today, I’m going to make it a classic Mint Chocolate Chip Ice Cream by adding the following:
1 teaspoon mint extract
2 cups mini semi-sweet chocolate chips (or 1 cup if you don’t like chocolate crammed into every bite like I do… (you weirdo)
Food coloring (I chose green because I’m boring, but might I suggest purple?)
In the large metal bowl, add all ingredients excluding mix-ins (candies or other crunchy yum yums that are to be suspended at random in the creamy goodness.) In this version, we’ll set aside the mini chocolate chips.
Whisk together thoroughly and cover bowl with aluminum foil.
Place bowl in freezer and set your kitchen timer to 30 minutes.
After 30 minutes, remove from freezer and whisk the mixture for a few seconds, making sure to scrape the sides of the bowl. Recover with foil and again place in the freezer.
Repeat this process, removing the bowl from the freezer every 30 minutes to mix. The third time you mix, you will start to see the ice cream forming around the edges. The fourth time you mix, the ice cream should be thick enough to add your mix-in of choice.
Keep freezing and mixing every 30 minutes until you are satisfied with the consistency of the ice cream. Most people are happy by the 5th or 6th time, but no judgment if you like your ice cream rock solid.
If there are any leftovers (lol), keep them fresh in a sealable storage container. I like Glad FreezeWare.
Other ideas for mix-ins:
- Orange liquor with mallow swirl
- Crushed pineapple and shredded coconut
- Nutella swirl, banana chunks, and toasted slivered almonds
The possibilities are endless, and the results are usually delicious… don’t get too crazy on me.
Cherry Cheesecake Ice Cream
For this next recipe, you will need a blender and an ice cream maker.
** Before beginning, make sure you have followed your ice cream maker’s prep instructions. Most brands require that you freeze an inner bowl for several hours before making ice cream.
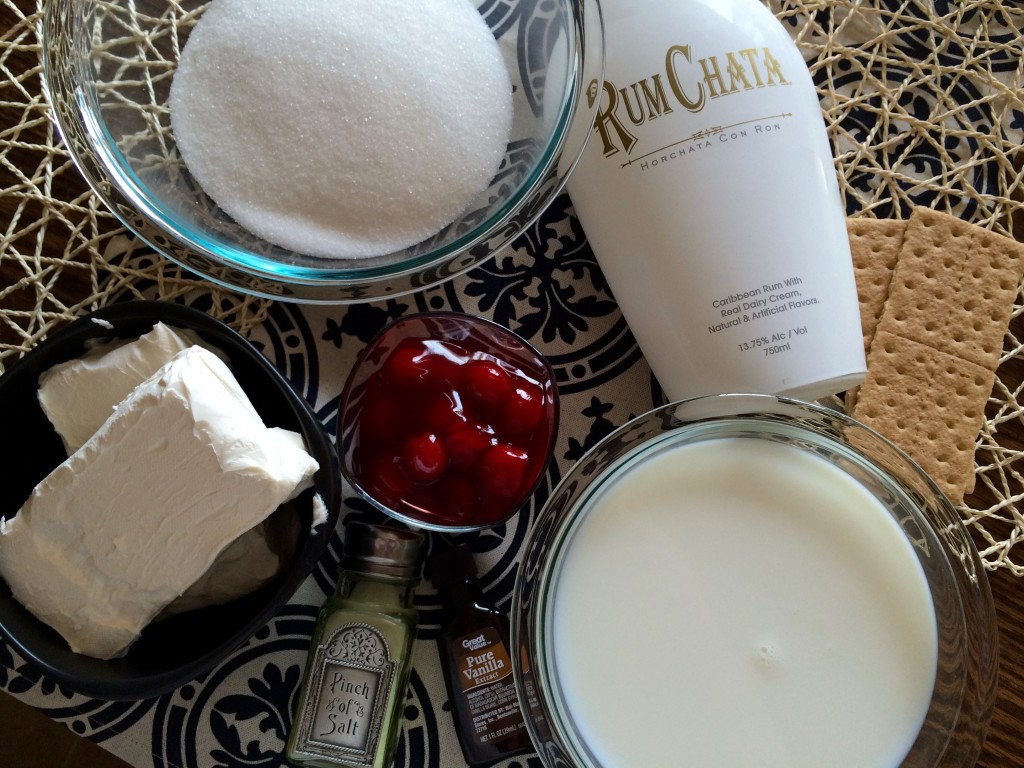
4 cups whole milk (2% is okay as well)
2 (8 oz) packages softened cream cheese
1 1/2 cups white sugar
1/3 cup Rum Chata (this isn’t required, but the Rum Chata really makes it sing. You can always use a teaspoon of cinnamon instead. It won’t be quite as good but it will still be lovely.)
1 tablespoon vanilla extract
1/2 teaspoon salt
1 package cinnamon graham crackers
1 21 oz can cherry pie fillingPour milk into blender. Cut the softened cream cheese into chunks and add to milk with sugar, Rum Chata, vanilla extract and salt. Pour as much of the cherry pie filling in as your heart desires—I use about a 4th of the can. Blend until smooth, stirring occasionally with a long spoon if needed.
Follow your ice cream maker’s instructions. Mine has you turn on the maker and slowly pour the mixture into the rotating bowl, leaving the ingredients to stir and meld together until finished.
Set your kitchen timer for 15 minutes. Check on the ice cream: It should be forming nicely. Add your mix-ins at this point. For this recipe, I add another 1/4 of the cherry pie filling can to get some good cherry chunks, and four coarsely crushed graham crackers for texture.
Continue to follow your ice cream maker’s instructions until the ice cream is the desired consistency. My maker is usually done in about 30 to 40 minutes.
Serve with graham crackers and cherries. Store leftovers in a sealable storage container.
Like the first recipe, this is completely customizable and you should definitely experiment with the ingredients! Enjoy these delicious recipes and have fun creating some of your own! If you find a particularly tasty variation, please do share it with me in the comments section here. I’ll willingly gain three pounds to test your creations.
And for heaven’s sake, leave your kale-pops at home.