

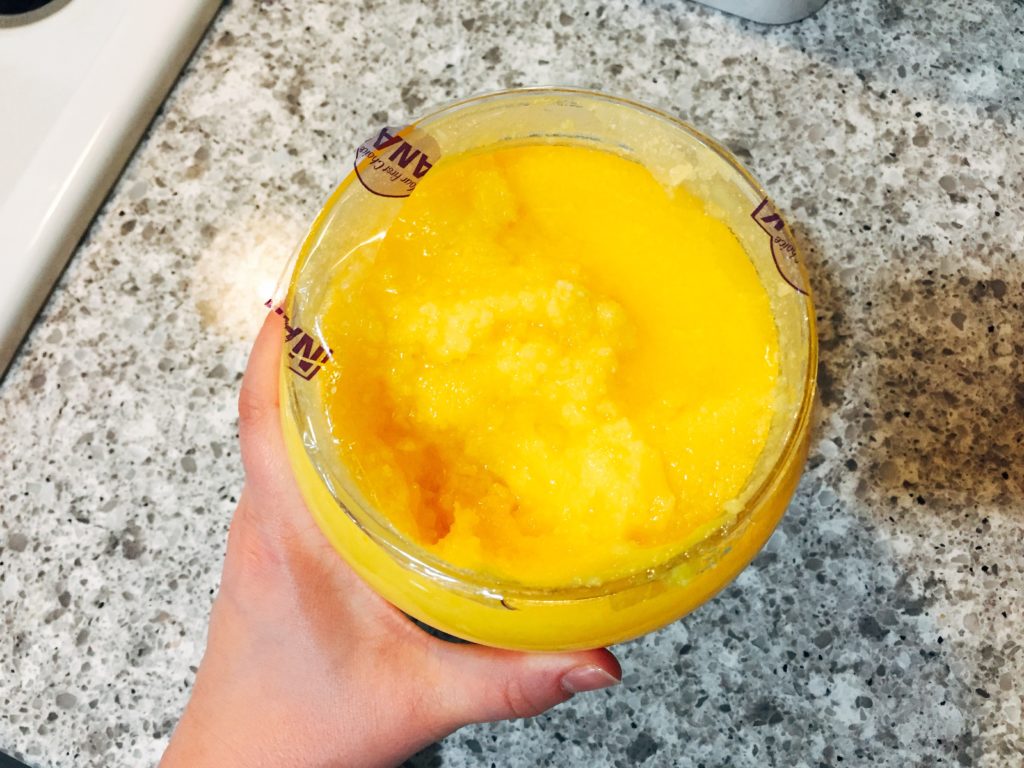
 Two years ago I did the Whole30 diet and my love of ghee was born. Since then, I keep a jar or, thanks to Costco, a tub stocked in my pantry next to my olive oil. It’s one of my favorite fats. And no wonder, it’s born of butter.
This is our last week talking all things butter. We started with how to make your own. So, if you’re following along, you then flavored it and browned it. Now we’re transforming it.
If you don’t know, Whole30 is basically an elimination diet. Remove the things that may be causing you problems to see if you have any food sensitivities, the usual culprits: sugar, gluten, wheat, certain nuts, dairy, etc. Insert record skip here. Dairy? But butter = dairy … right?
That’s just it. While it starts from a dairy product, the process of making ghee completely removes any dairy proteins or lactose, the stuff that you might have an intolerance to. Think of it like transmogrified butter – it’s transformed and magical.
But why is this particular fat such a favorite of this diet? It’s rare to encounter one with high nutritional content and such a high smoke point.
Ghee, while mostly composed of pure unadulterated fat, also contains significant amounts of vitamins A, E and D, as well as Omega-3’s and butyric acid. These have been linked to anything from heart and eye health to a boosted immune system. Of course, as with any fat, no matter the health benefits, you should watch how much is going into your diet. A little goes a long way!
 OK, so it’s not too shabby in the health department, but what’s this high smoke thing all about? I’ll let Serious Eats school you on what high smoke points are and why you should care when choosing a cooking oil. Long story short, a higher point lets you do more things with it. It’s smoke point is 450 degrees, same as it’s sister, clarified butter (we’ll get to that in a second), that’s higher than coconut oil and butter itself (both at 350 degrees).
I fell in love with ghee’s flavor and aroma. It has a pleasant nuttiness to it, a fuller and deeper flavor than other oils or butter. If you make it yourself, you get a hint of browned butter. Heck, it’s almost the same process. One of my favorite ways to use it is to cook eggs – it’s flavor is a great compliment to the eggs and it gets a good crispiness to the edges when fried. But it’s great used in just about any scenario – sautéing vegetables, pan searing chicken or pork, frying rice. Just about anywhere you’re using a fat, swap it with ghee and it will taste better.
Ghee is also a staple of Indian and some middle Eastern cuisines. It originated in India and many traditional dishes are made with it. My co-worker, an Indian immigrant, was surprised to hear that we use ghee on a regular basis at our house. He and his family keep a jar for cooking as well as for their kids to eat raw on top of certain breads. I quickly pointed him to the giant tub and great price at Costco.
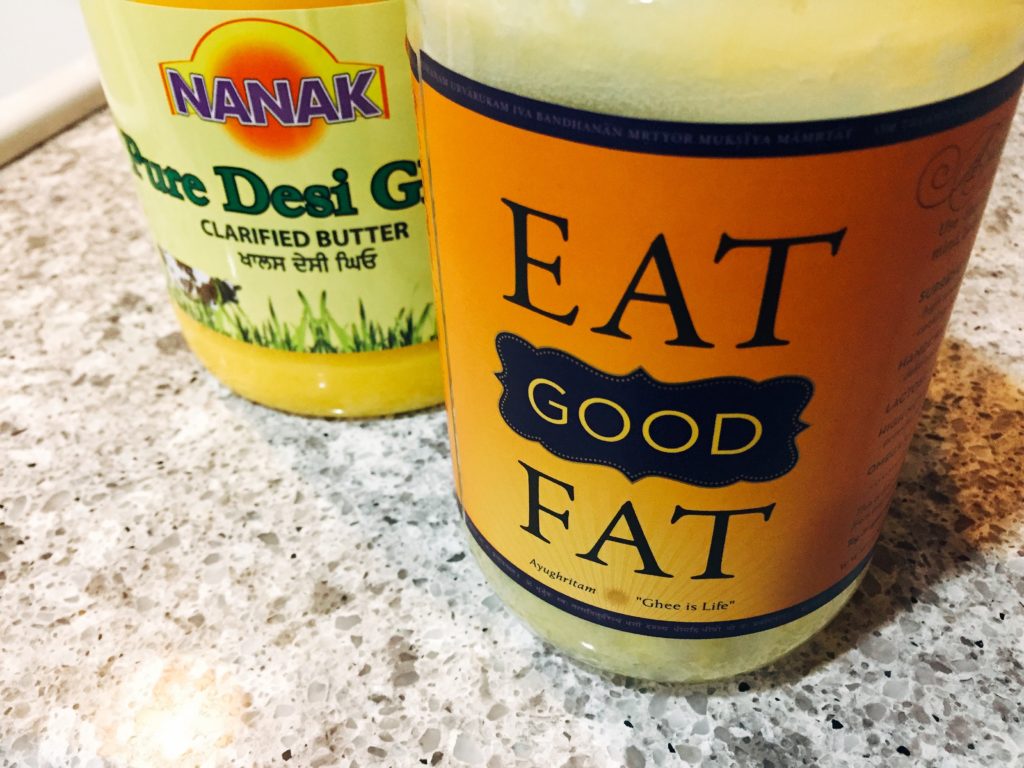
Let’s circle back to clarified butter … isn’t this the same thing? Yes, and no. It’s the short hand version of ghee. Most of the process for making ghee is the same process as making clarified butter, only a tad bit longer. Ghee goes a step further, cooking longer to remove the water from the butter. It also has a nuttier flavor.
So, if you can buy it, why would you ever make it? Personally, the only reason I would make my own is for cost. It is not cheap stuff, unless you find that huge tub of it at Costco, as mentioned earlier. And, like in the original butter making post, if you care about where you source your dairy – grass fed, local, no-hormones – you’ll start with butter either made by you or your favorite dairy. The process isn’t hard or time consuming either. It just takes a bit of butter and some kitchen tools.
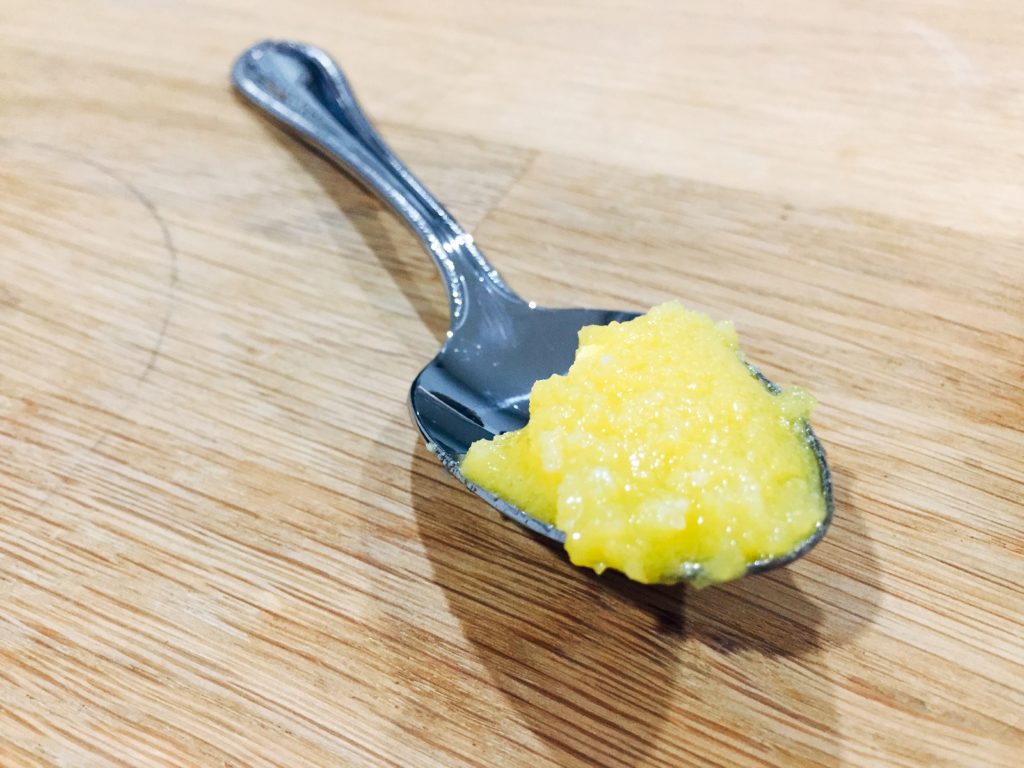
Making Your Own Ghee
This process is not complicated and you may have all the tools you need in your kitchen already. You’ve got clarified butter once no more foam appears on the top, ghee goes longer until the color changes.Ingredients
butter, unsalted, as much as you preferTools
saucepan
spoon
strainer
bowl
cheesecloth, or coffee filter
jar or glass container with a tight fitting lidIn saucepan, over medium-high, melt the butter. Once it’s melted, turn down the heat to low and allow to simmer. As it simmers, foam will start to rise to the top. Skim this off. Solid particles will also start falling to the bottom of the pan. These will be strained out later.
Line the strainer with the cheesecloth and place over a bowl.
If making clarified butter, wait until no more foam appears on the surface of the melted butter, then strain. Allow to cool and add to a jar.
If making ghee, continue to simmer over low heat until the color changes to a golden yellow and turns clear. You will also see the remaining foam clump up and fall to the bottom of the pan. Strain the ghee and allow to cool before adding it to a jar.


Enjoyed learning about ghee. Look forward to reading your site. Thank you!