

 I love pie. I never cared for cake–I found it flavorless and dry, and didn’t like frosting’s weird texture or cloying sweetness. That meant that I was always the kid with her birthday candles stuck in a pie. It was cherry one year, pumpkin the next, with a lemon merengue thrown in every once in a while for good measure—but never apple. While my childhood home of Southern California had many delicious things growing on trees (I’m looking at you avocado), its apples were tasteless and mealy, and made for truly mediocre pies. But then I came to Maryland, where people pick apples at actual orchards on beautiful fall days, and simple apple pie became heavenly.
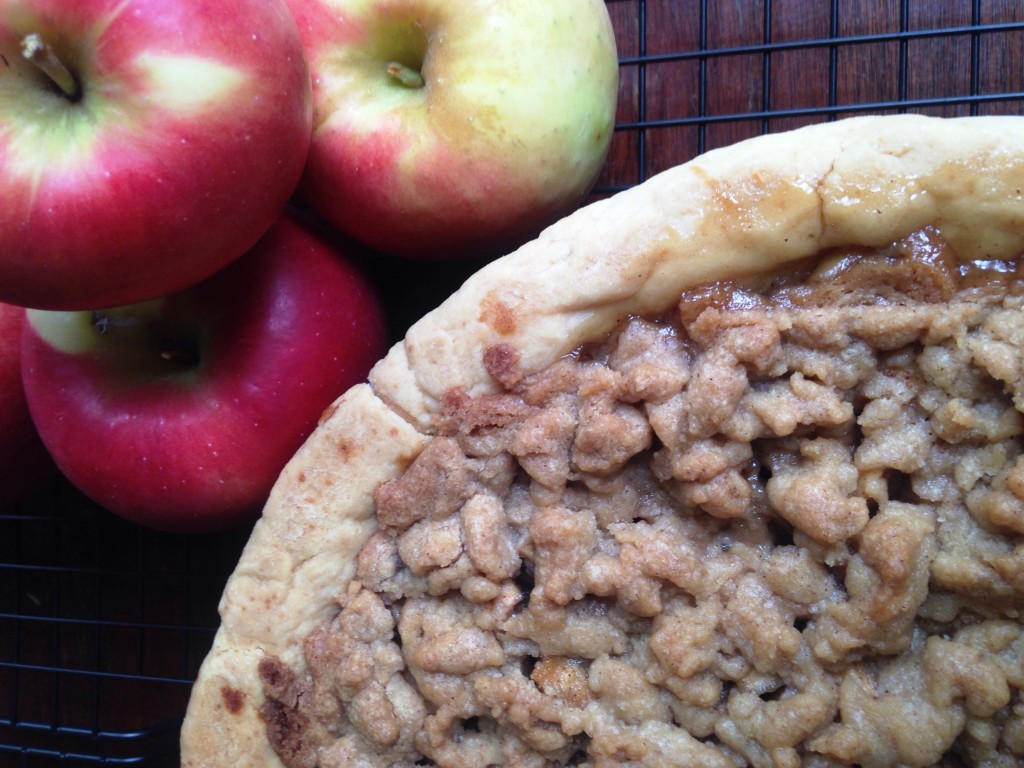
The great thing about apple pie is it’s nearly impossible to mess up. The only ingredients are sugar, spices, and apples. Add butter and flour for the crust, and how can you go wrong? This post is a perfect illustration of that…the pies are not my most beautiful, but they still taste amazing.
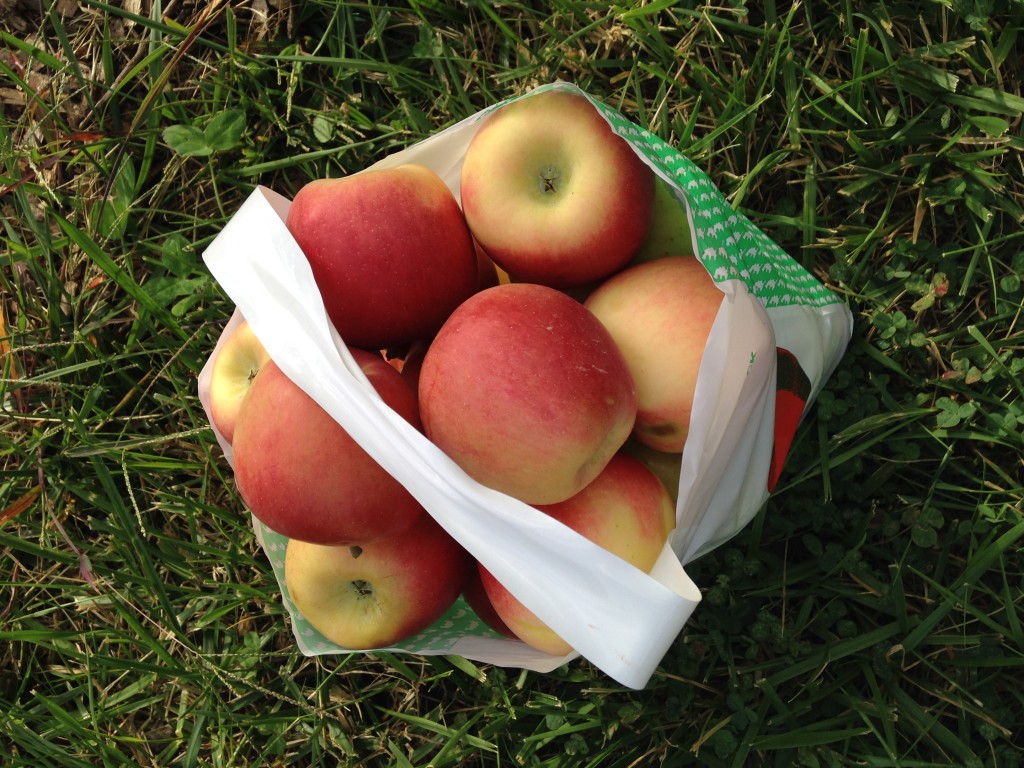
Great pie starts with great apples. Some apples hold up better than others under the heat, and more tart varieties pair well with the sweetness of the other pie ingredients. Mental Floss provides a flow chart on the best apples for each use (this is also handy if you’re looking for the perfect apple to hurl against a wall or feed to a horse), and the good old Farmer’s Almanac provides a no-frills list of apples for all types of cooking and baking. For today’s pies we headed out to Waters Orchard and loaded up on Cameo and Jonagold apples.
It’s not just the apples that make a pie great; you also need a great crust. You could buy a pre-made crust, but making one from scratch can be just as easy, and you get the added bonus of impressing friends and family with your mad baking skills. I always use Martha Stewart’s paté brisée recipe (though The Martha uses a food processor, while I just use a fork and my fingers to integrate the butter and water into the flour). It will take a few tries to get used to what the dough is supposed to feel like, but even if it’s a little too soft (as mine was this time) or a little too tough, it still tastes great. And if the dough is too sticky to roll out, or if you break into a cold sweat thinking about rolling a perfectly round pie crust, don’t worry, you can just press the crust into the bottom of the pie plate. When it’s covered in apple goodness no one will notice.
 I love making pie, but I HATE peeling apples……or rather, I hate skinning my knuckles with those horrible potato peelers. My previous solution was to make my husband peel the apples in exchange for eating my pie. It was very effective (even if he wasn’t doing it this way…though I think I’m going to hide the power drill next time just in case…), but he isn’t always around when the pie-making urge strikes. Luckily I found this little finger peeler which has revolutionized the apple-peeling experience.
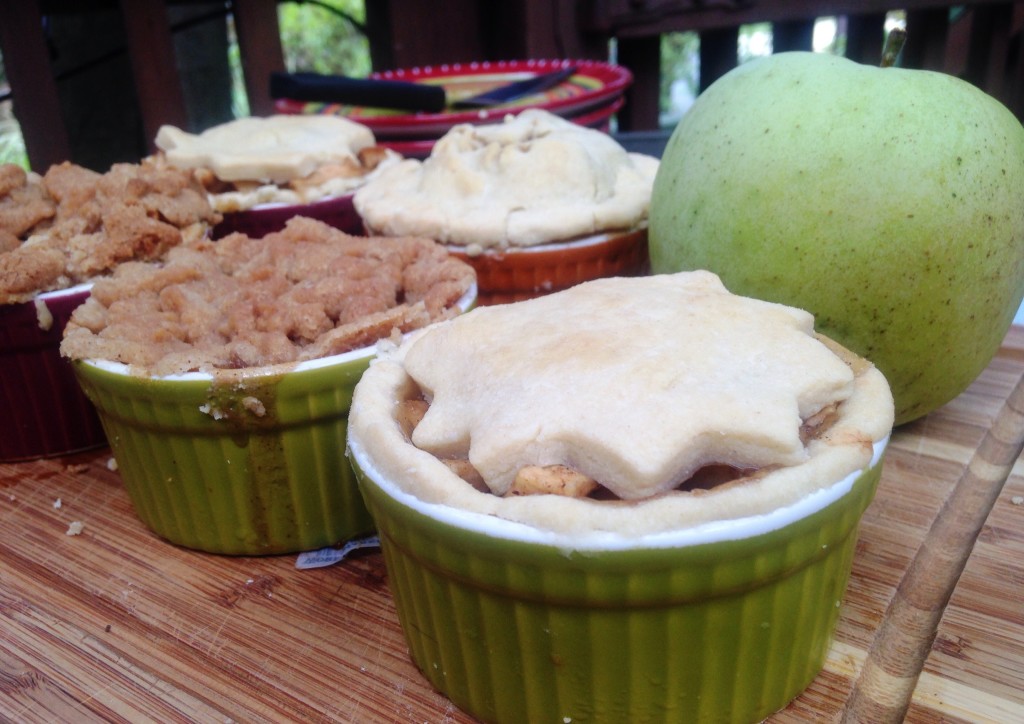
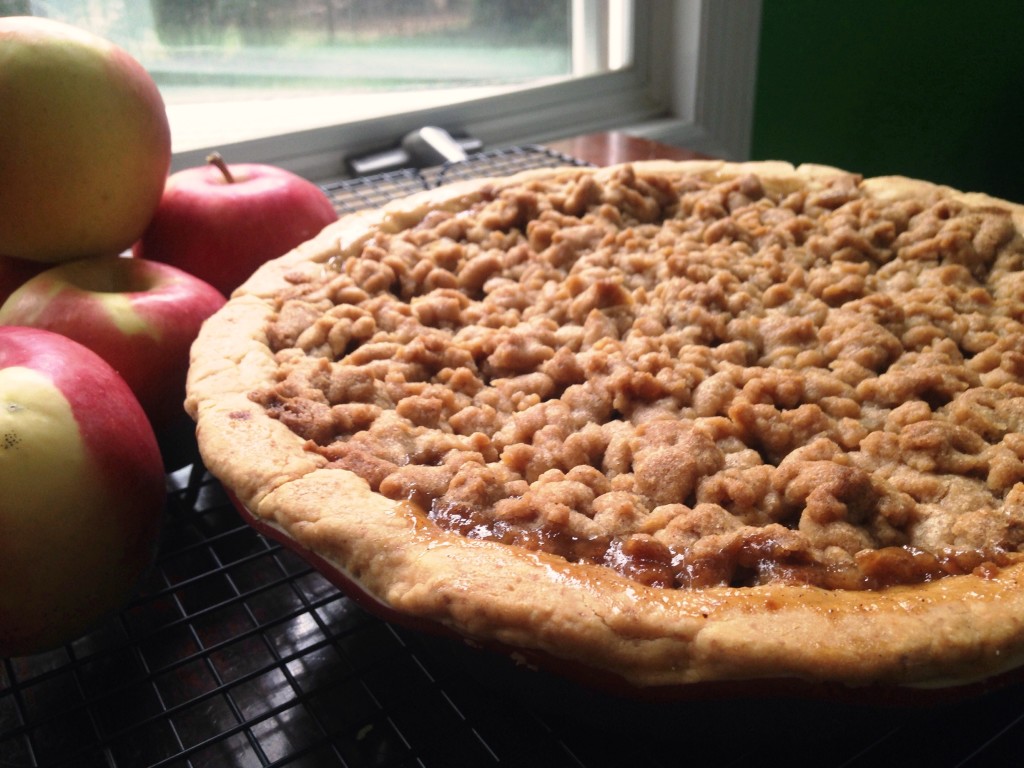
When it comes to covering the pie, you have lots of options. To wow your audience you can make a lattice crust (thekitchn has a great how-to—it’s not hard, just time consuming) or use cookie cutters to cut designs in the top crust. But if I’m just making pie as a family treat I’ll use a crumble topping. It–notice the theme?–tastes amazing and is so easy. If you go this route you’ll see that the crumble is moister than you would expect–this is how it should be. Just dribble it from your fingers like you would wet sand at the beach, until the whole pie is covered.
Then put it all together, bake, and prepare for deliciousness!
WTE note to Eaters: We would like to congratulate Karl F. for winning the drawing for the MetroCooking tickets this weekend! We hope to see you at the show!
Apple Pie Recipe
Paté brisée (makes 2 crusts, or top and bottom crust)
Adapted from The Martha, see link above
2 1/2 cups flour
1 tsp salt
1 tsp sugar
1 cup (2 sticks) chilled butter (I prefer salted)
1/4 -1/2 cup ice waterCombine flour, salt, and sugar.
Cut butter into small pieces, and use a fork to integrate into the dry ingredients. It also works well to use your fingers to smash the small butter chunks. Do this until the mixture resembles coarse sand.
Add ice water, one tablespoon at a time, kneading after each spoonful, until the dough holds together but is not sticky. Be careful not to over-knead it or the dough will become tough.
Split dough in two, flatten into disks and wrap in plastic wrap. Chill for at least one hour.
Crumble topping
Adapted from food.com3/4 cup flour
1/4 cup white sugar
1/4 cup dark brown sugar
1/3 cup butter
1/4 tsp cinnamonMix dry ingredients together. Cut butter into small chunks and use a fork or your fingers to integrate it into the dry ingredients. Put aside.
Pie filling
Adapted over time from many Internet apple pie recipes. This recipe is just enough filling for a pie tin. If you have a larger ceramic pie plate you’ll need one and a half times this recipe.Before starting the filling, take the pie crusts out of the refrigerator so they can be at room temperature by the time you are ready to roll them out.
1/3 cup white sugar
1/3 cup brown sugar
1/4 tsp ground allspice
1/8 tsp nutmeg
3/4 tsp cinnamon
3 pounds of apples
1 tsp vanilla extract
3 tbsp flourPreheat oven to 350 degrees.
Peel apples and cut into half-inch chunks. Most recipes suggest cutting your apples into thin slices, but I prefer small chunks, as it keeps them from getting rubbery as they cook.
Add the rest of the ingredients to the apples and mix well.
While the apples marinate, flour your rolling surface and rolling pin and roll out one of the crust disks so that it is a little larger than your pie plate. Making sure the top of the crust is also well floured, gently fold the crust into quarters, and place it in the pie plate. Unfold the crust and press it into the bottom edges of the plate, letting the edges of the crust hang over the edge of the plate.
Pour the apple mixture into the pie plate. There will be a lot of thick apple cinnamon syrup in the bottom of the bowl. Pour this over the top of the apples (or save it to eat over ice cream while your pie is cooking!).
Cover the top of the pie with the crumble mixture so that you can no longer see any apples. Use the overhanging bottom crust to seal the edges of the pie by rolling it up and pressing it over the outside edge of the crumble topping.
Put the pie on a cookie sheet to catch any juice that may bubble over. Cover the edges of the pie in foil, or use a silicon crust shield, to keep the edges from burning.
Bake for 45 minutes to an hour. There is some variation depending on the type of apples used and the size of the pie plate. You will know it is done when it smells spectacular and you can see juice bubbling out the top.
Let stand one hour before serving.
Eat joyously.
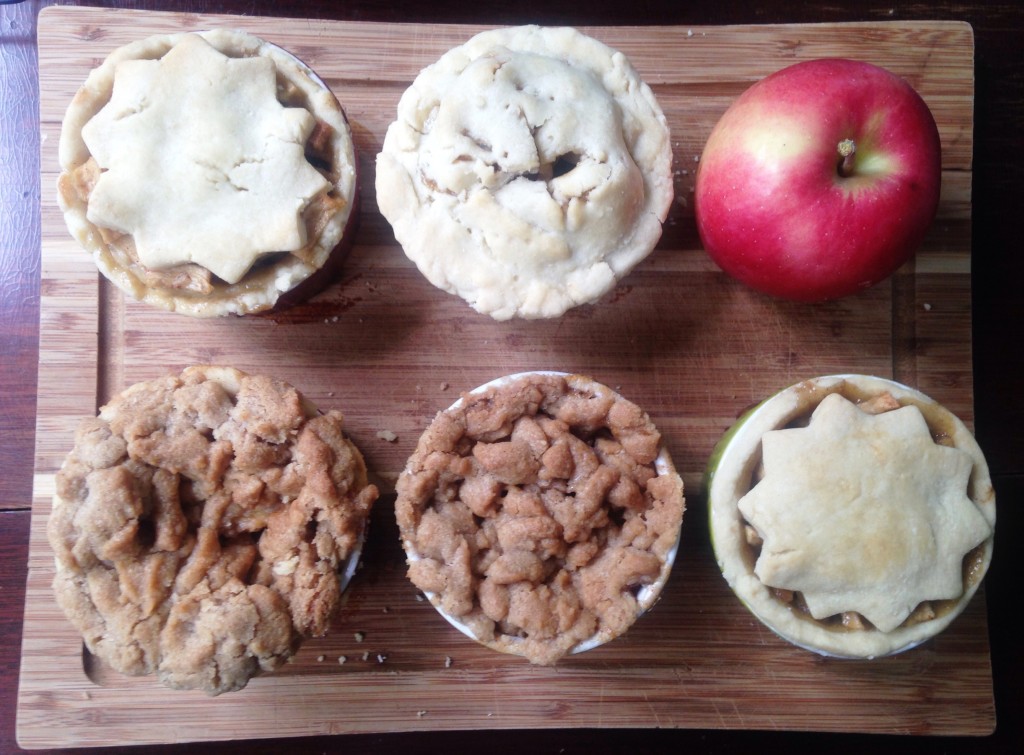


Thanks for sharing your recipe, Elizabeth! I, too, prefer pies to cakes, though I rarely make them from scratch. They take awhile to make, and though they’re worth it, they’re gone in a flash! I especially hate peeling the apples, too. I usually just use a knife to cut the skins from the apple slices I’ve cut. And maybe next time I’ll try mini pies in ramekins, like in your picture. They look so cute!