What’s more cooling and refreshing than ice cream during these last hot summer days? Kiwi ice cream, that’s what!
My ice cream cravings tend to nudge me toward vanilla, peanut butter, chocolate and pretty much anything with bits of cookie, brownies and candy bars. Fruit? Not so much. But I love kiwi, and when looking for something sweet that had innate cooling properties … well, the combo seemed a no-brainer.
Even though kiwis are pretty common, they still have an exotic feeling for me. I tend not to indulge in them very often. I have no real reason for this. After all, I love fuzzy things – like peaches!
Anyway, it turns out we should all be eating more kiwi! Among other things, these little guys are packed full of fiber, vitamin C, vitamin E and a bunch of other DNA-protecting, skin-regenerating and cancer-fighting antioxidants. Sounds like the perfect treat after days spent in the sun and sand.
Ice cream-making may seem intimidating, but with the right equipment, this recipe is quite easy. If you recall, I have a bit of an obsession with my stand mixer and barely-used attachments, so I hadn’t used myKitchenAid ice cream maker bowl in quite a long time — but it all came back to me.
Basics for ice cream making? Eggs, cream, sugar and whatever fun flavoring you choose. I dug out a basic Ben & Jerry’s ice cream recipe, and found additional inspiration from a recipe for kiwi fruit ice cream that I found online.
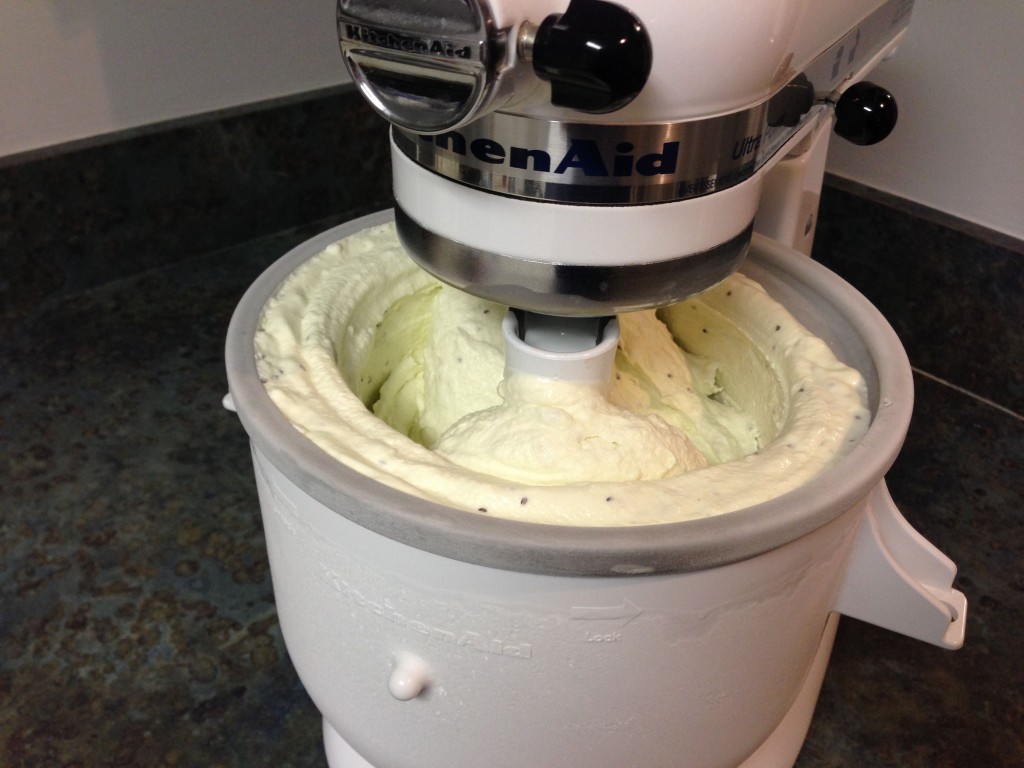
Fluffy and puffy ice cream, done and ready to eat.
One thing to note: After I made my batch and sat down to write this, I ran across a food blogger who did the very same thing. However, she adjusted her recipe to account for the bitterness of the kiwi. Apparently, when combined with dairy, kiwi can create a bitter flavor and a viscous texture. An article the blogger referenced had a more scientific explanation: Essentially, there’s an enzyme in kiwi fruit that breaks down milk proteins. The blogger counteracted that bitterness by blanching the kiwis in boiling water for 60 to 90 seconds, stirring occasionally.
Needless to say, without that intel before I started working, my ice cream was a tad bitter, and definitely not as sweet as I’d like it — but it was still good!
This was a real treat to make. It had a beautiful pale green color, with specs of kiwi seeds strewn throughout. While the full-fat cream made it ridiculously decadent, I would get an occasional bite of frozen kiwi where a thicker bit of the fruit mash hadn’t quite incorporated. And it’s been pretty awesome to cap off our evenings by reaching into the freezer and pulling out homemade ice cream.
Kiwis are just the cherry on top.
Kiwi Ice Cream
There are several secrets to making great ice cream at home. When possible, ensure your ingredients are all as chilled as possible. If you mix everything up and need a moment before adding it into the ice cream maker, just place it in the fridge. Also, if you’re using the KitchenAid ice cream bowl attachment, be sure it has been in the freezer for at least 15 hours. And when in doubt, for a creamier texture, choose a cream higher in fat.
I used the basic ice cream recipe found in the Ben & Jerry’s Ice Cream Recipe book, adapted with the addition of kiwi fruit.
6 ripe kiwis
2 tablespoons sugar
2 large eggs
1 cup sugar
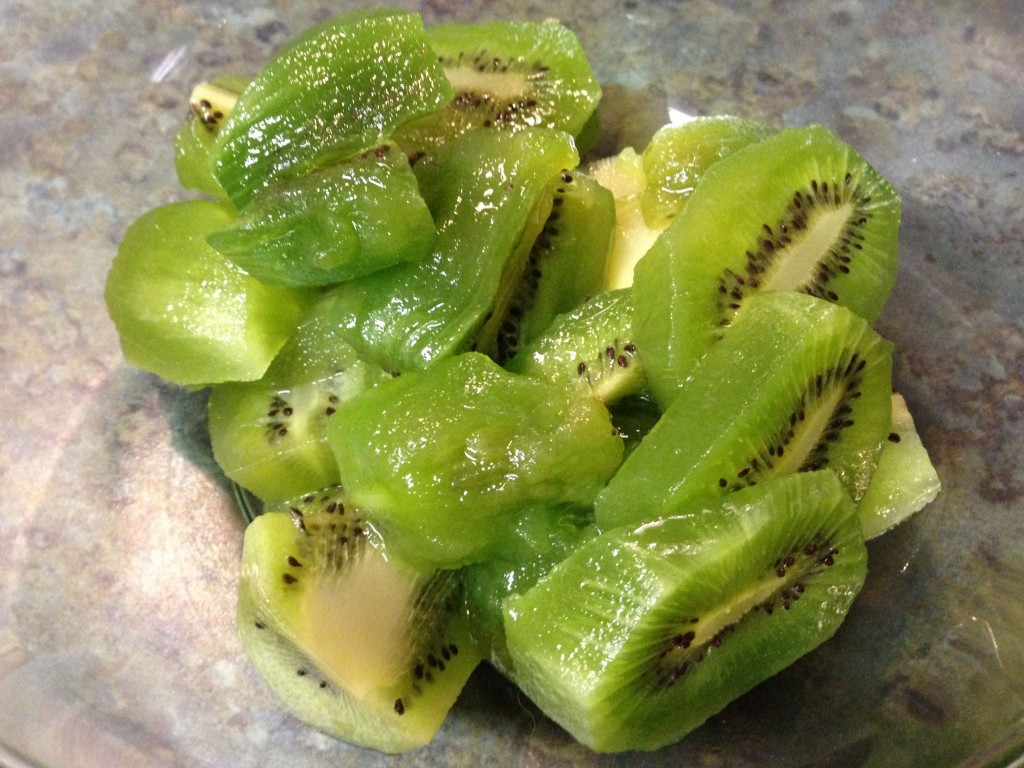
2 cups heavy or whipping creamIn a bowl, peel, slice and mash kiwi fruit. Add 2 tablespoons sugar, mixing till well combined. Refrigerate for at least one hour. I let it sit overnight covered in my fridge.
Peeled and cut kiwi ready to be mashed.
Whisk the eggs till very light and fluffy, about two minutes or so. Wisk in 1 cup sugar, adding a little at a time, until well combined. Add cream, again whisking until fully incorporated. Stir in the mash/mixture of kiwi.
After assembling the ice cream maker, pour the mixture in and commence with ice cream making, according to the instructions for your appliance. In the case of the KitchenAid ice cream maker attachment, turn the mixer onto the “stir” setting and let mix for 20 to 30 minutes. After about 15 minutes you should notice that the ice cream will begin to puff up, almost overflowing the bowl. It’ll be done when fluffy and reaches a texture to your liking.
Transfer to bowls for enjoying right away, or to freezer-safe containers. I froze mine overnight to allow it to harden further.